Cross compilation in Qt Creator on Ubuntu 16.04 for BeagleBone Black with Debian Jessie
The tutorial consists of 2 sections. The first will provide instructions for the PC and the second section presents instruction for BeagleBone Black.
If you encounter the following block
1
$ echo "Hello world"
you should type it in the terminal (GNOME Terminal, Konsole, xterm, etc)
BeagleBone Black side
Firstly, let us prepare BeagleBone Black flashing it with the latest Debian image. Download latest image from https://beagleboard.org/latest-images. I used Debian Jessie 8.7.
1
$ wget https://debian.beagleboard.org/images/bone-debian-8.7-lxqt-4gb-armhf-2017-03-19-4gb.img.xz
After that please insert SD card in your PC and identify which device it is your system, in my system it was /dev/sdb
The next step is to write image file to your SD card. There are two options of doing that: using p7zip or xz-tools.
7zip
Install 7zip using the following line.
1
$ sudo apt-get install p7zip
Now, you can unpack it.
1
$ 7z x bone-debian-8.7-lxqt-4gb-armhf-2017-03-19-4gb.img.xz
Write image file to your SD card using dd.
1
$ sudo if=bone-debian-8.7-lxqt-4gb-armhf-2017-03-19-4gb.img of=/dev/sdb bs=4M
xz-tools
Install xz-tools using the following line.
1
$ sudo apt-get install xz-tools
Now you can write it to your SD card.
1
$ xzcat bone-debian-8.7-lxqt-4gb-armhf-2017-03-19-4gb.img.xz > /dev/sdb
By default the image downloaded will not flash your eMMC. To flash new operating system you have to edit /boot/uEnv.txt
Insert your SD card into BeagleBone Black and boot it, BBB will load from SD card.
Now, after the OS was booted you can do it for example with nano.
1
2
$ ssh debian@192.168.7.2
$ sudo nano /etc/uEnv.txt
Remove the ‘#’ on the line with ‘cmdline=init=/opt/scripts/tools/eMMC/init-eMMC-flasher-v3.sh’. For more details please refer to https://elinux.org/Beagleboard:BeagleBoneBlack_Debian.
Reboot and wait until flash light turn off. You can unplug you microSD card and boot into a fresh OS.
The final step on your BBB is to install gdbserver such that it would be possible to debug your application remotely with Qt Creator.
To install GDB server on BBB enter the following in your terminal
1
2
$ ssh debian@192.168.7.2
$ sudo apt-get install gdbserver
Developer’s computer side
Install necessary compilers and tools for ARM architecture
1
$ sudo apt-get install crossbuild-essential-armhf gcc-4.9-arm-linux-gnueabihf
Install GDB debugger to enable remote debug
1
$ sudo apt-get install gdb-multiarch
Download Qt Creator from the official website Easiest path would be to follow the link below and select the latest version. https://download.qt.io/official_releases/qtcreator/
at the moment of writing of the document the latest version was 4.2.1 therefore
1
2
3
4
$ cd ~/Downloads
$ wget https://download.qt.io/official_releases/qtcreator/4.2/4.2.1/qt-creator-opensource-linux-x86_64-4.2.1.run
$ chmod +x ./qt-creator-opensource-linux-x86_64-4.2.1.run
$ ./qt-creator-opensource-linux-x86_64-4.2.1.run
Now let us configure Qt Creator to work with BeagleBone Black
Press Tool->Options 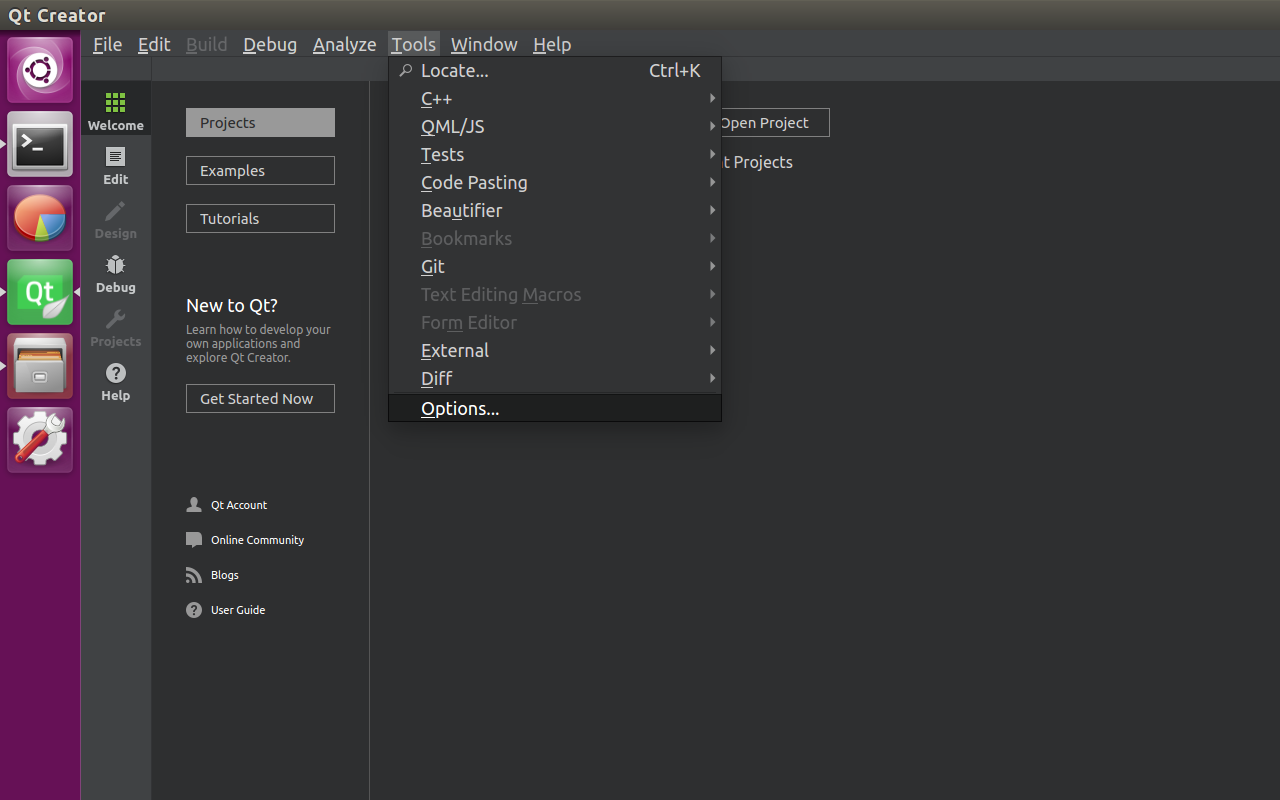
Select on the side bar Build and Run 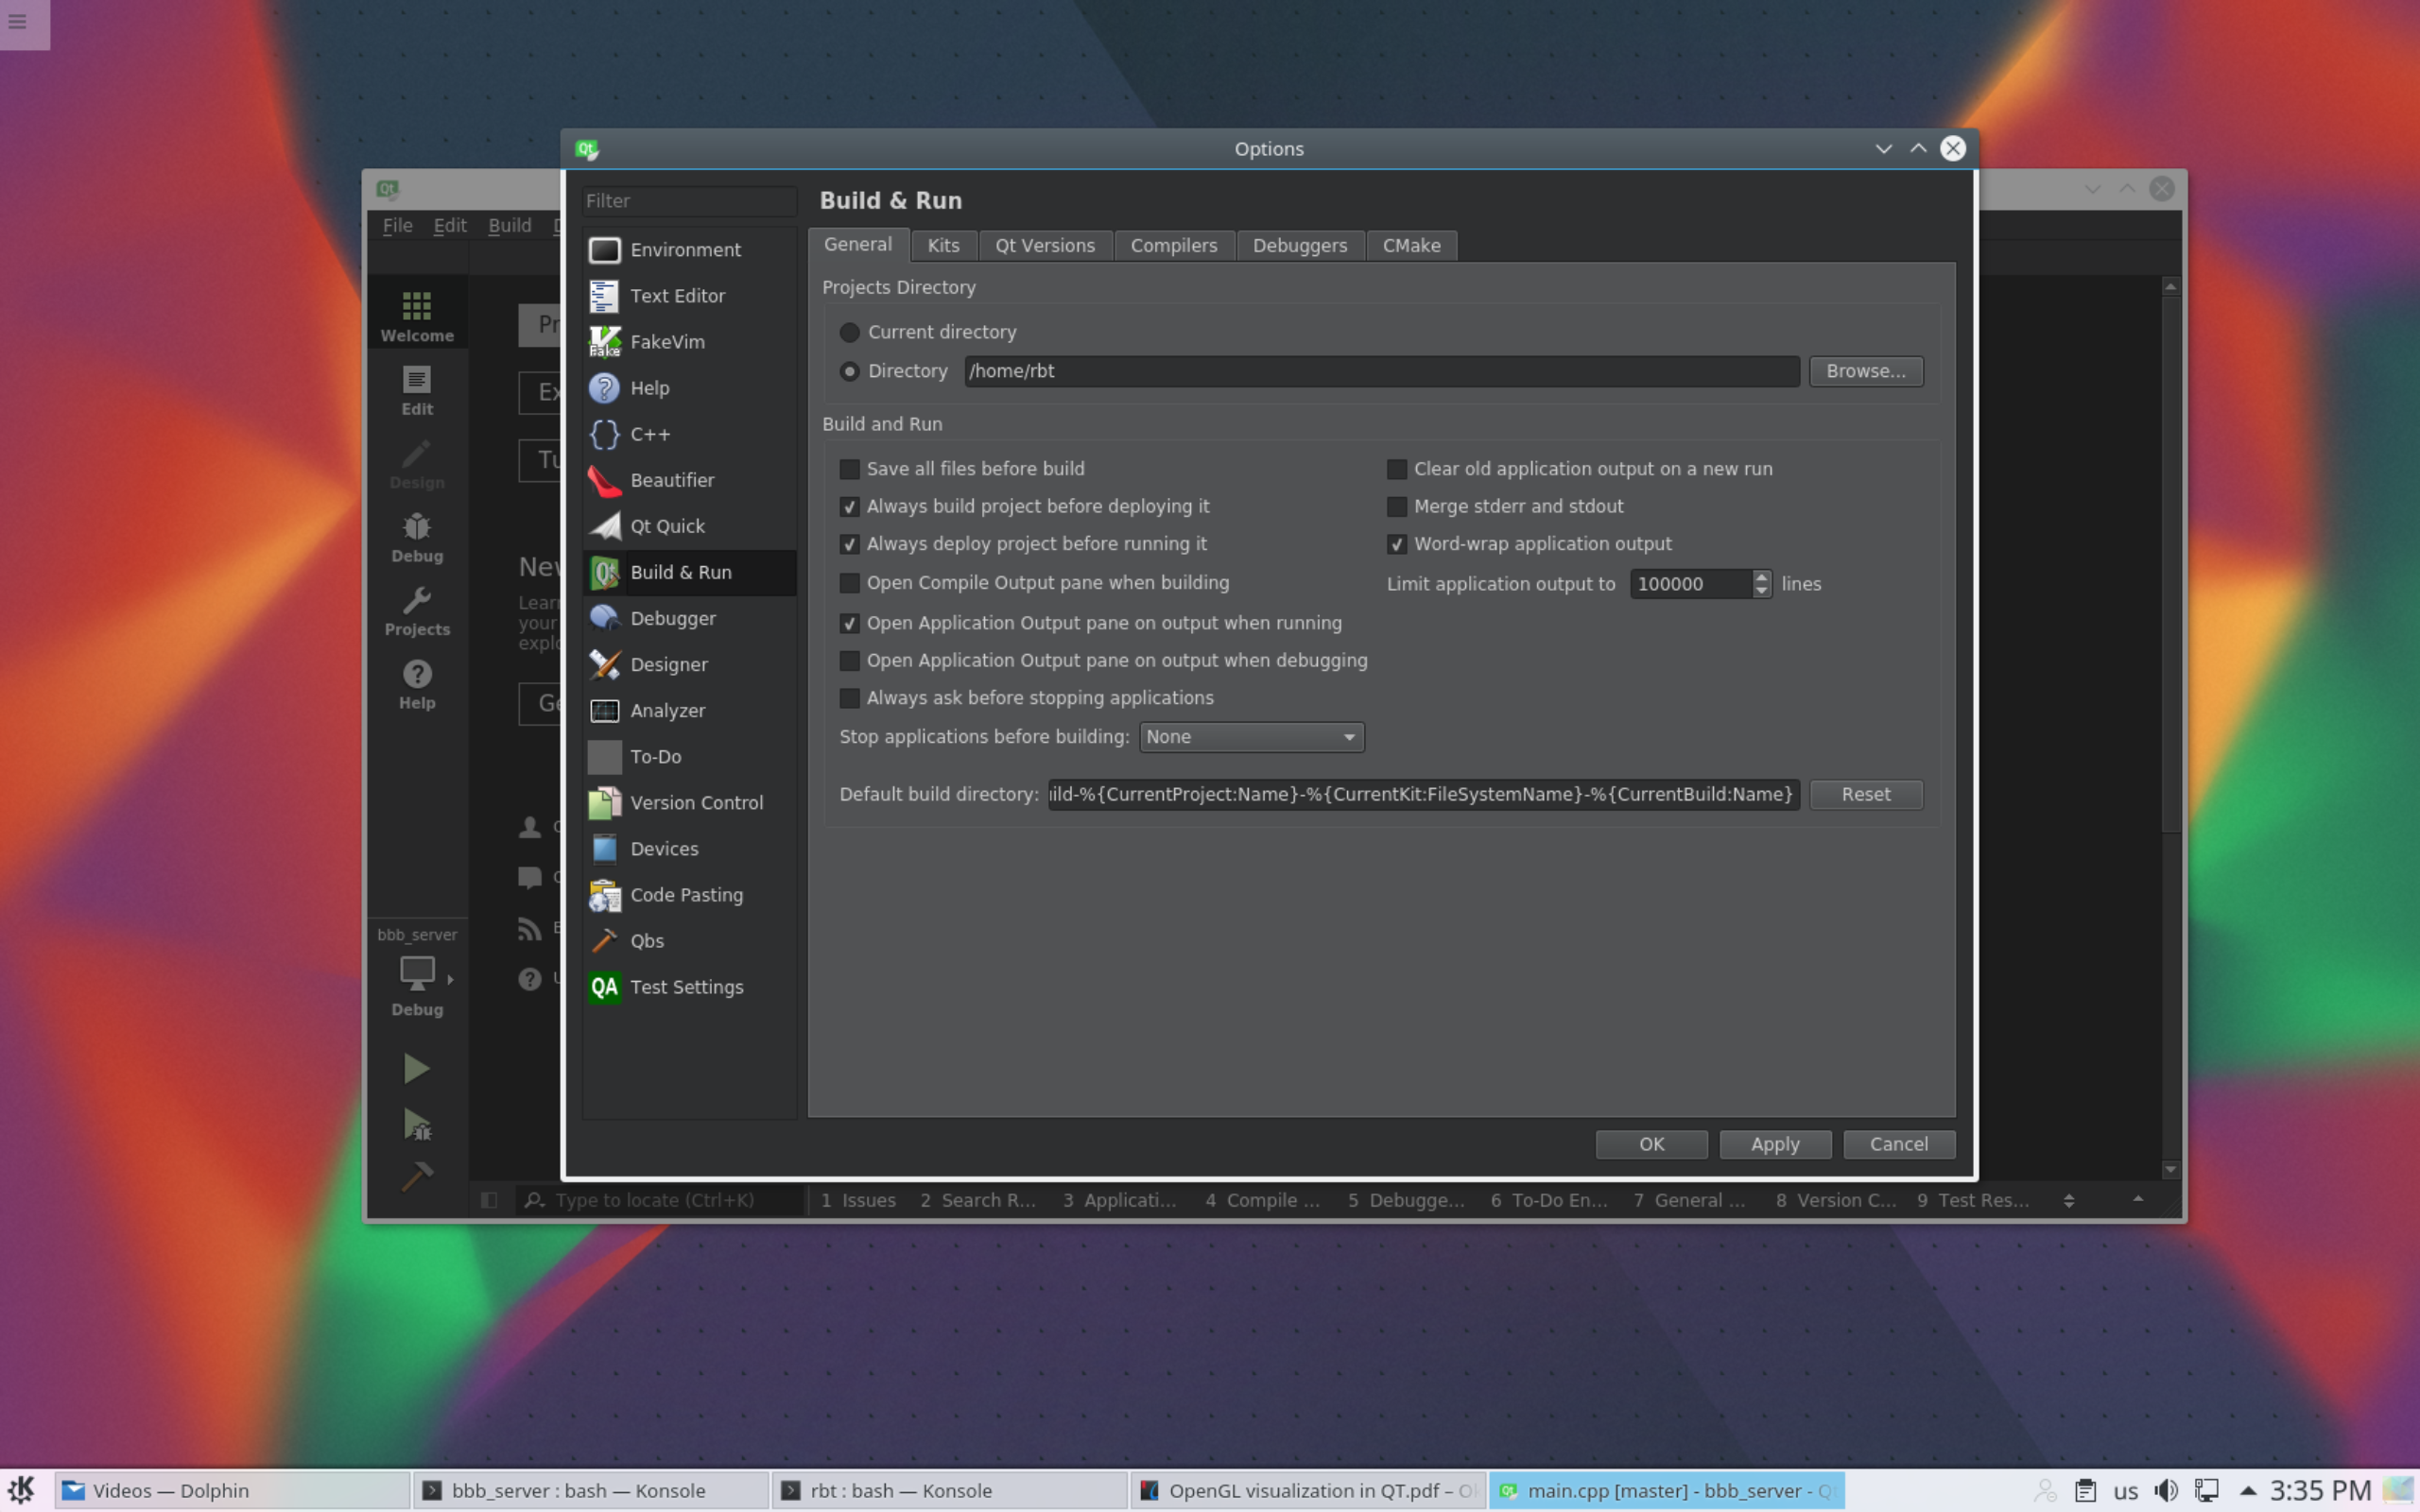
After that add a compiler
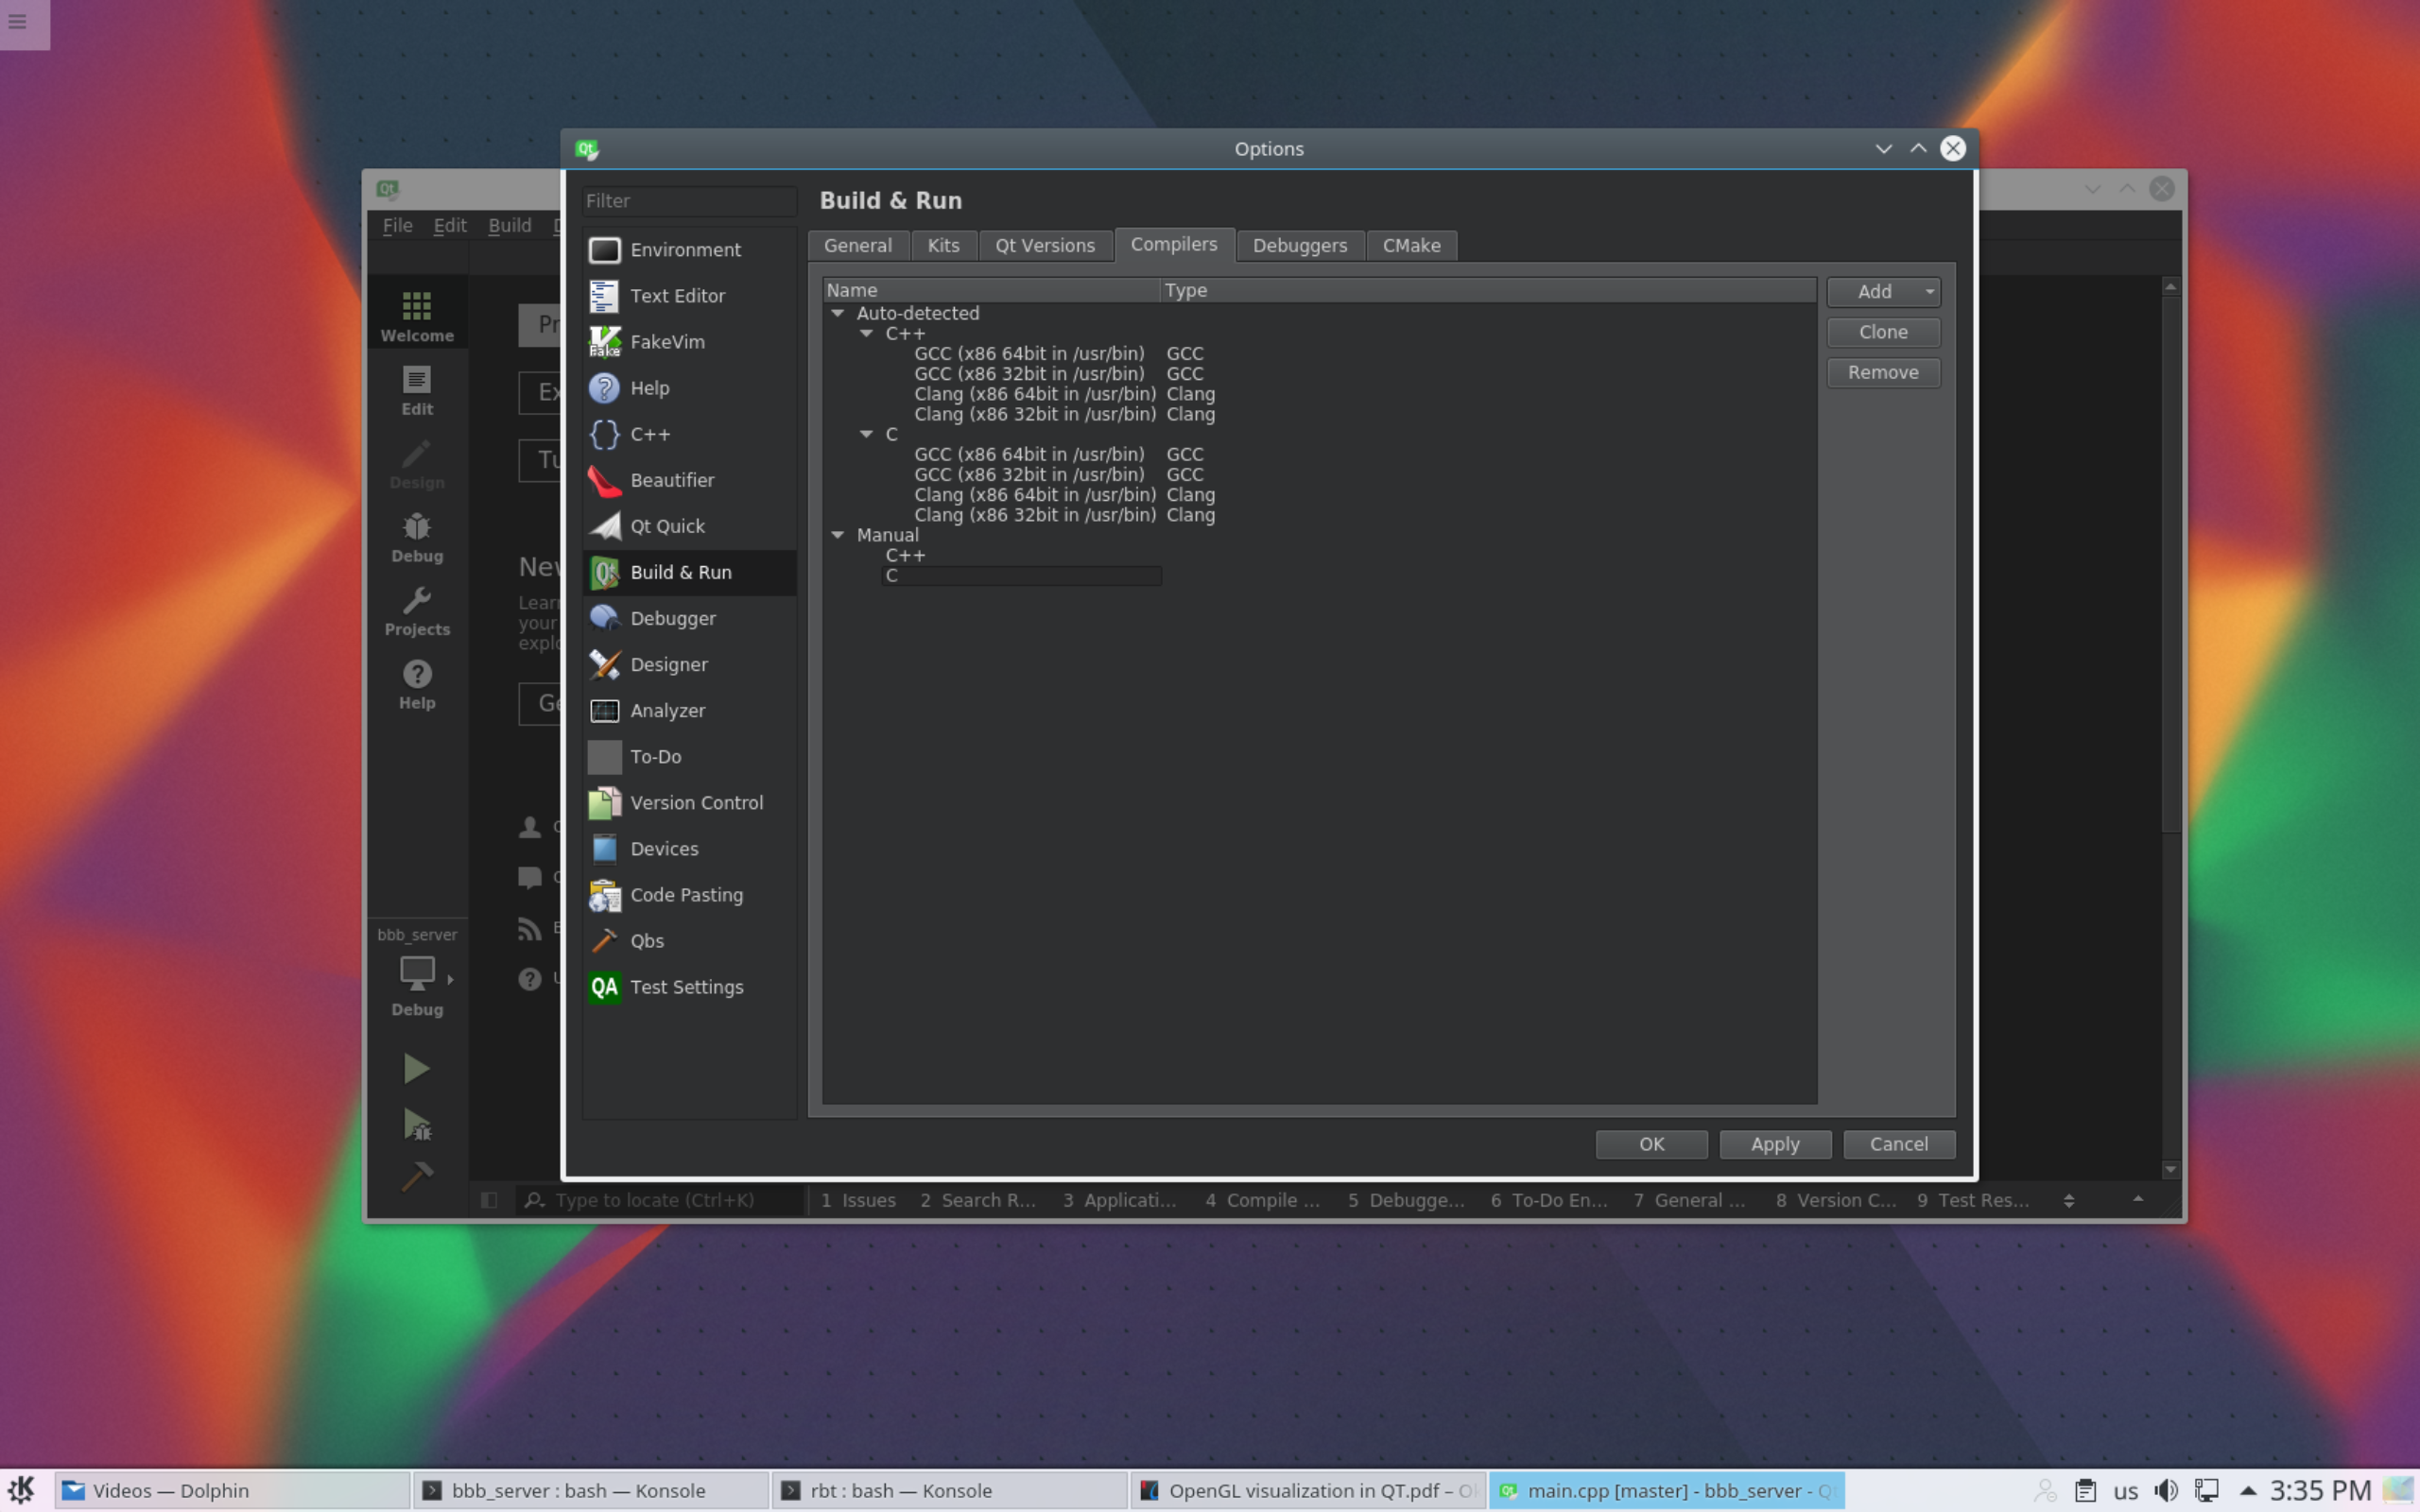
To do so - press Add and select GCC, since we use this compiler.
Fill accordingly the form.
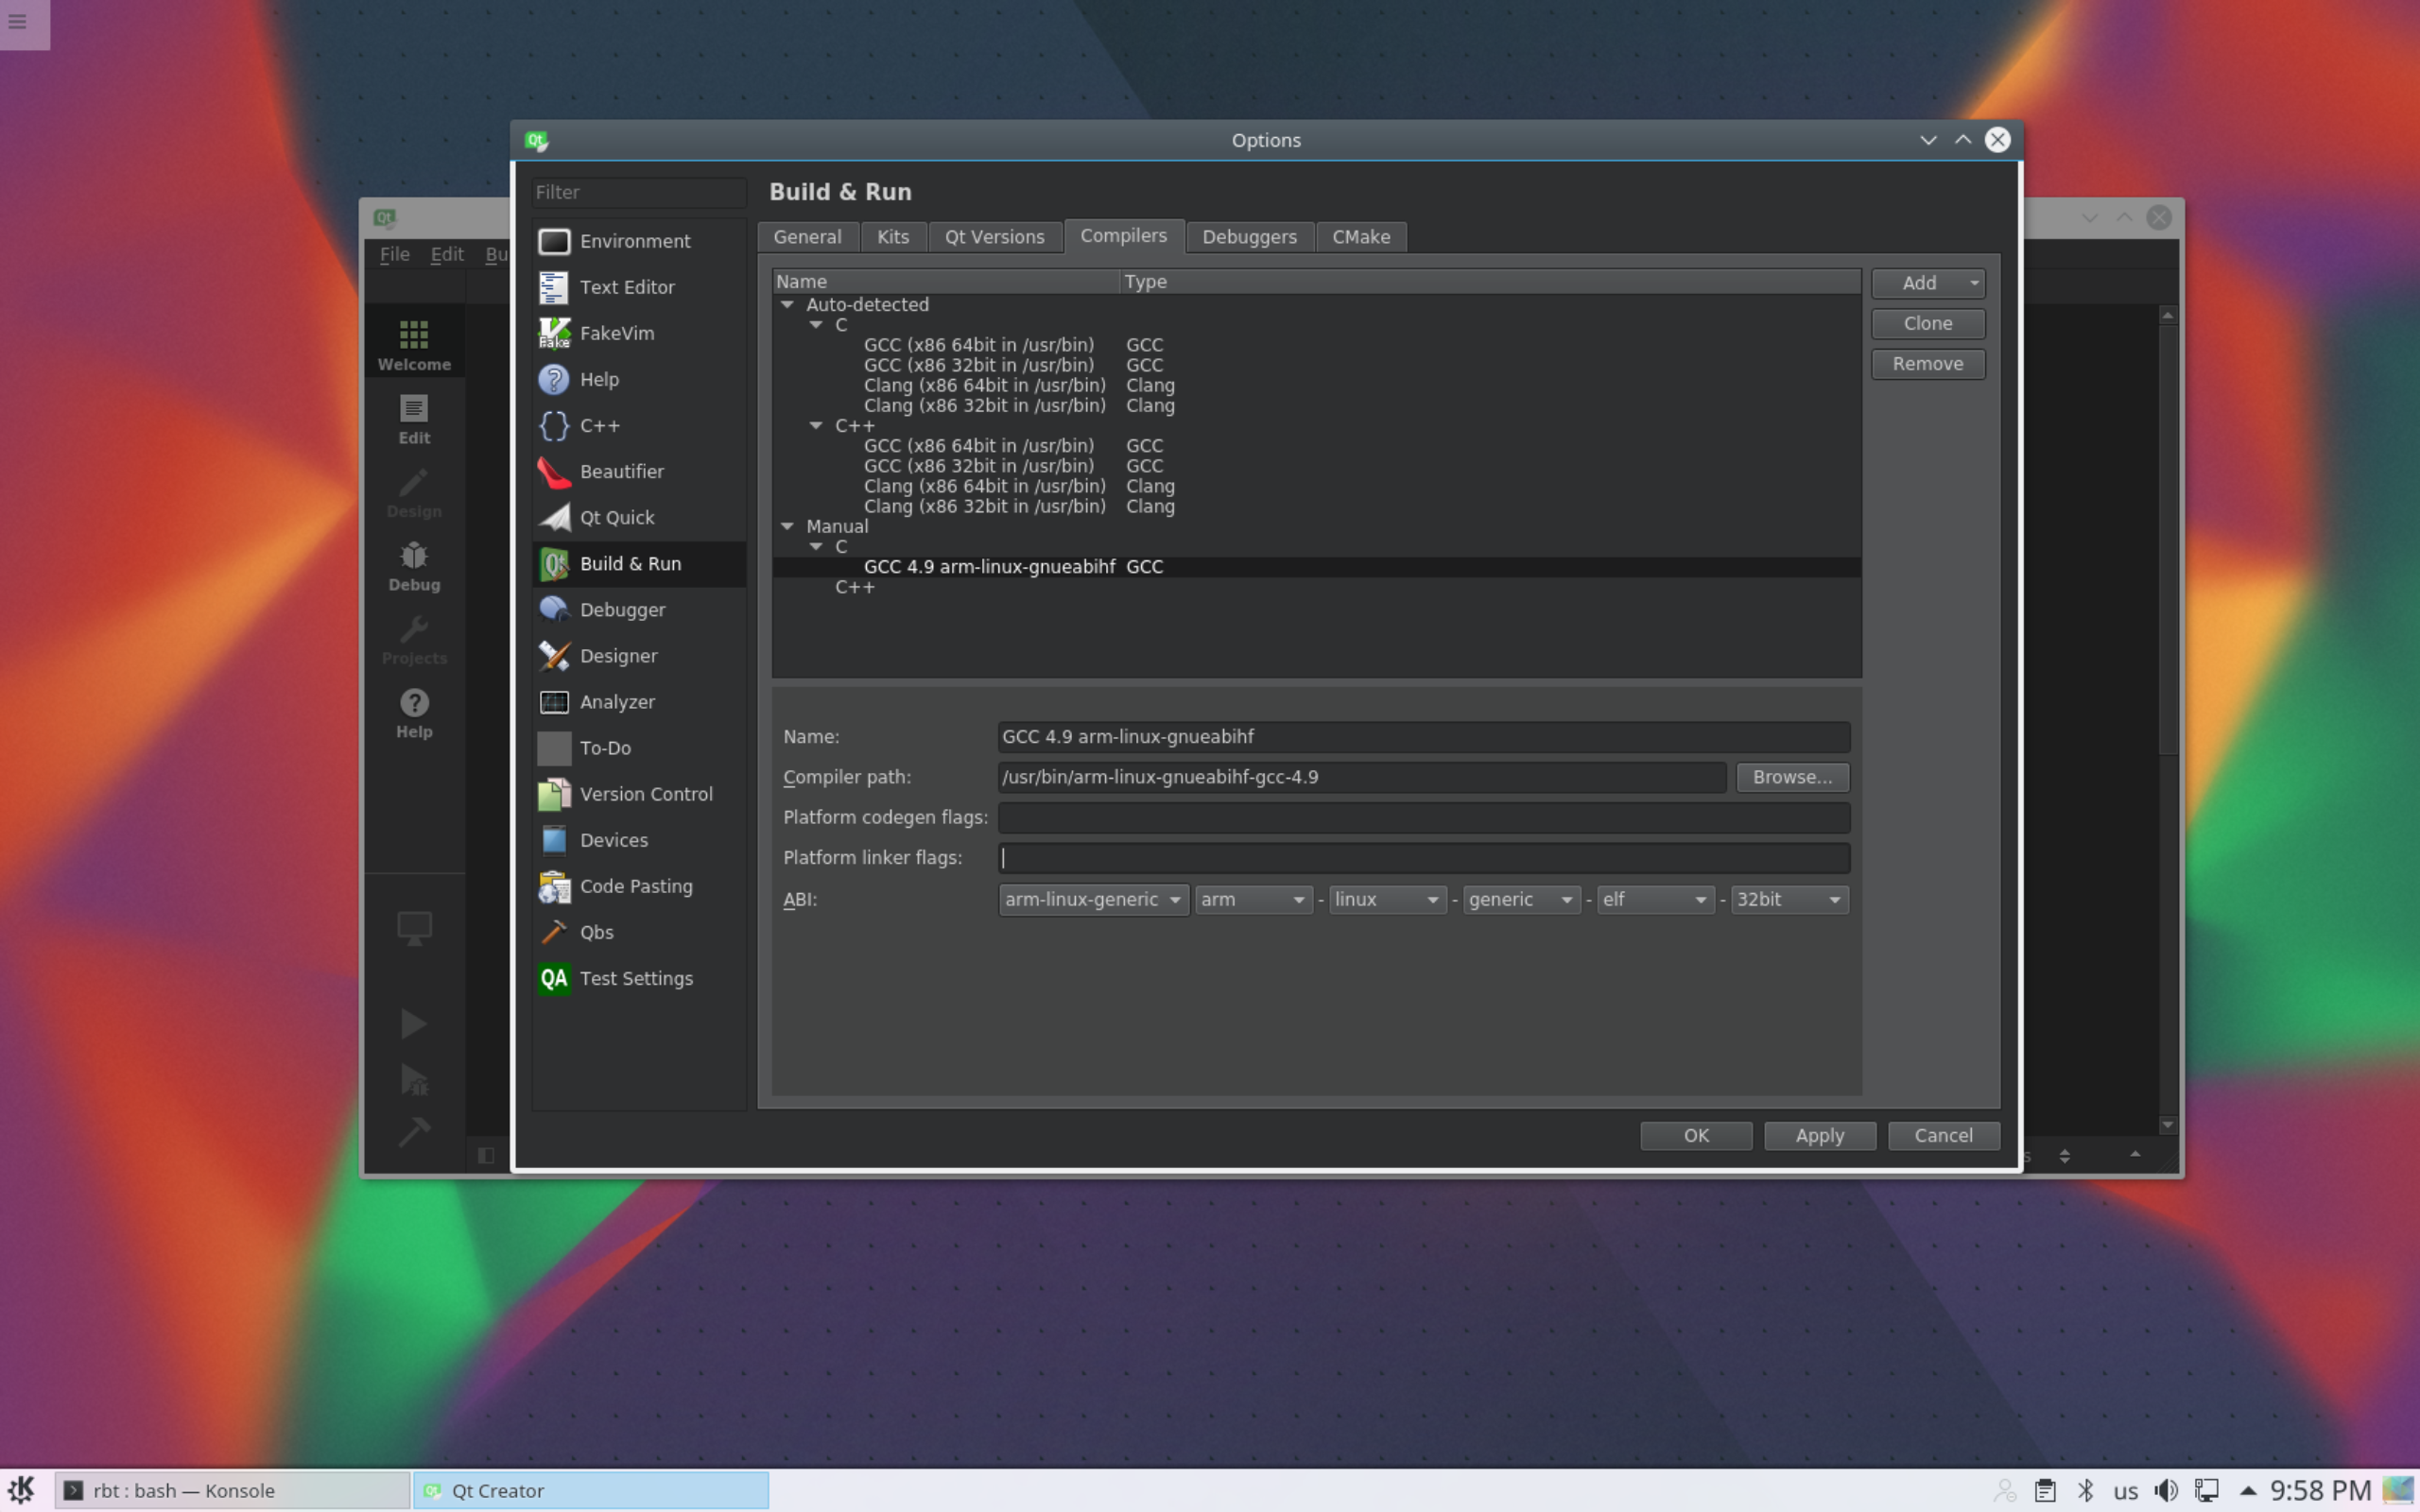
Set Compiler path to
1
/usr/bin/arm-linux-gnueabihf-gcc-4.9
And give the name to this compiler GCC 4.9 arm-linux-gnueabihf.
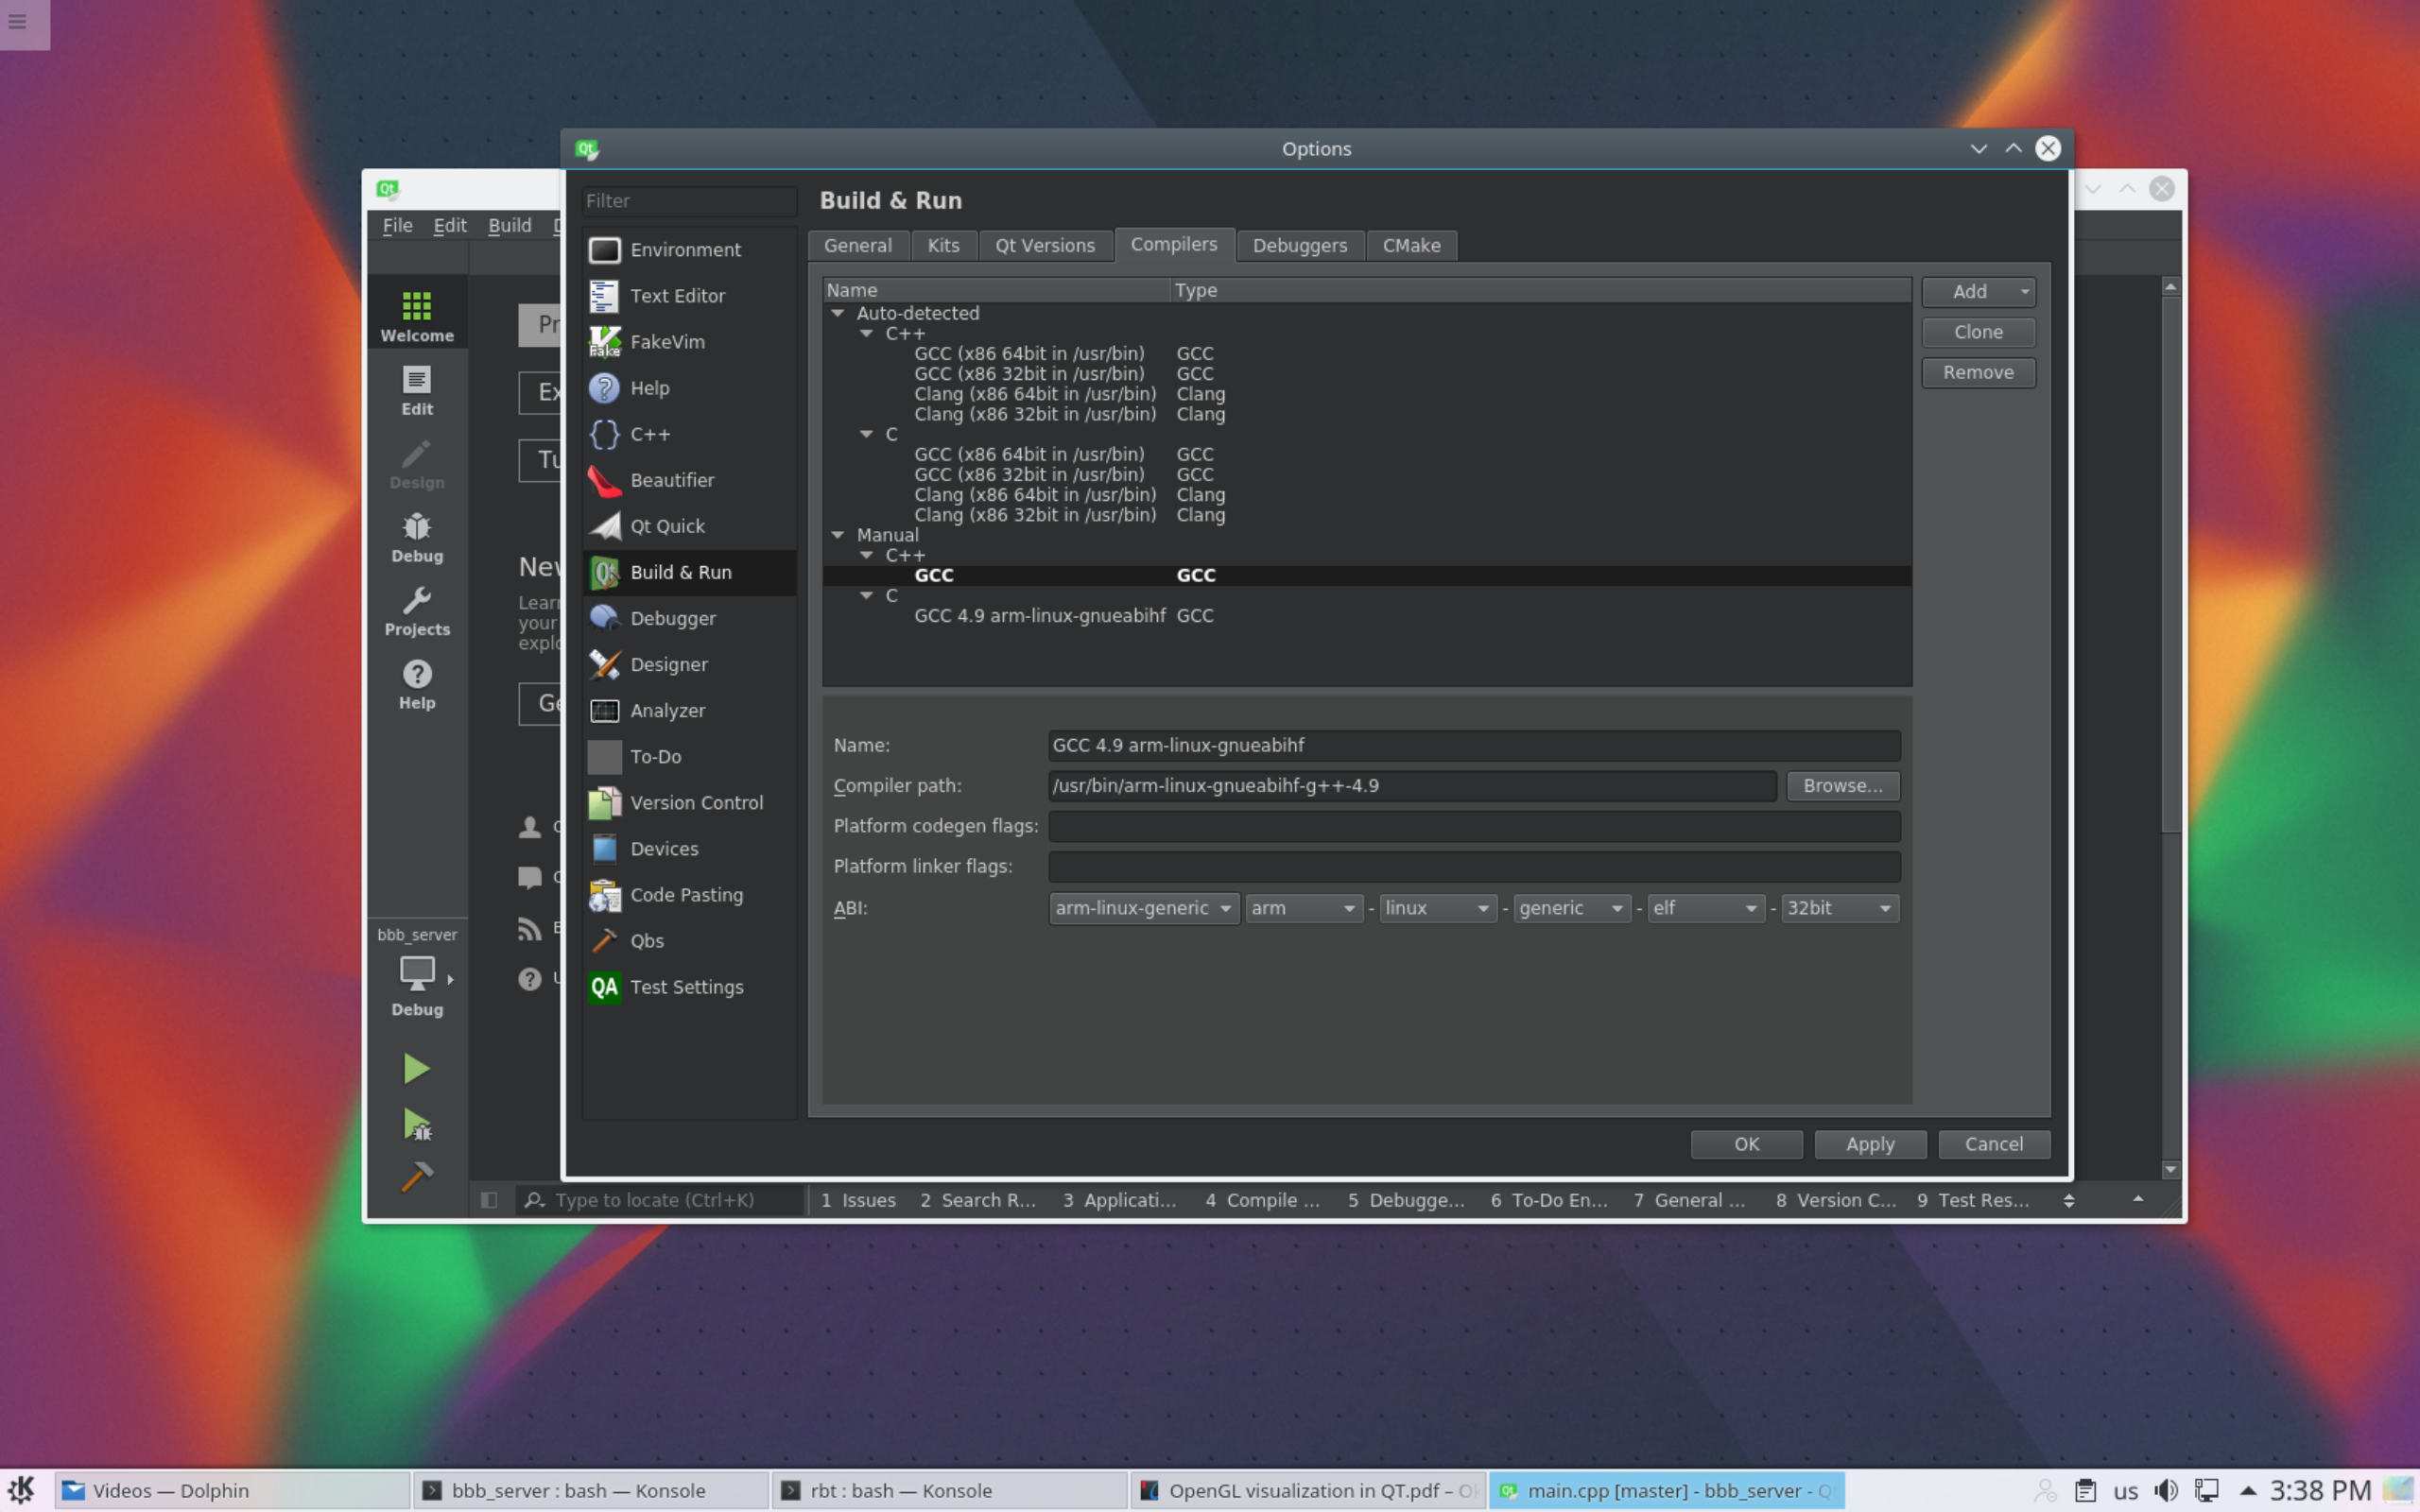
The add C++ compiler too 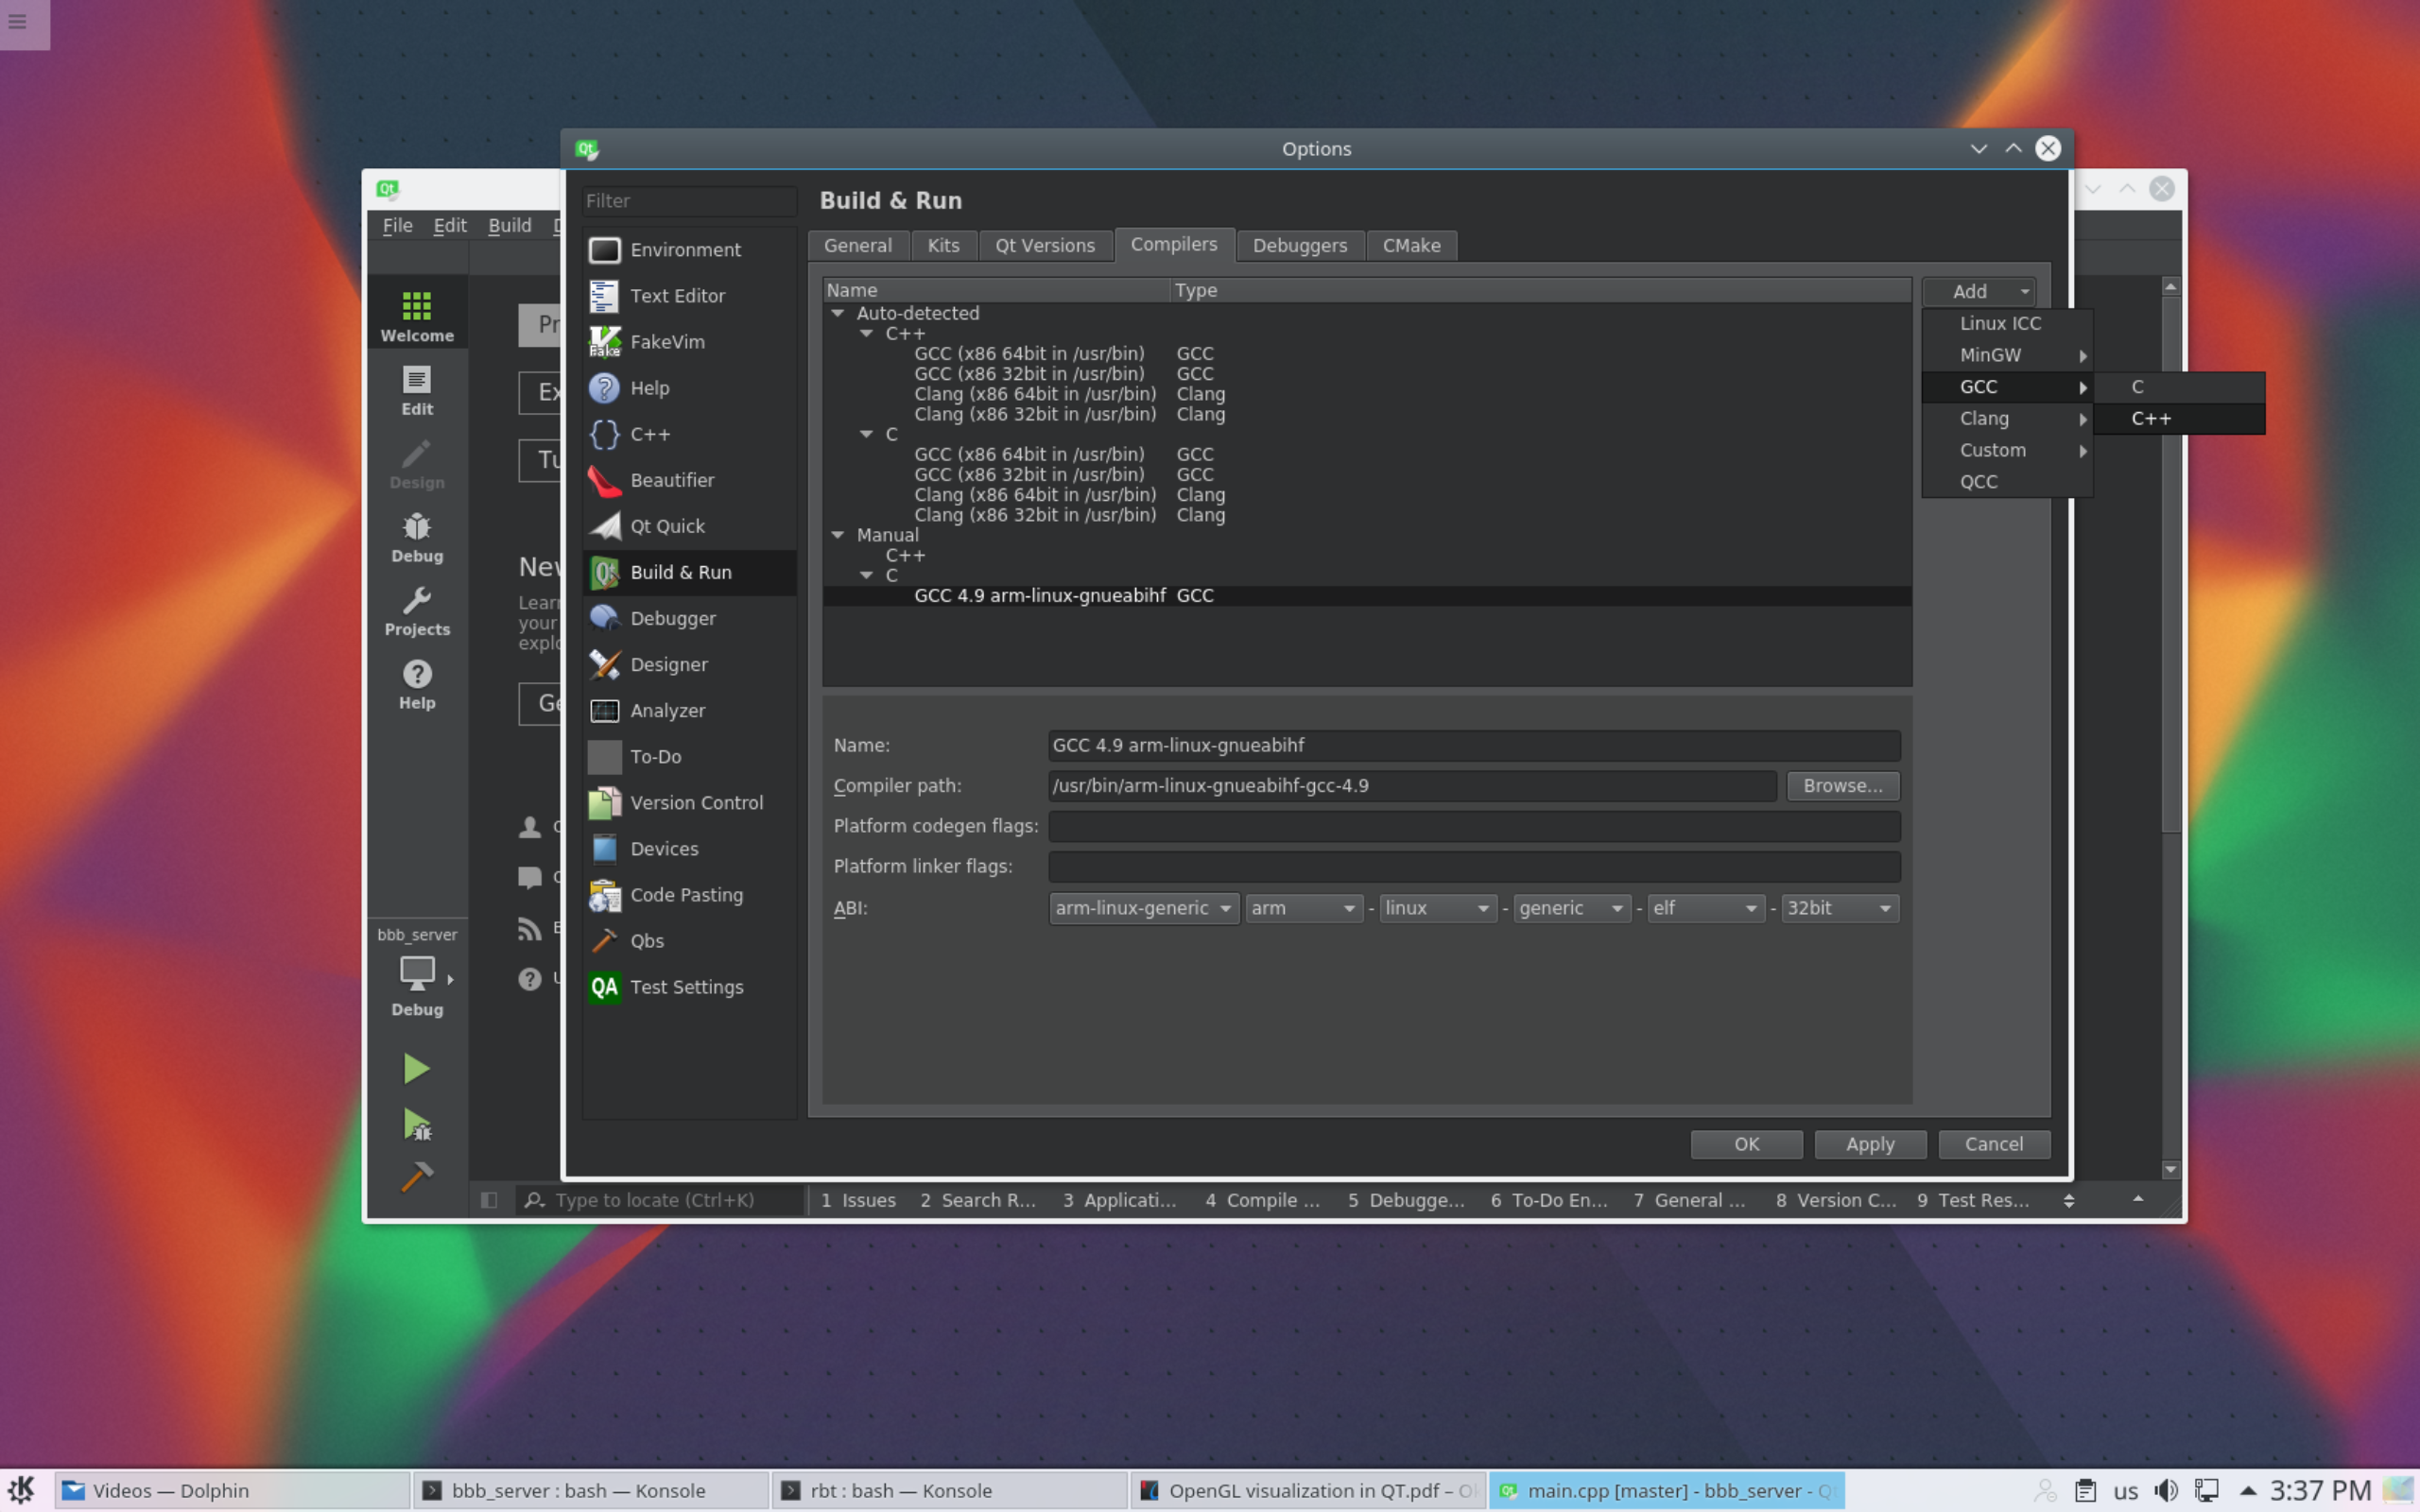
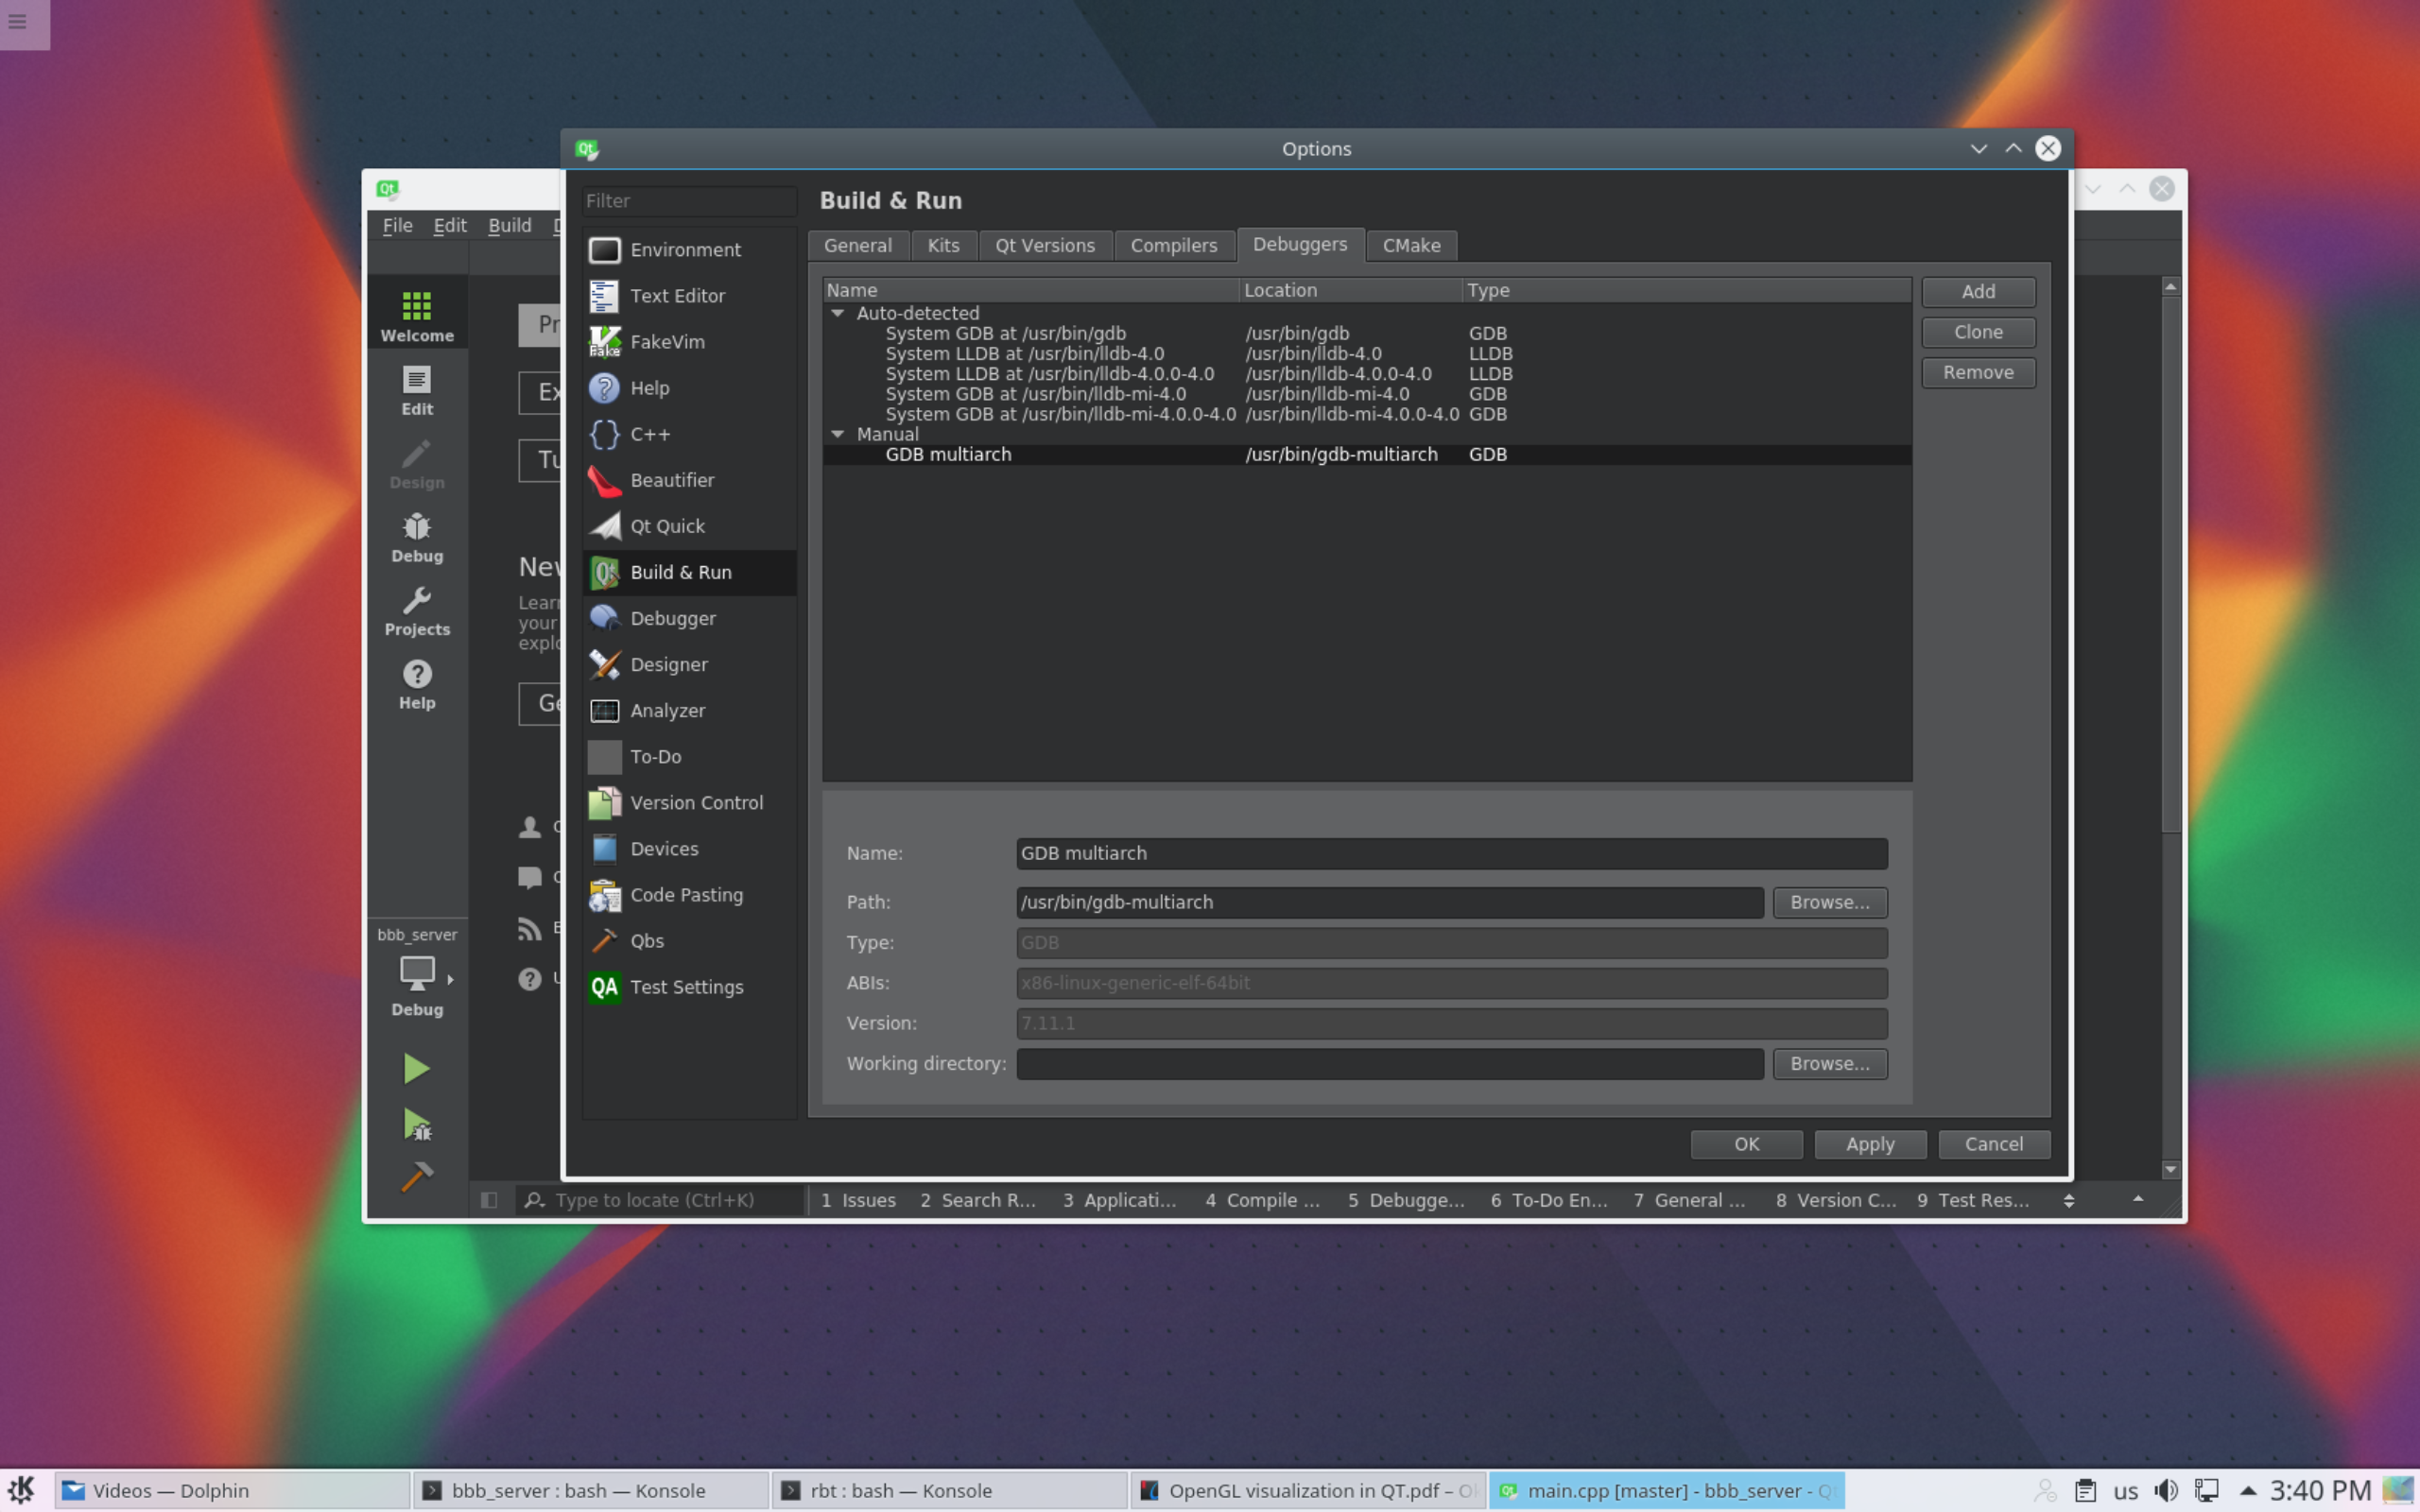
Let us add debugger as well, switch to Debugger tab. 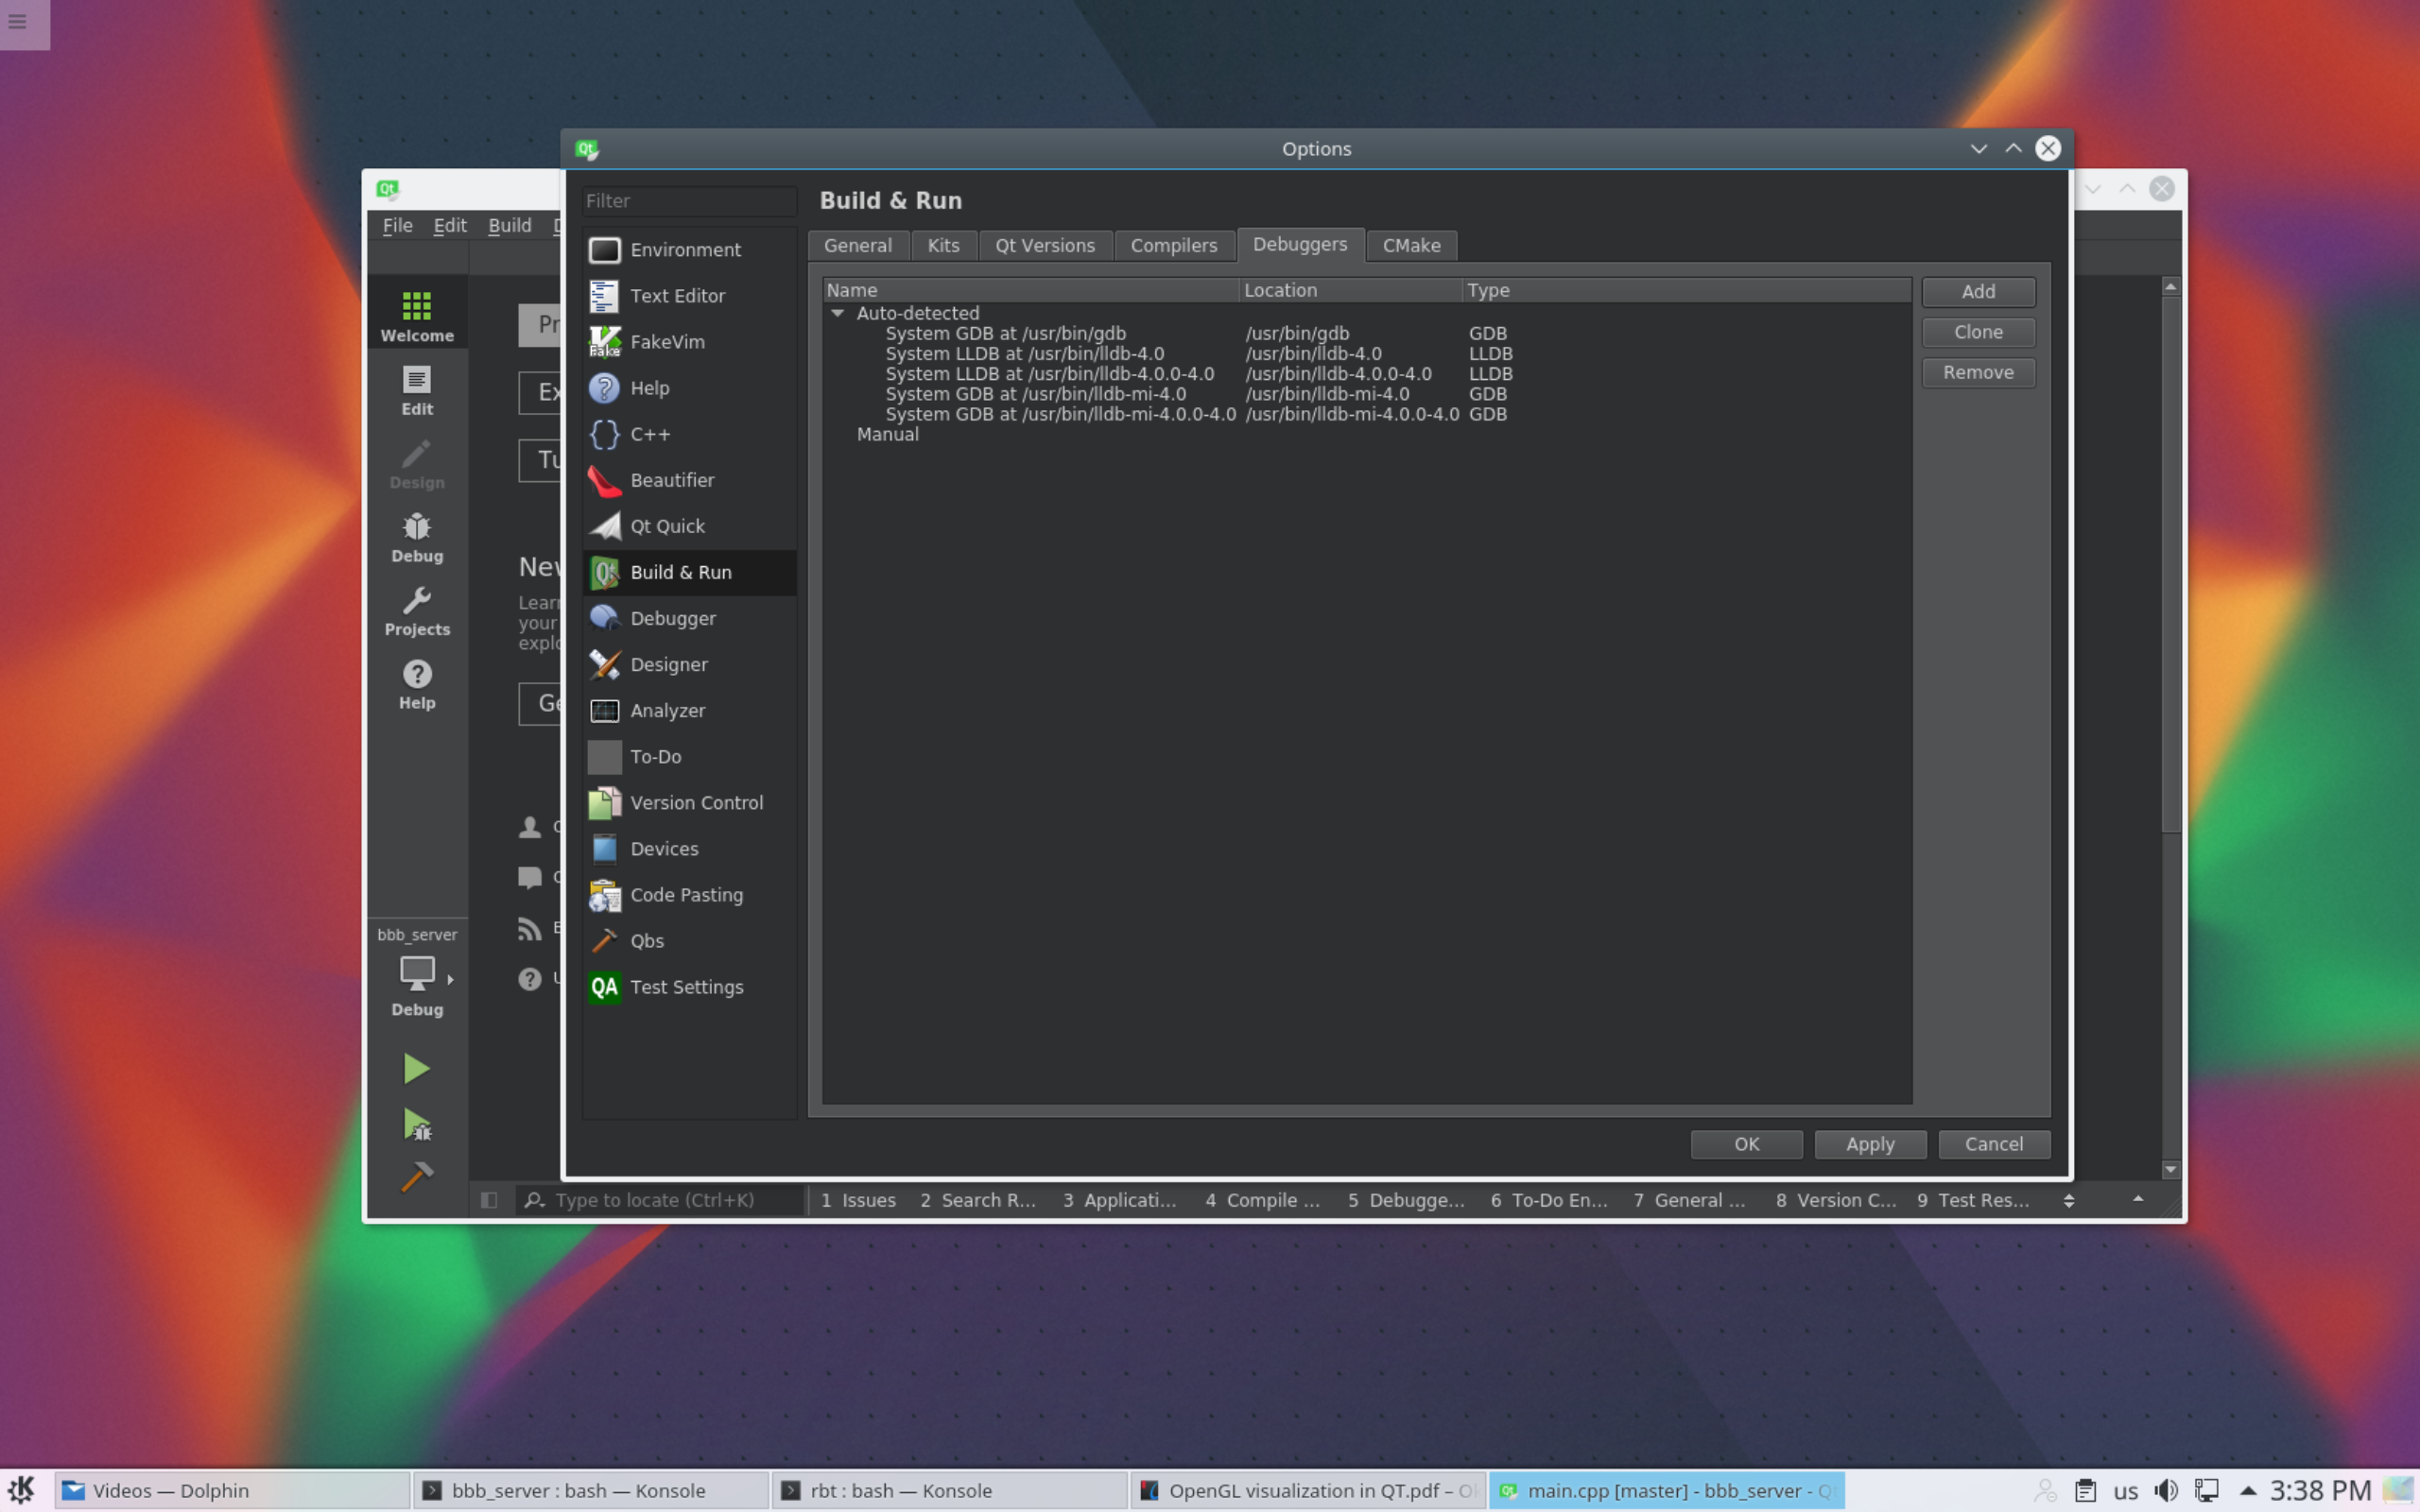 Press Add and fill it accordingly
Go to Kits tab and press Add
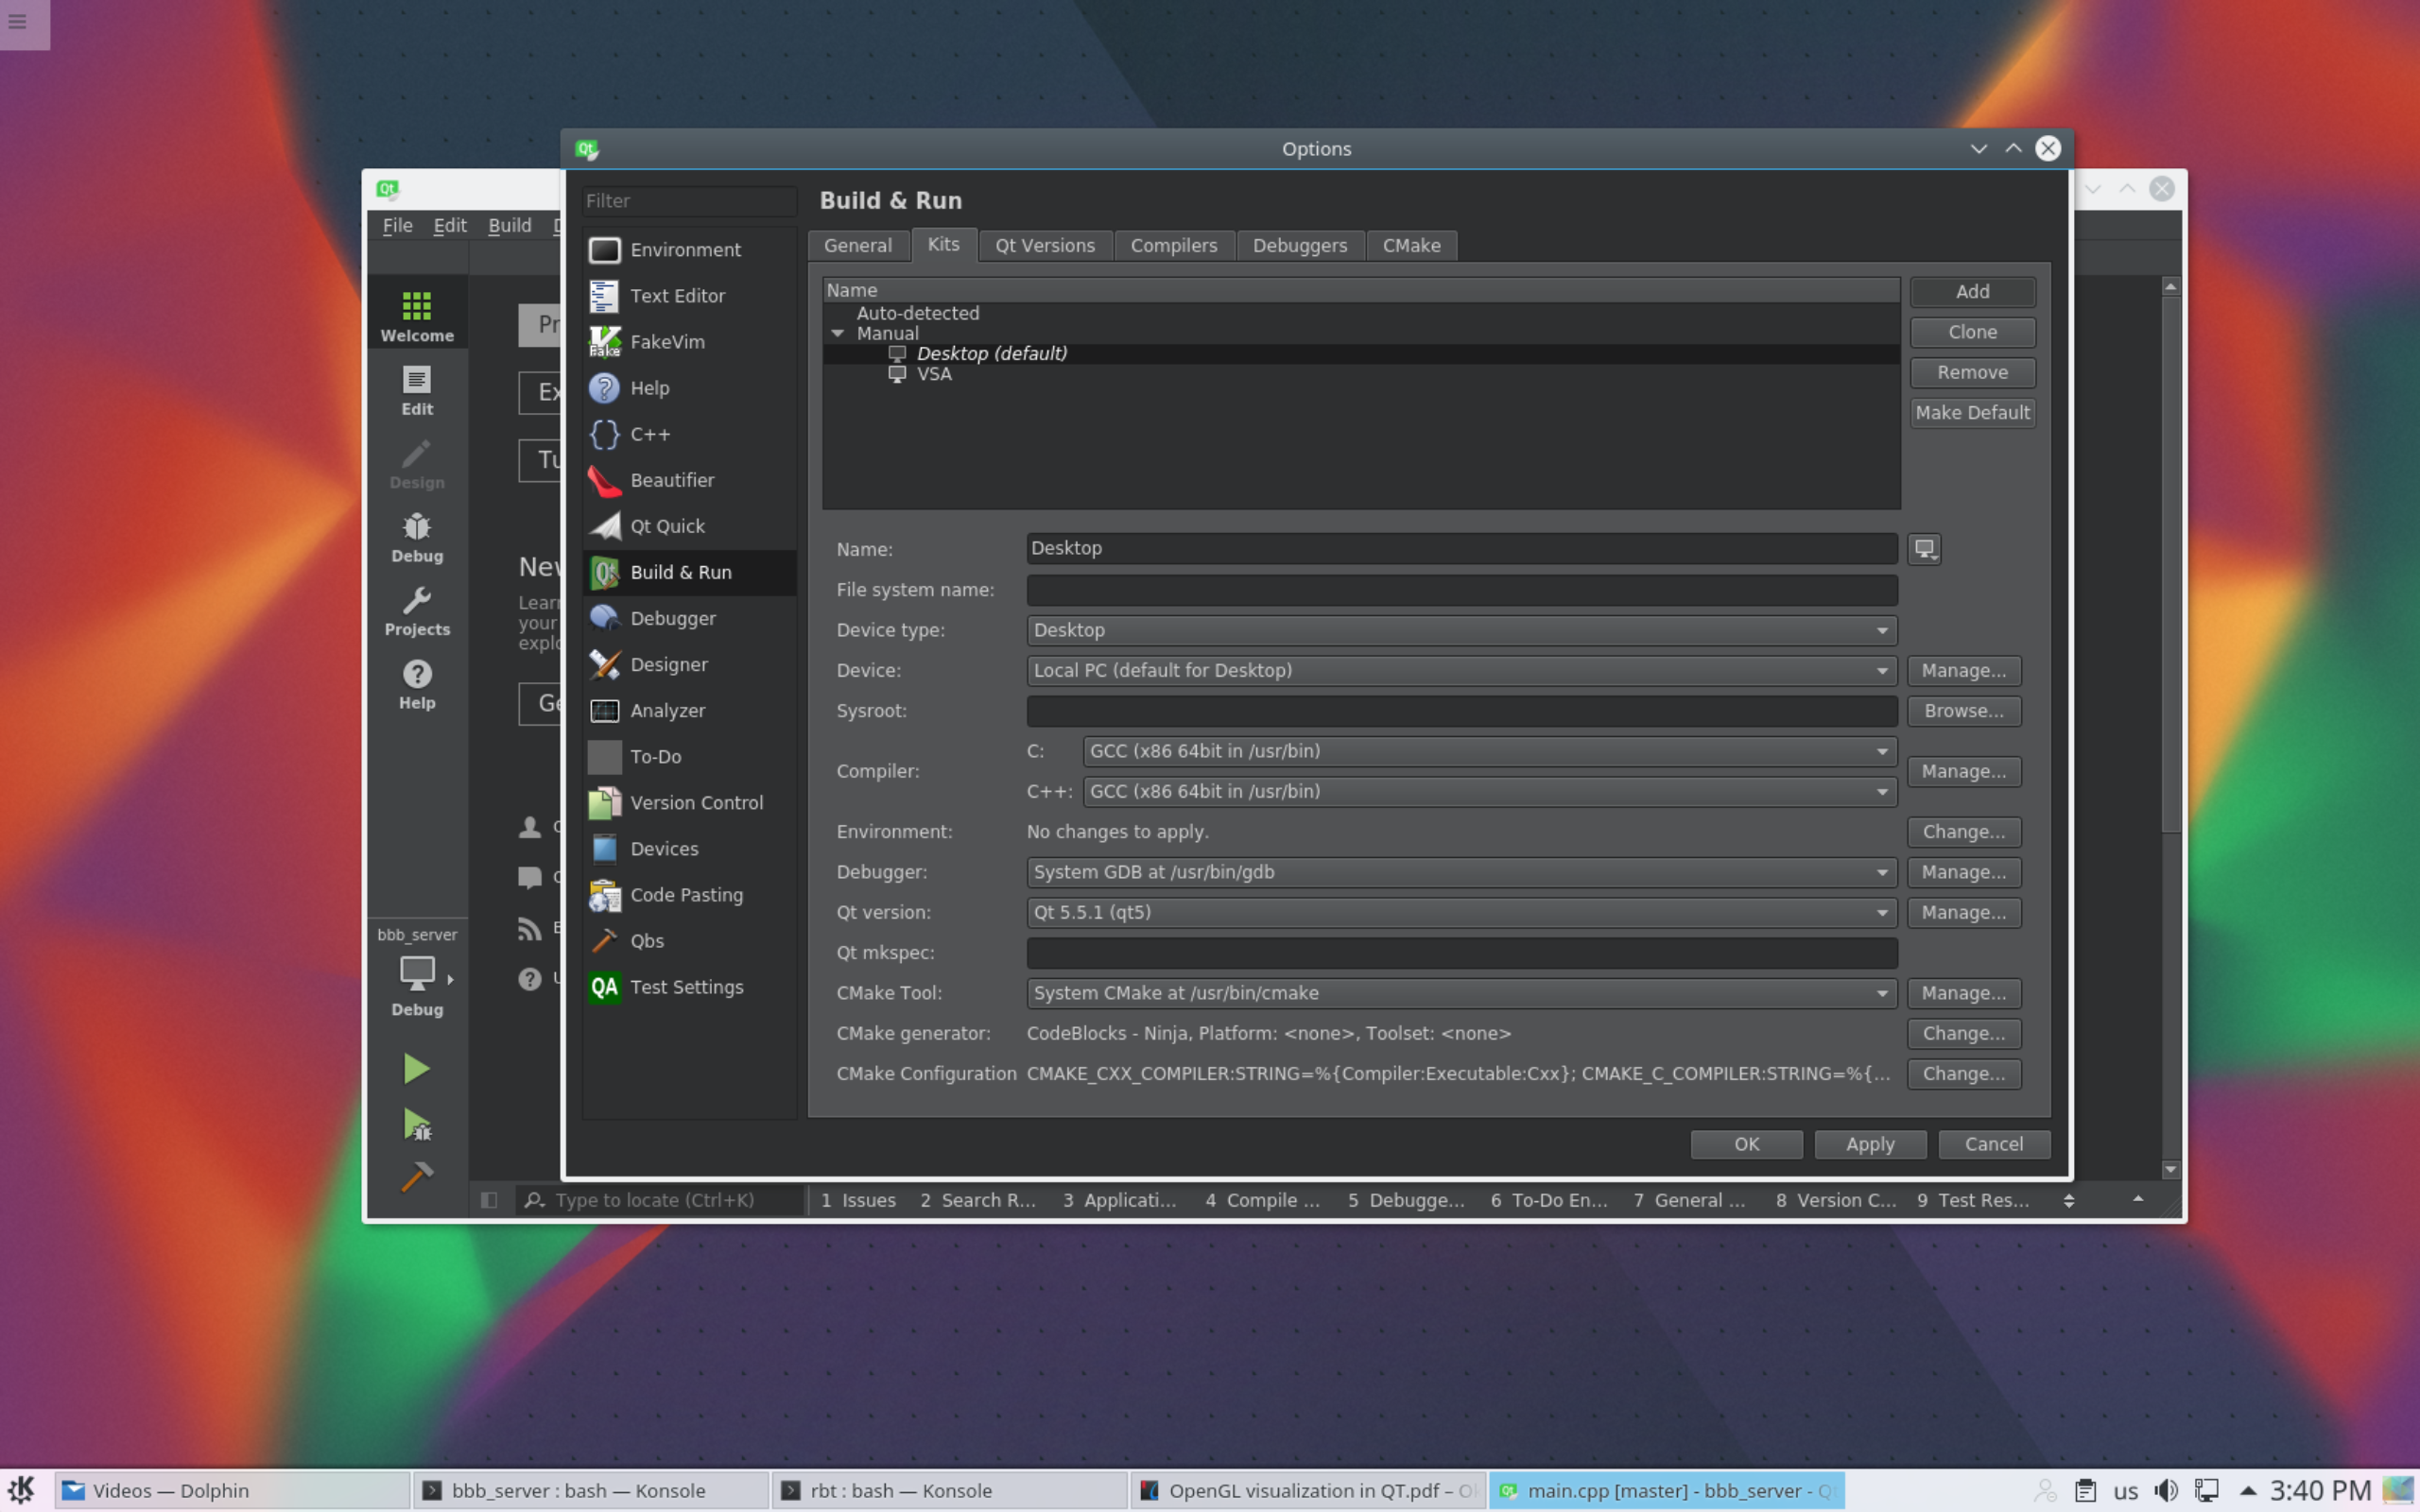
Fill the form accordingly 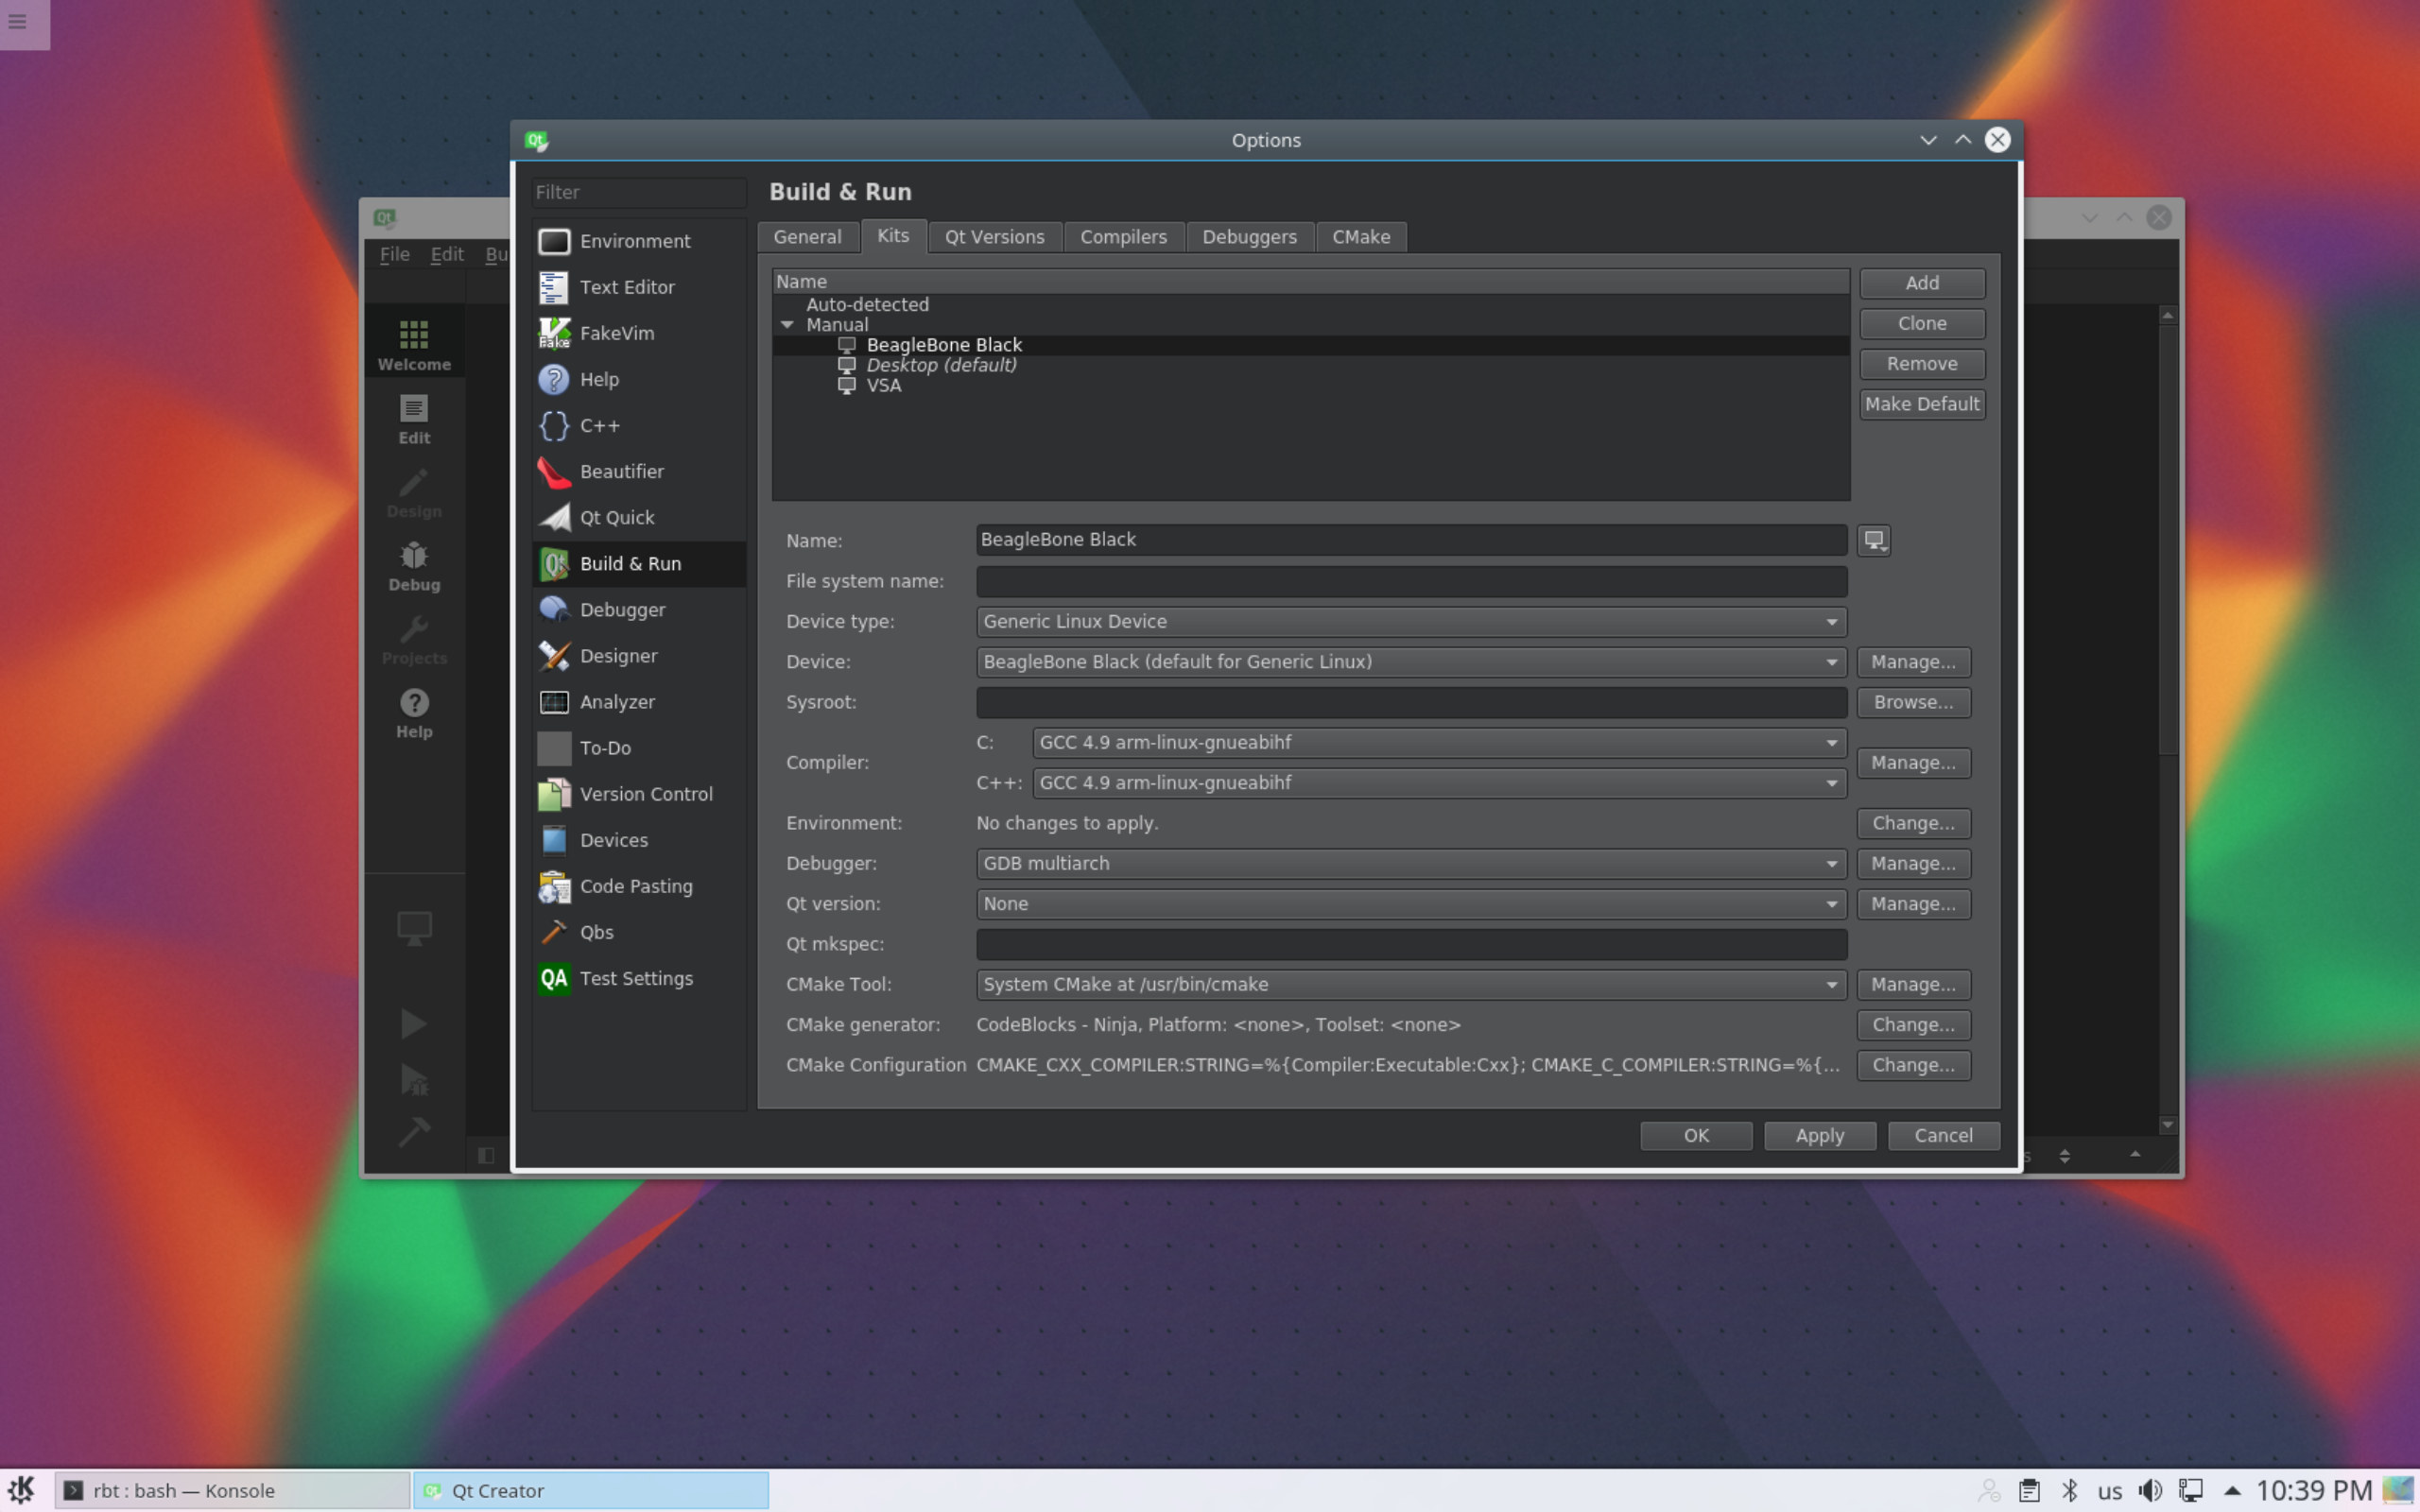
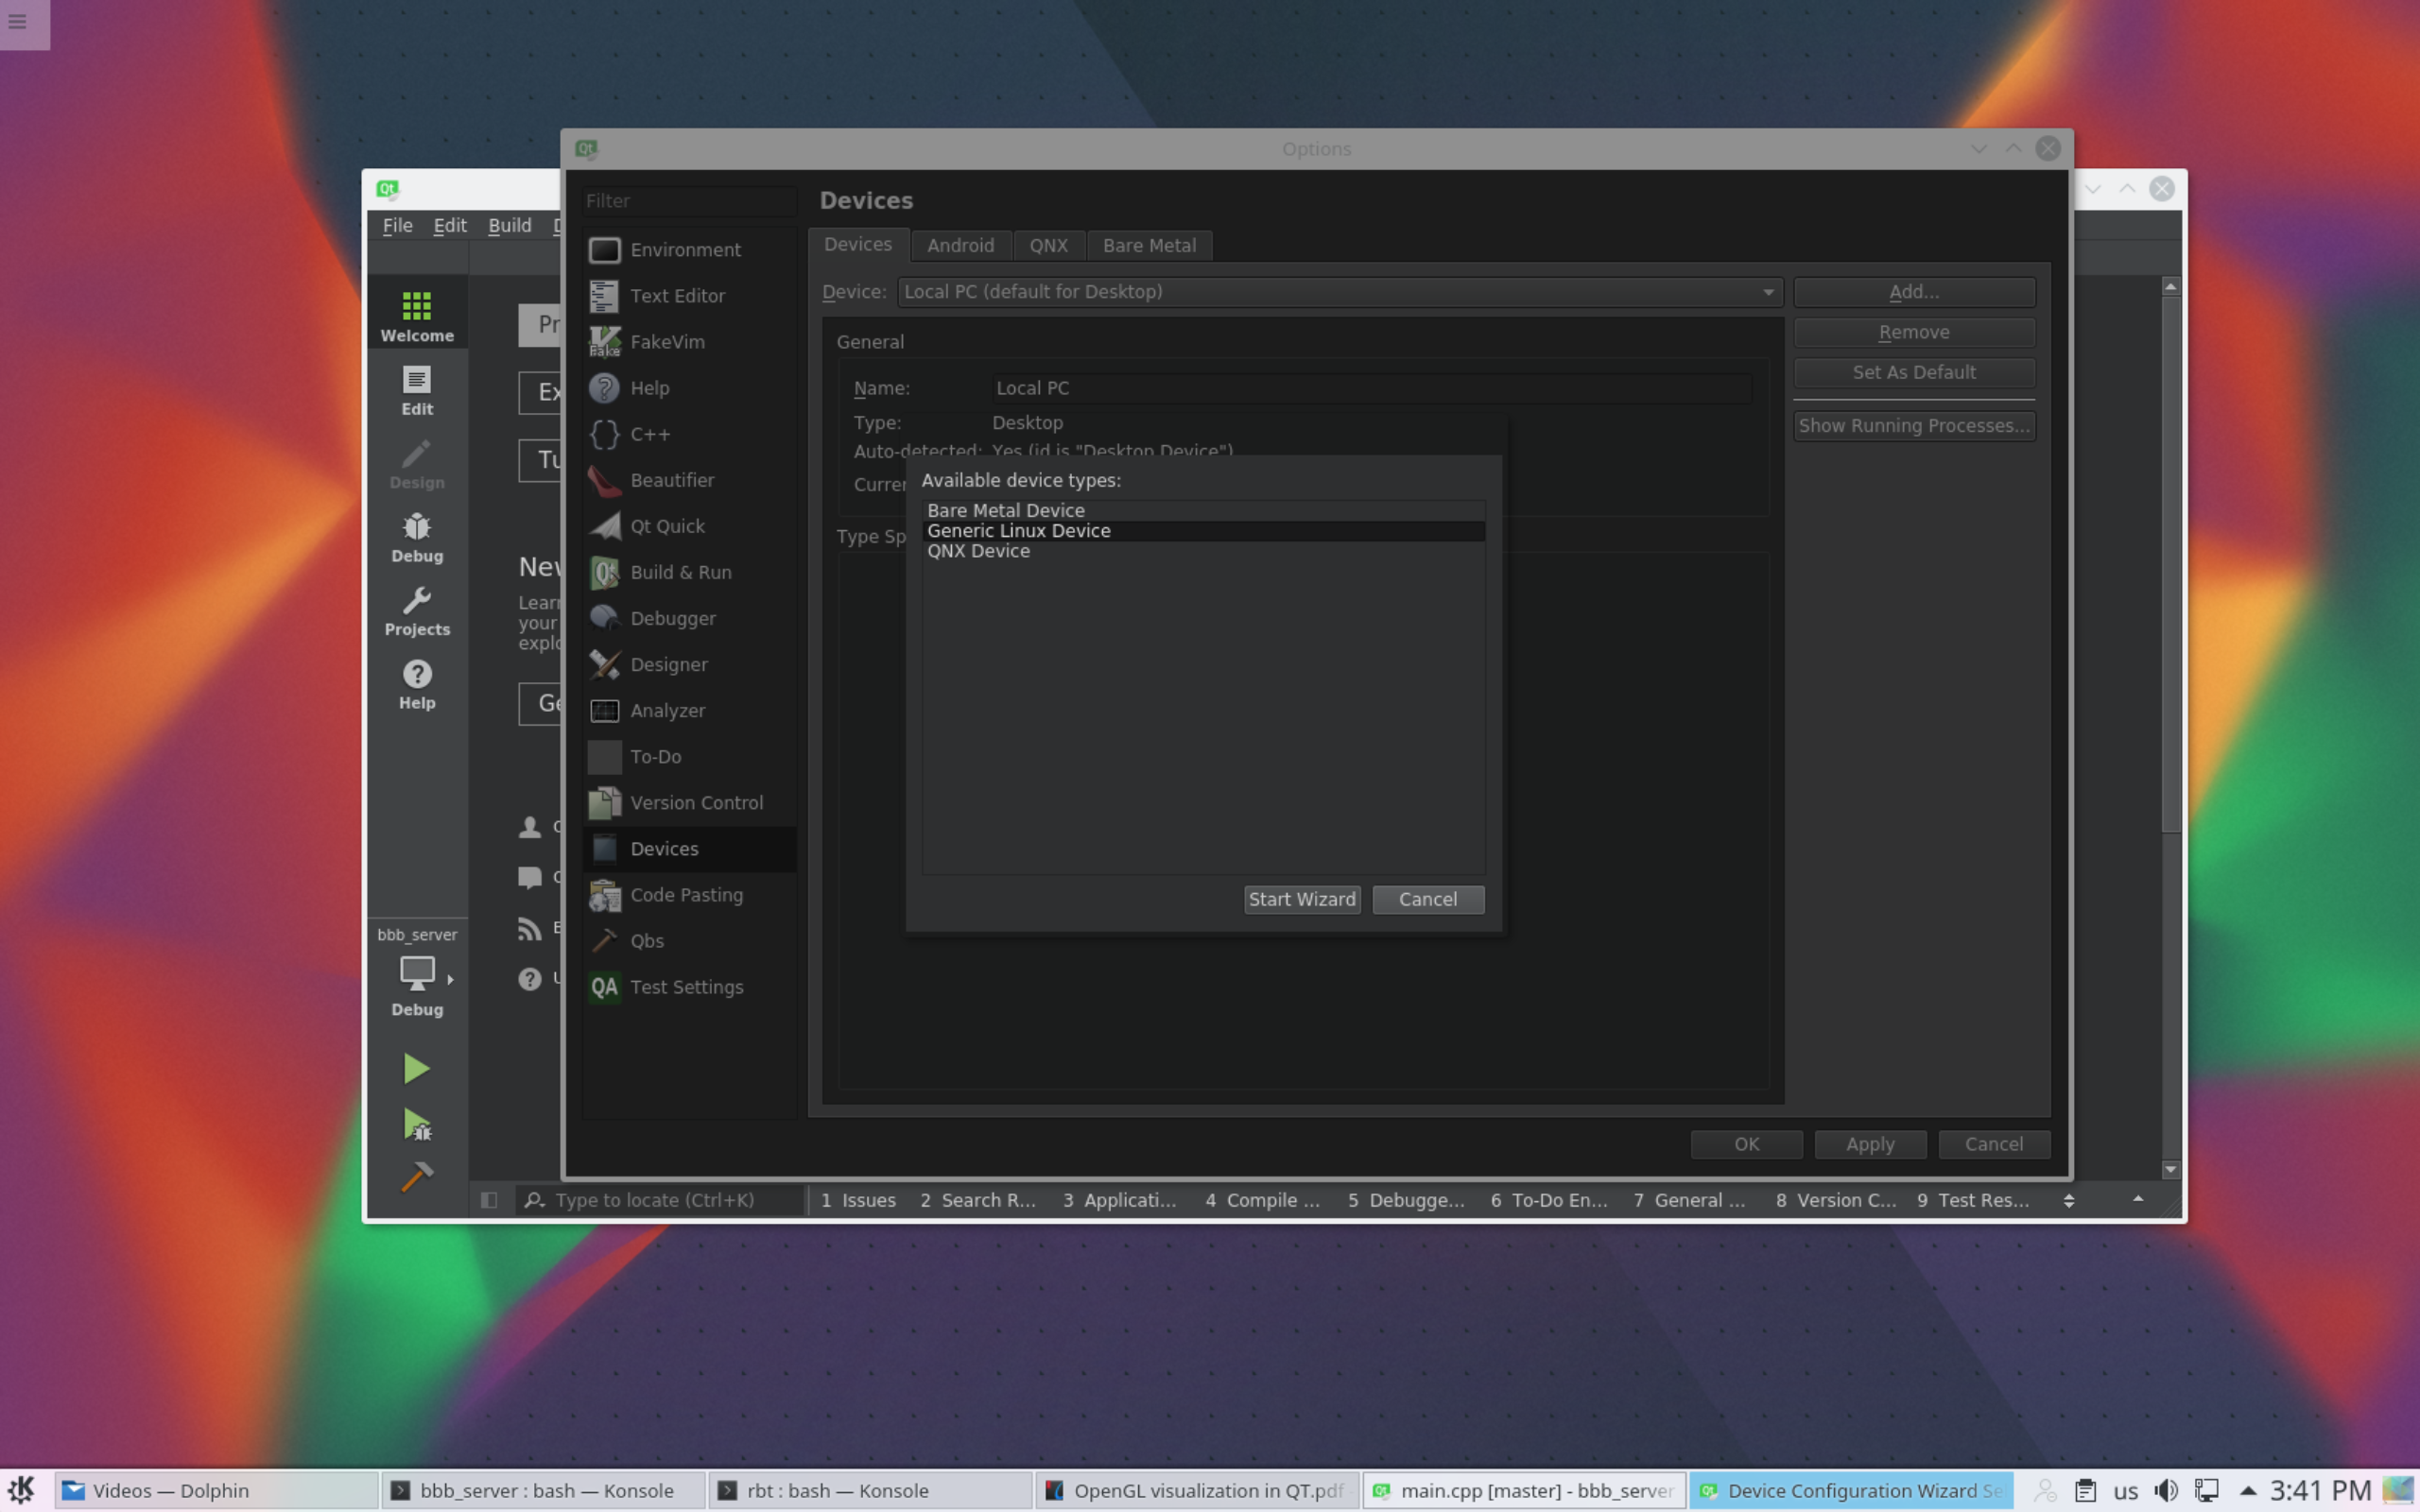
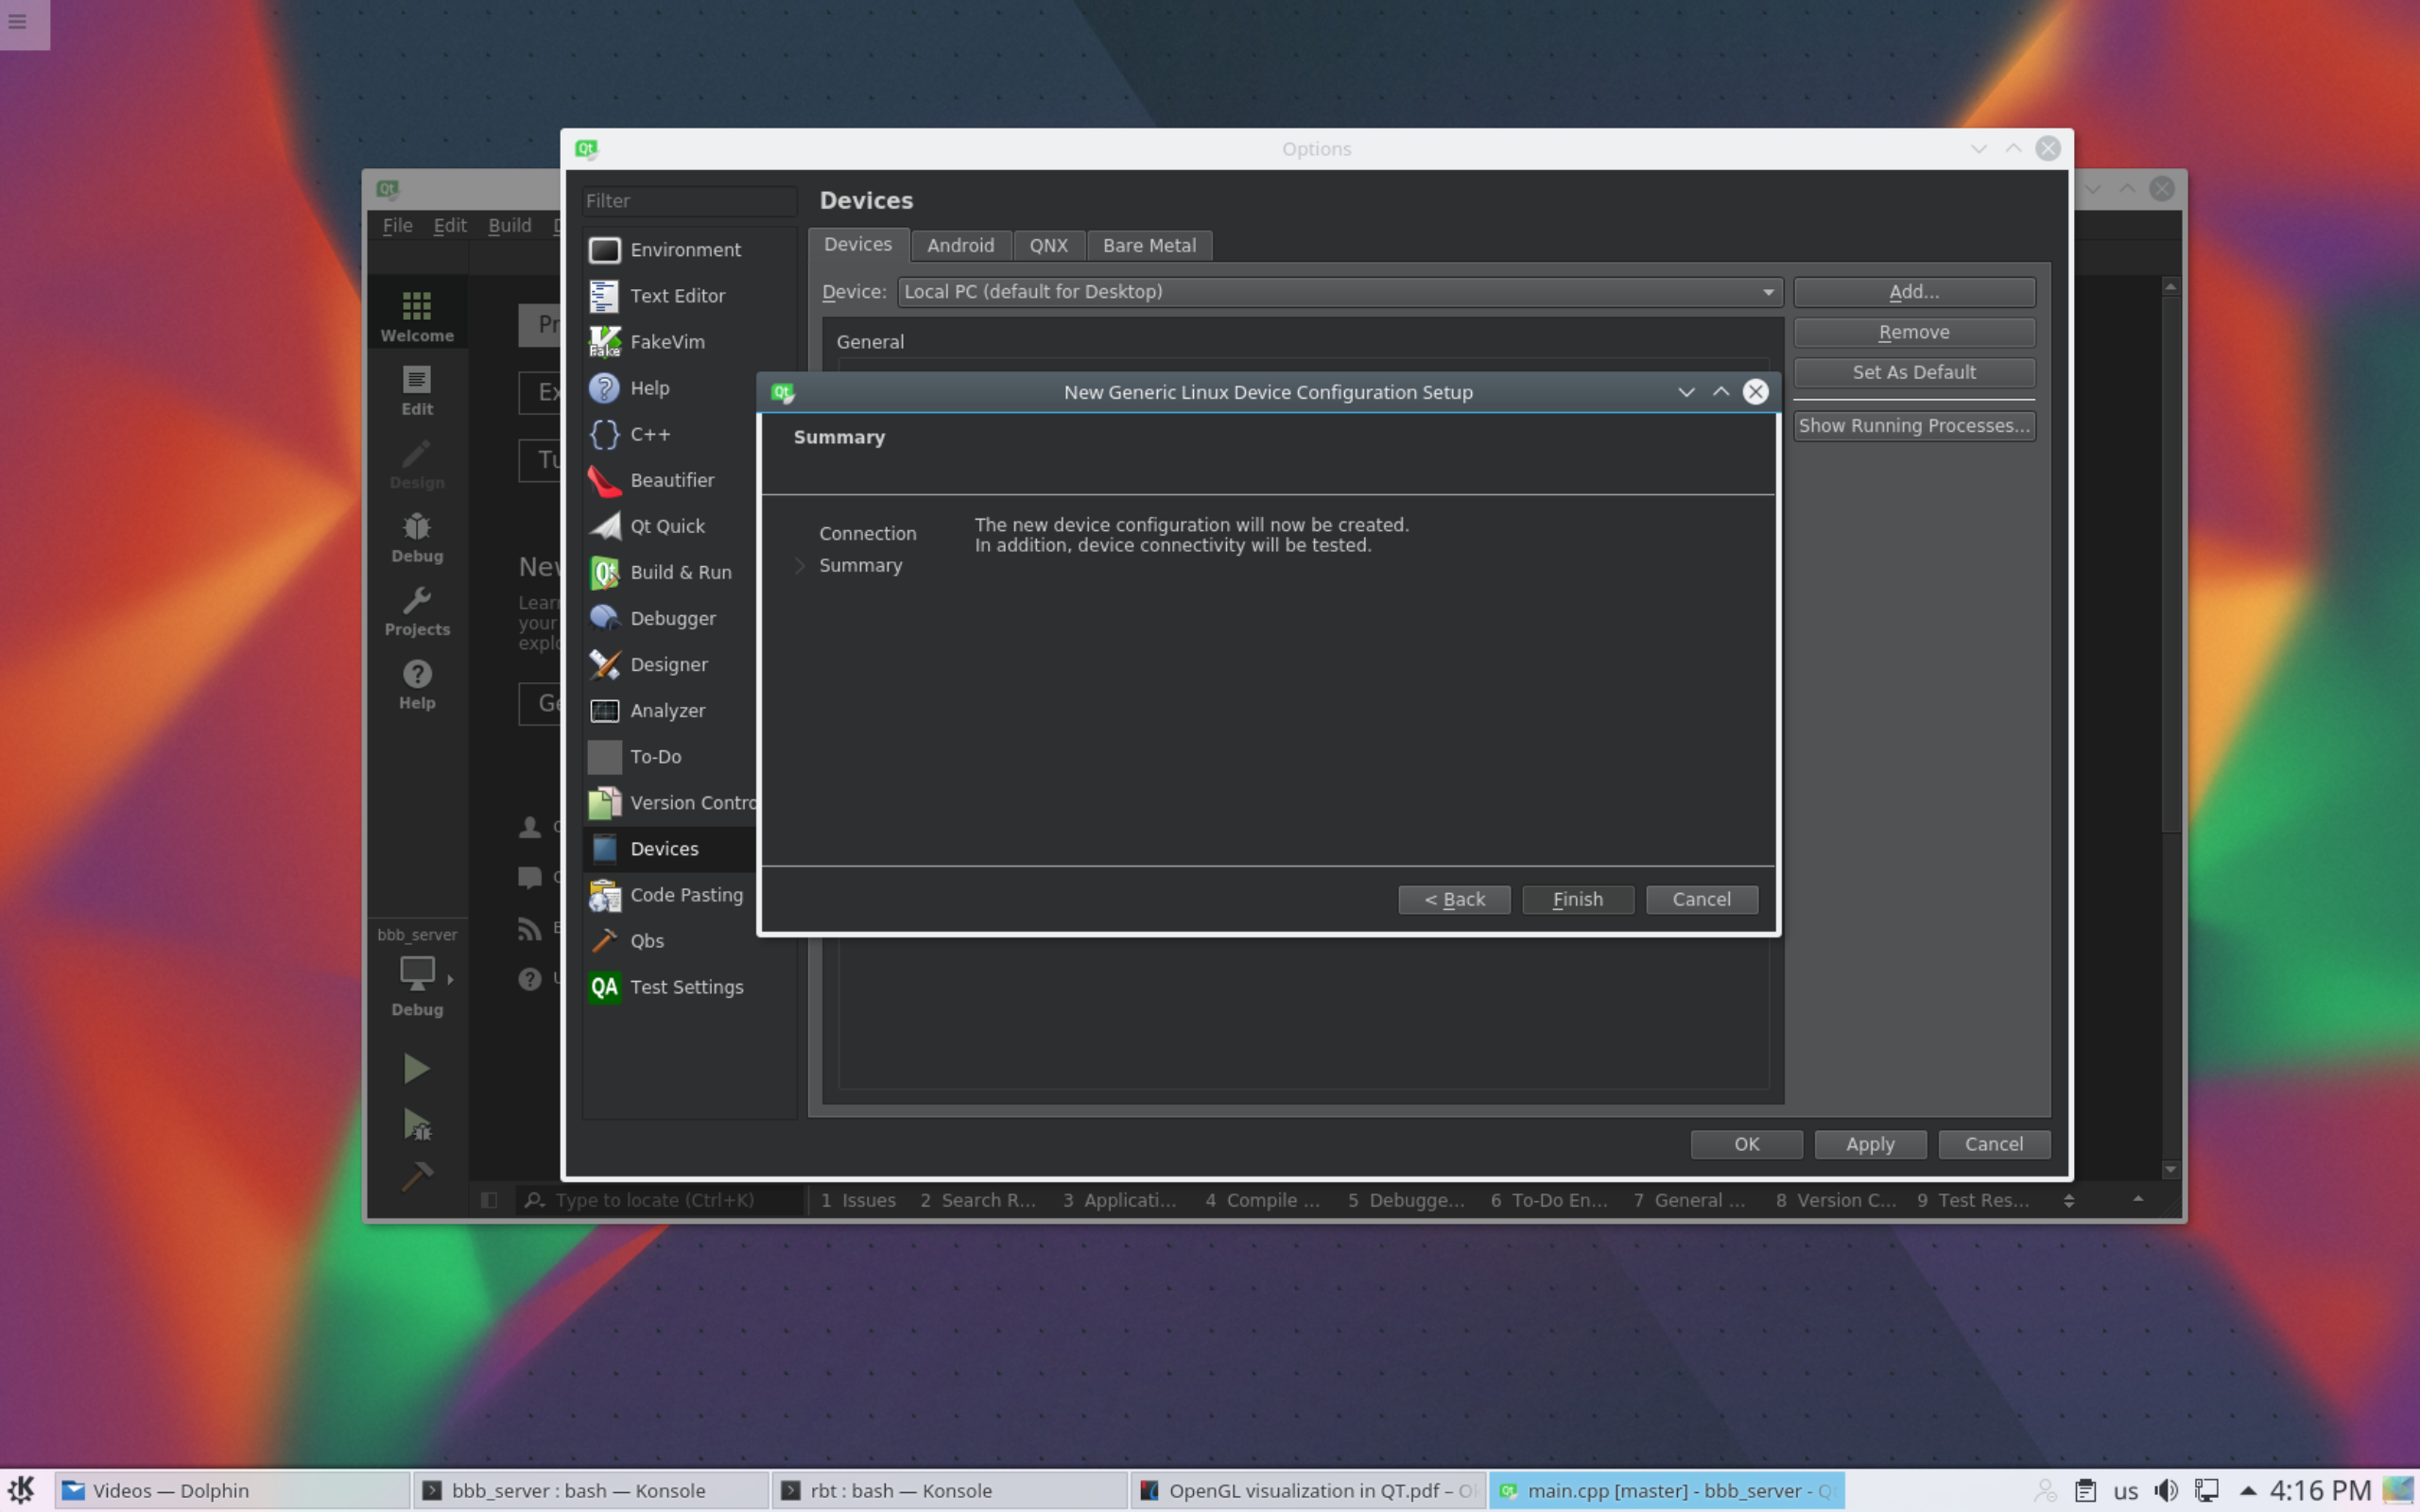
Now, let us add our BeagleBone Black Device to Qt Creator.
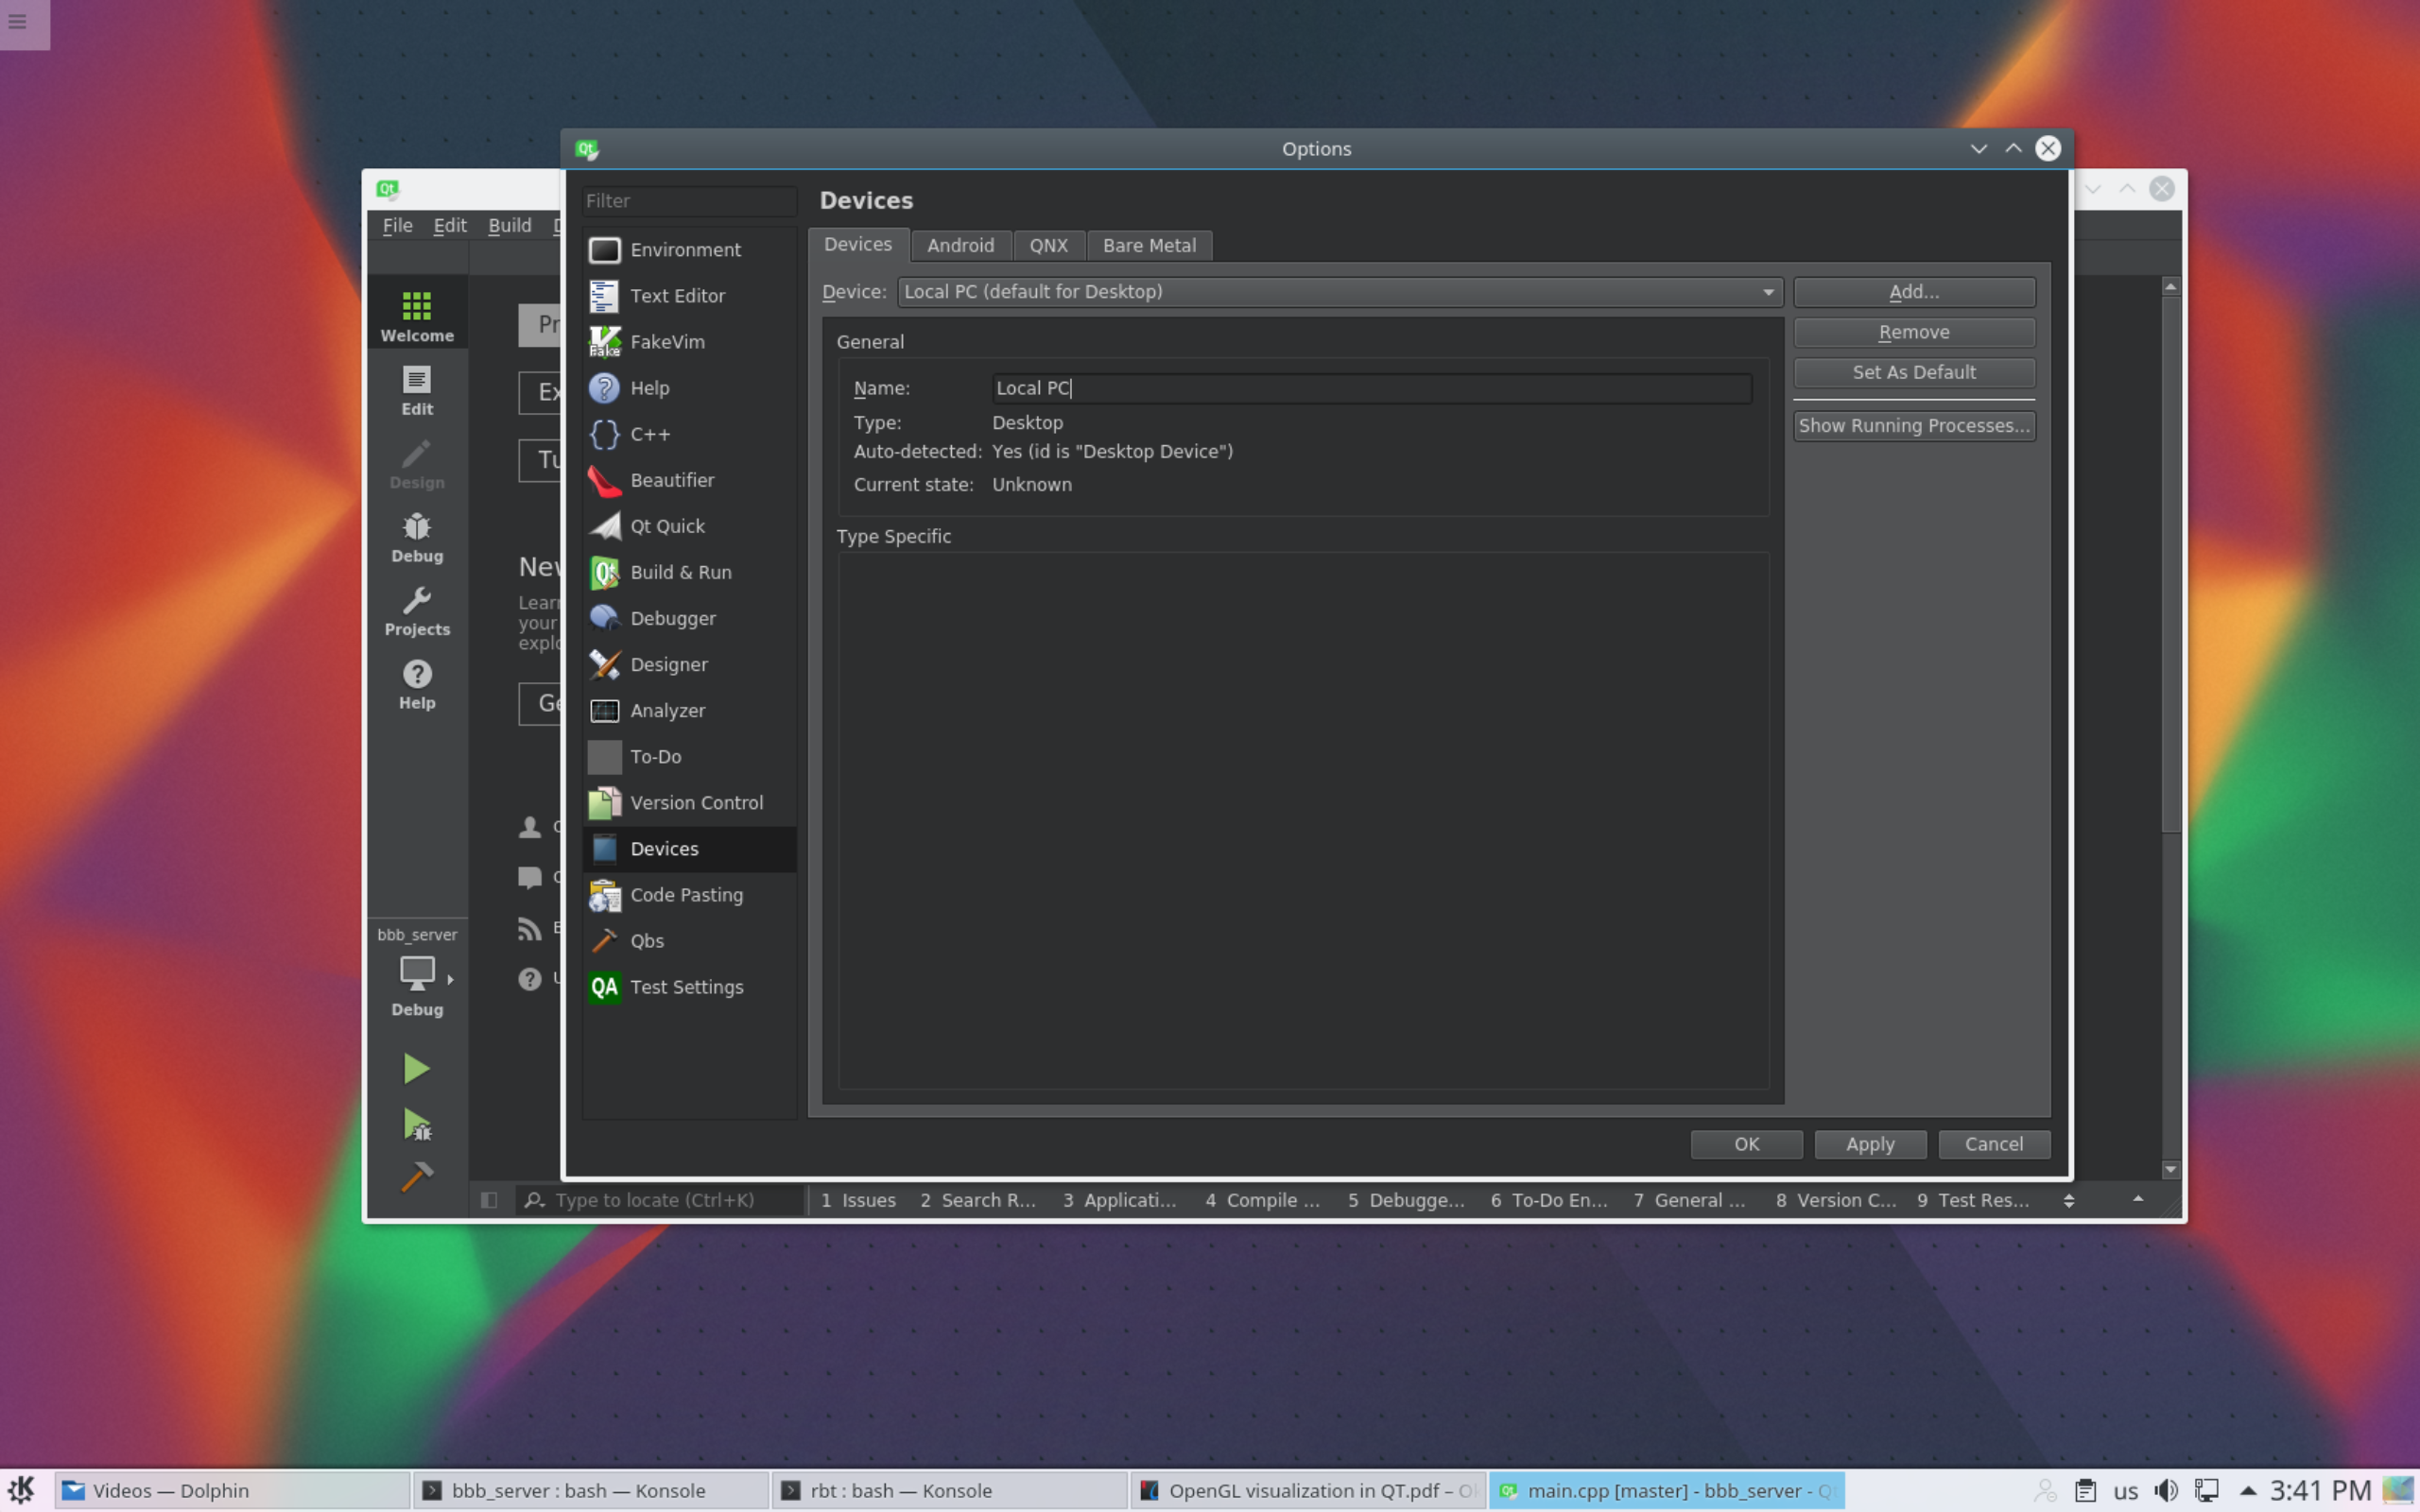
Set IP - 192.168.7.2 and username - debian and password - temppwd . 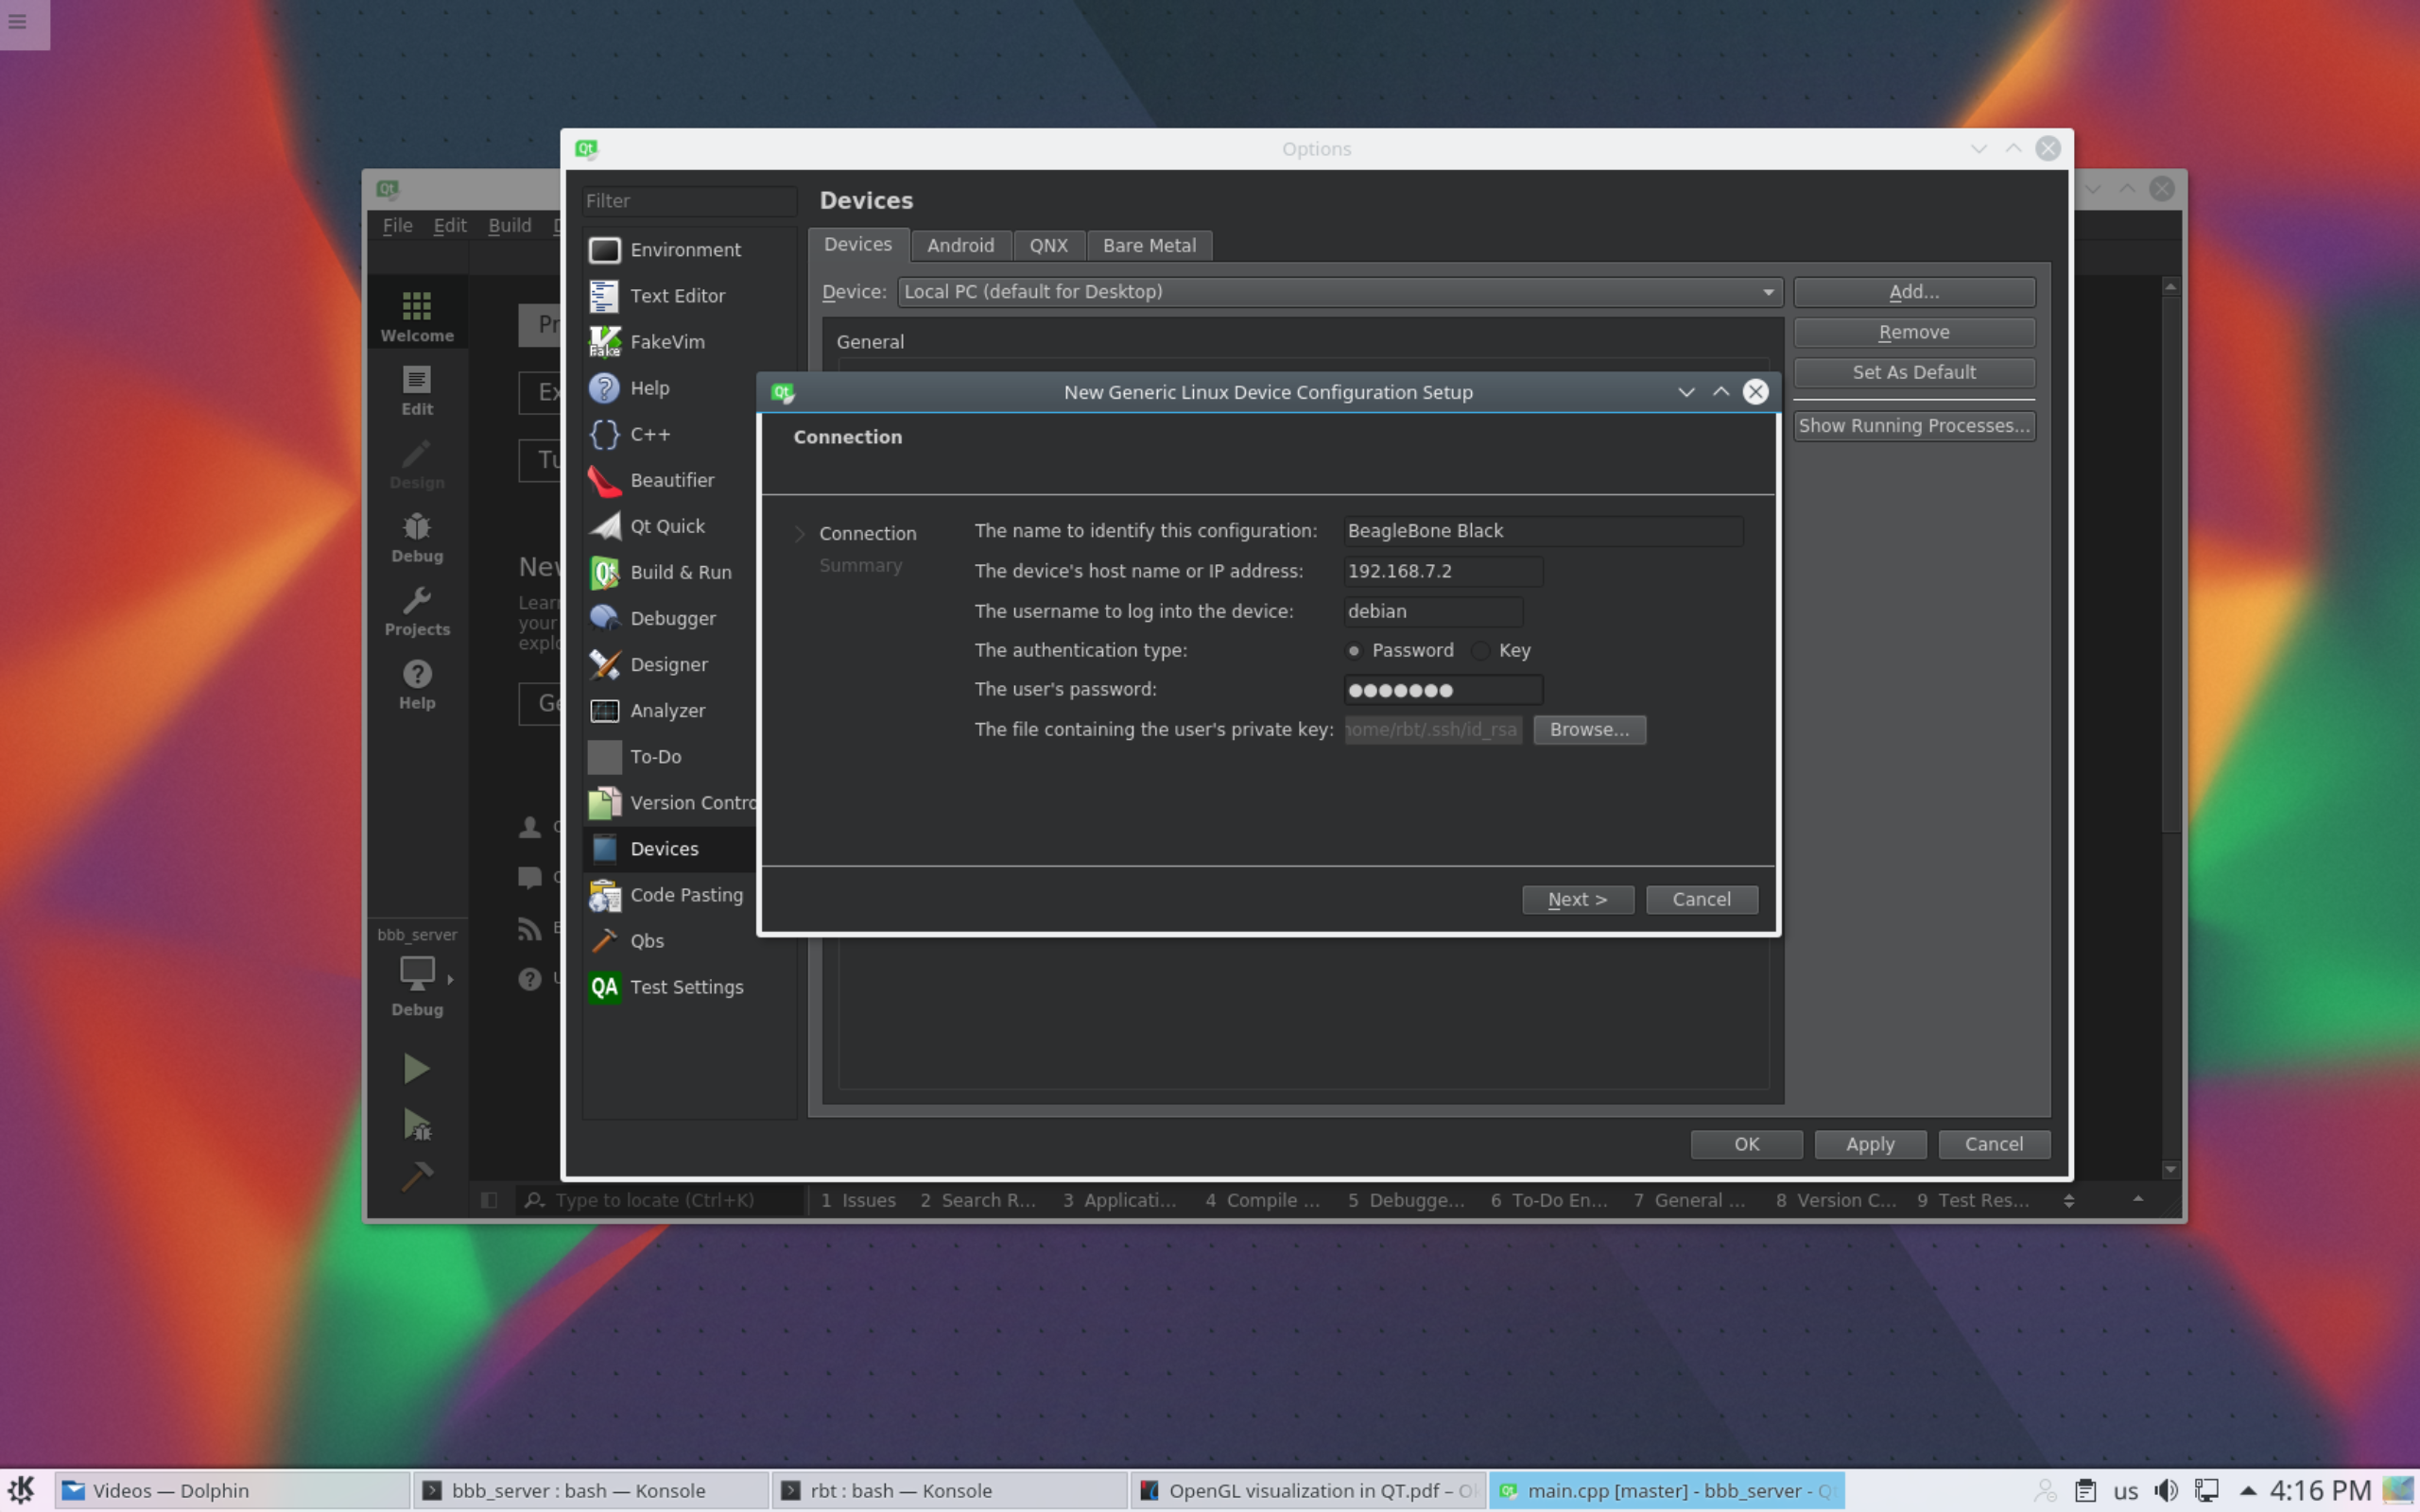
Connection success! 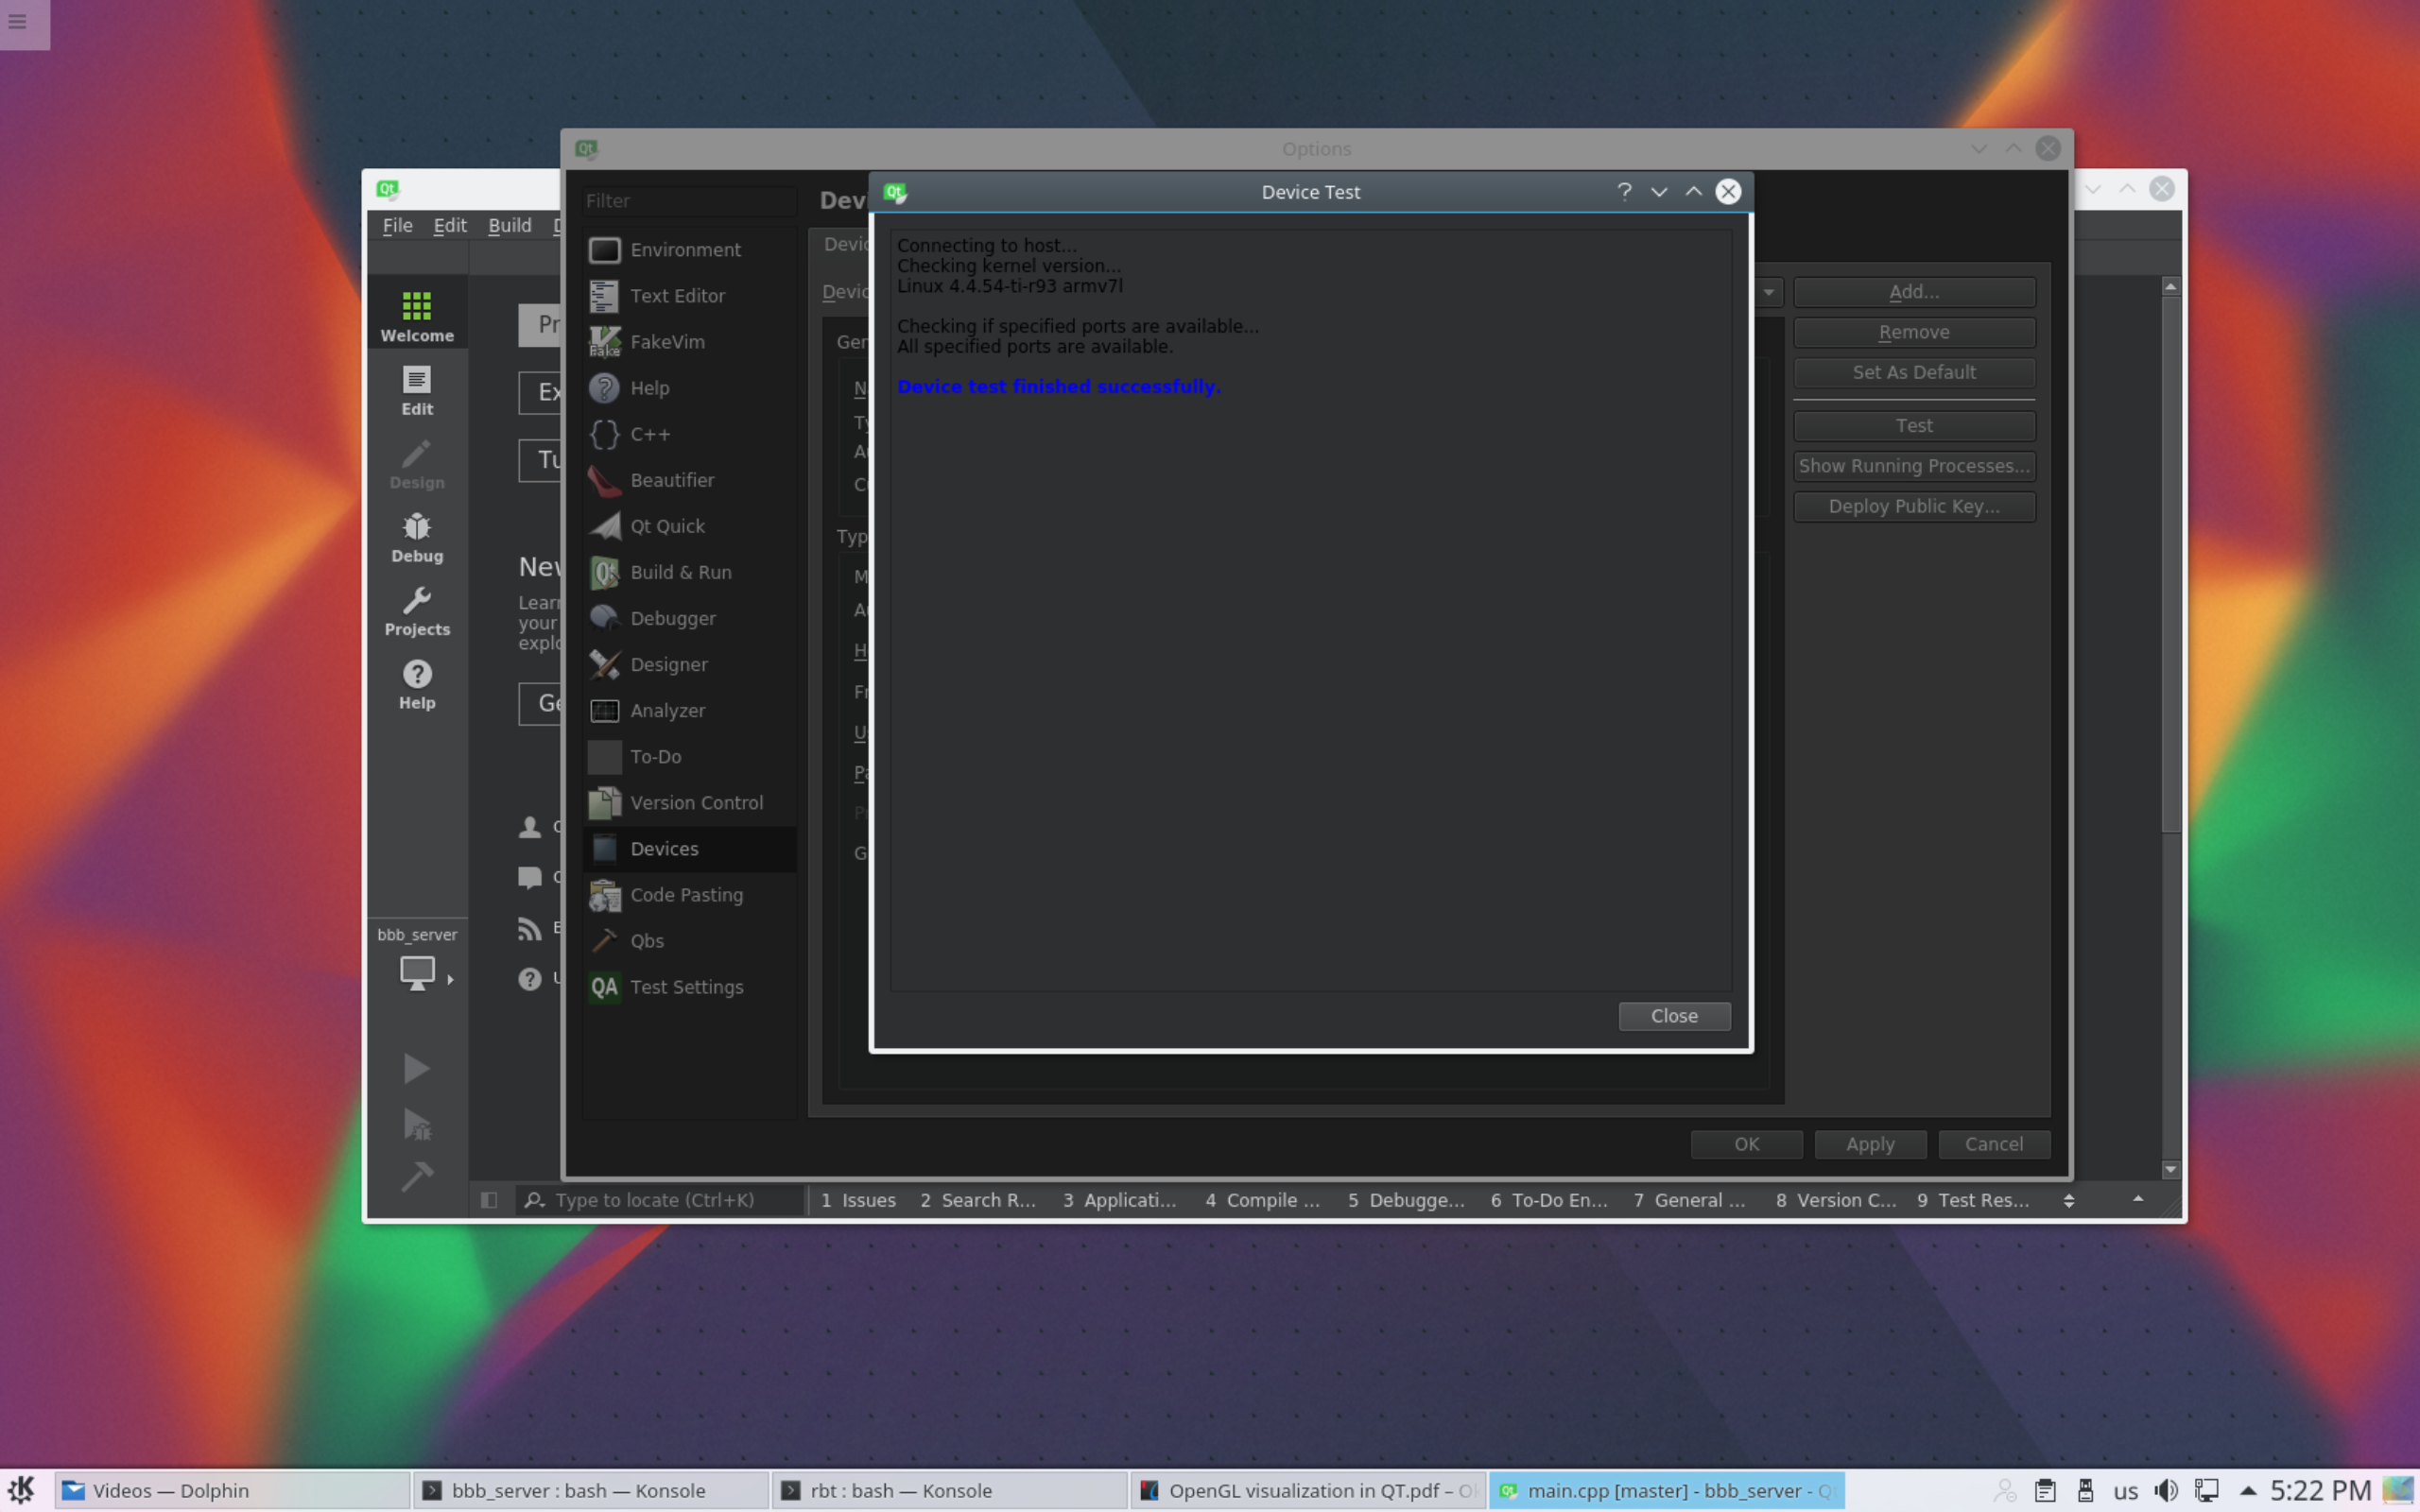
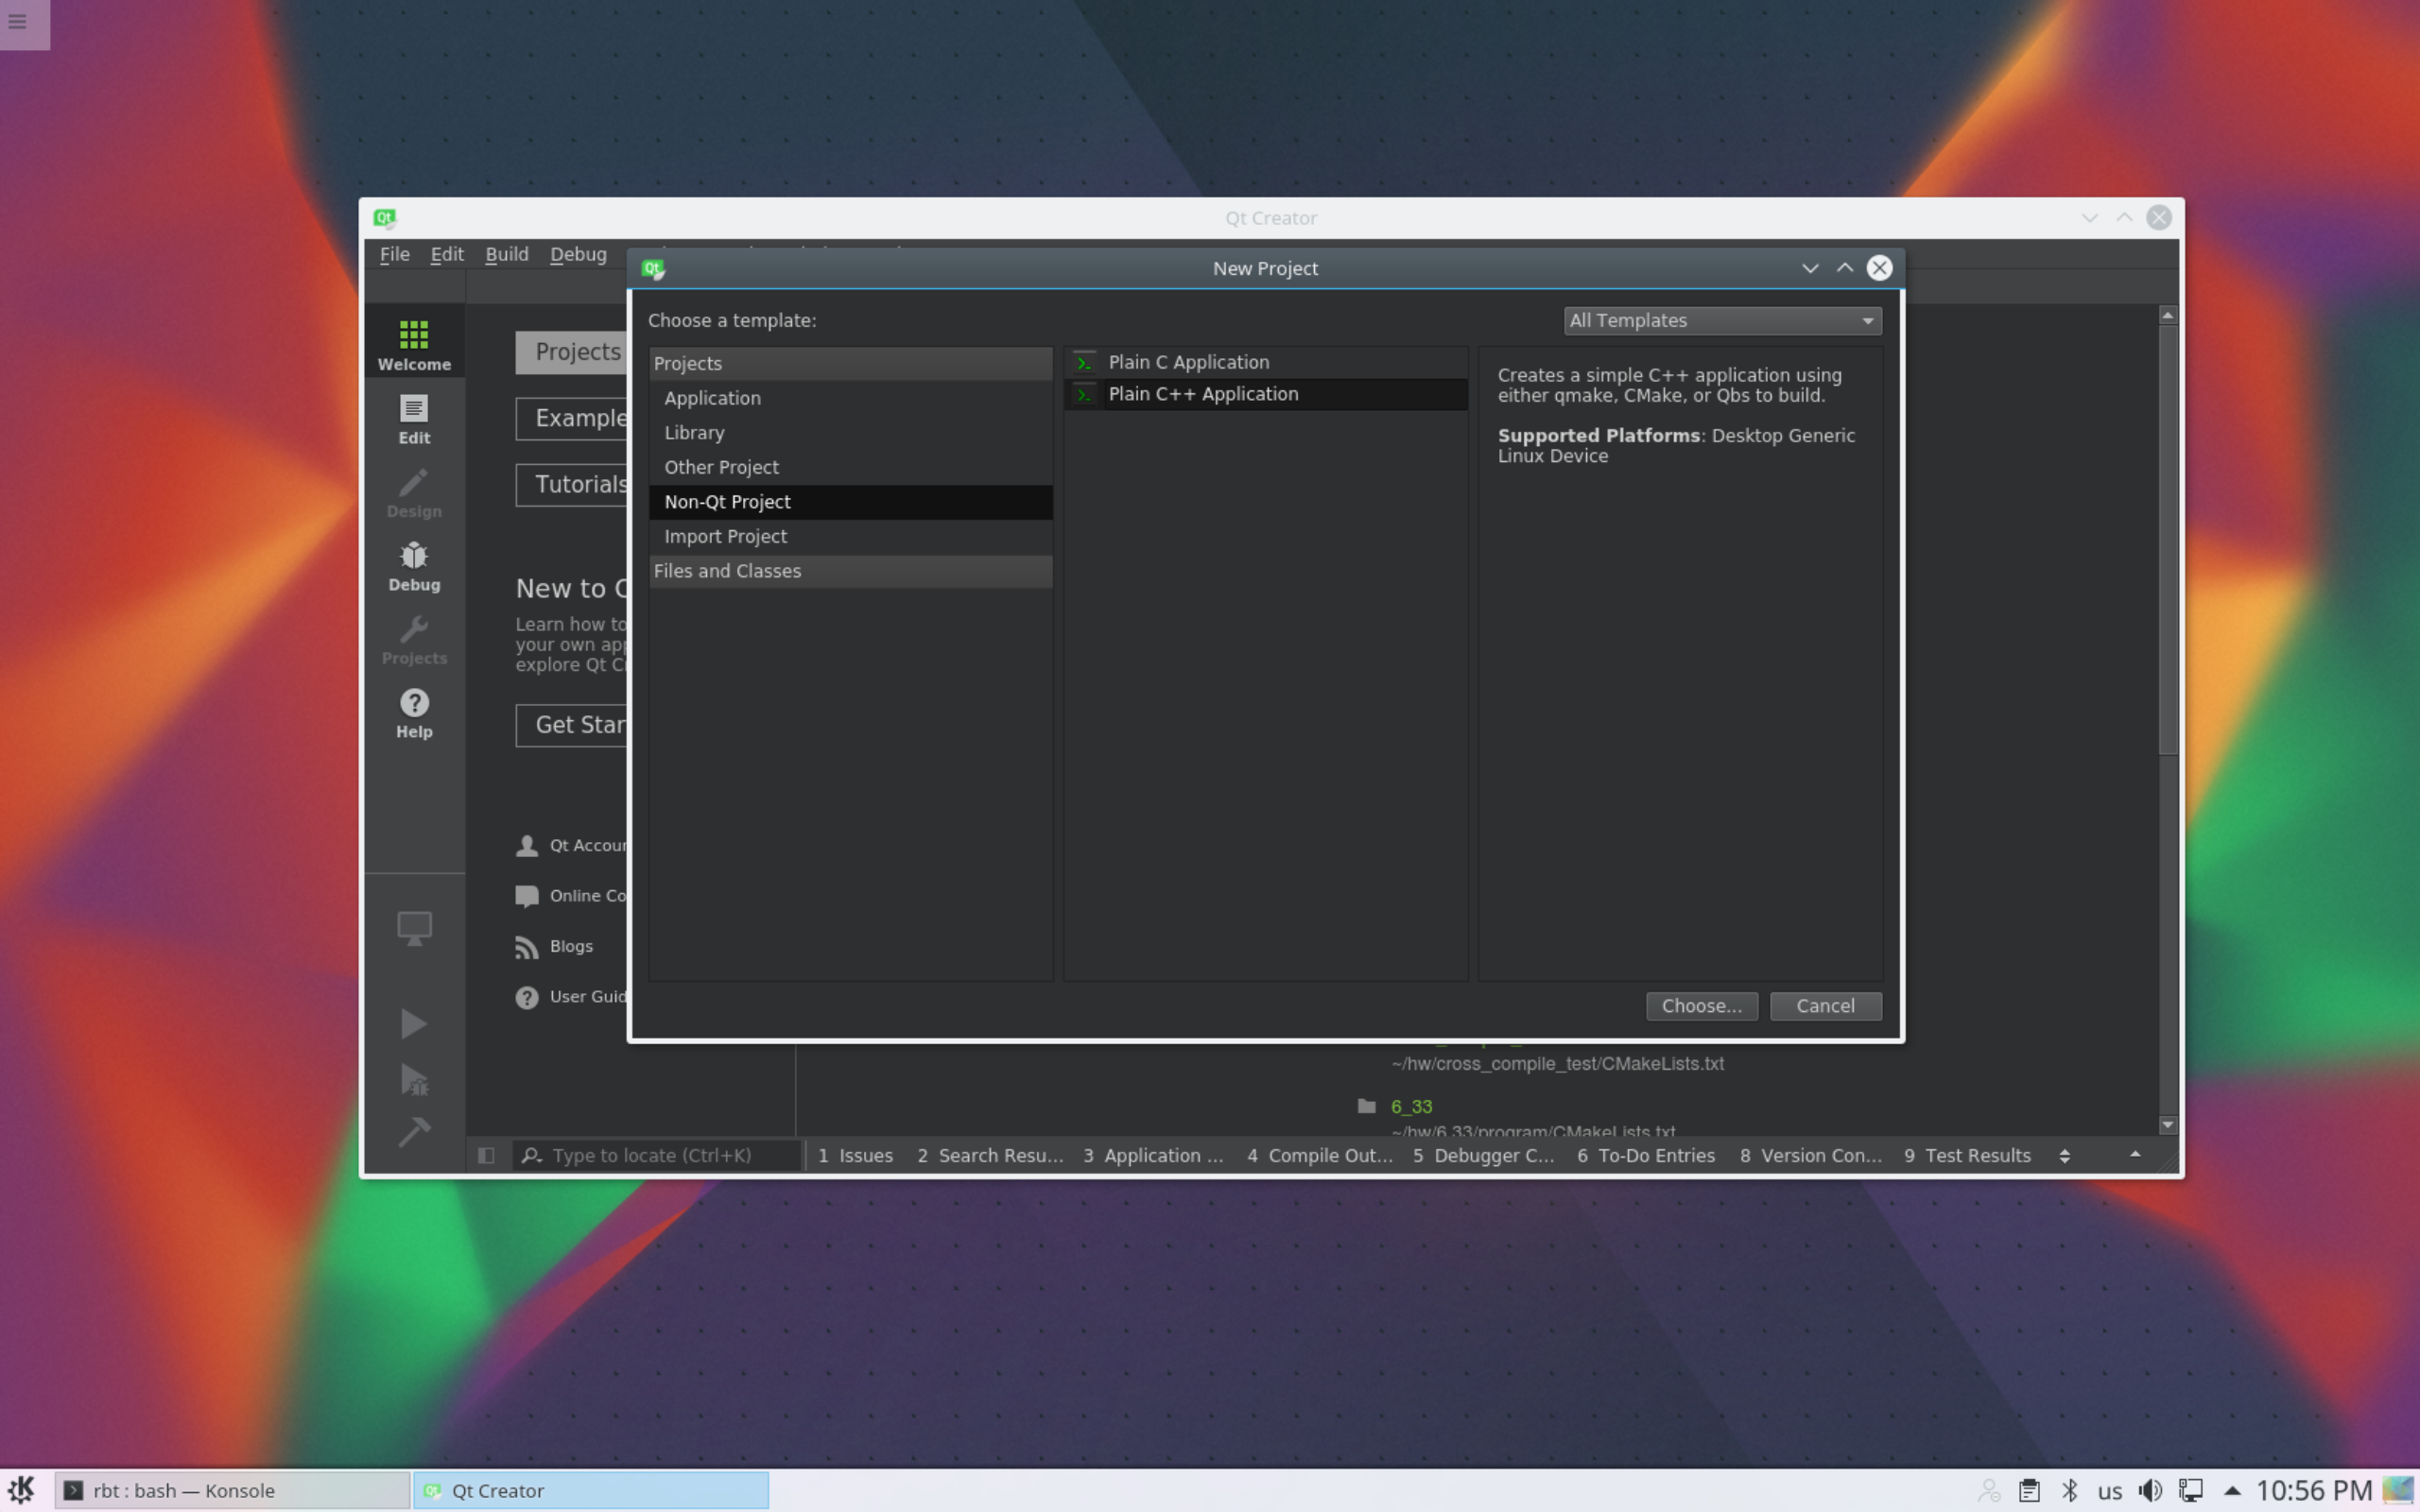
Let’s test if everything works creating a new C++ project in Qt Creator.
Name the project and select appropriate project location: 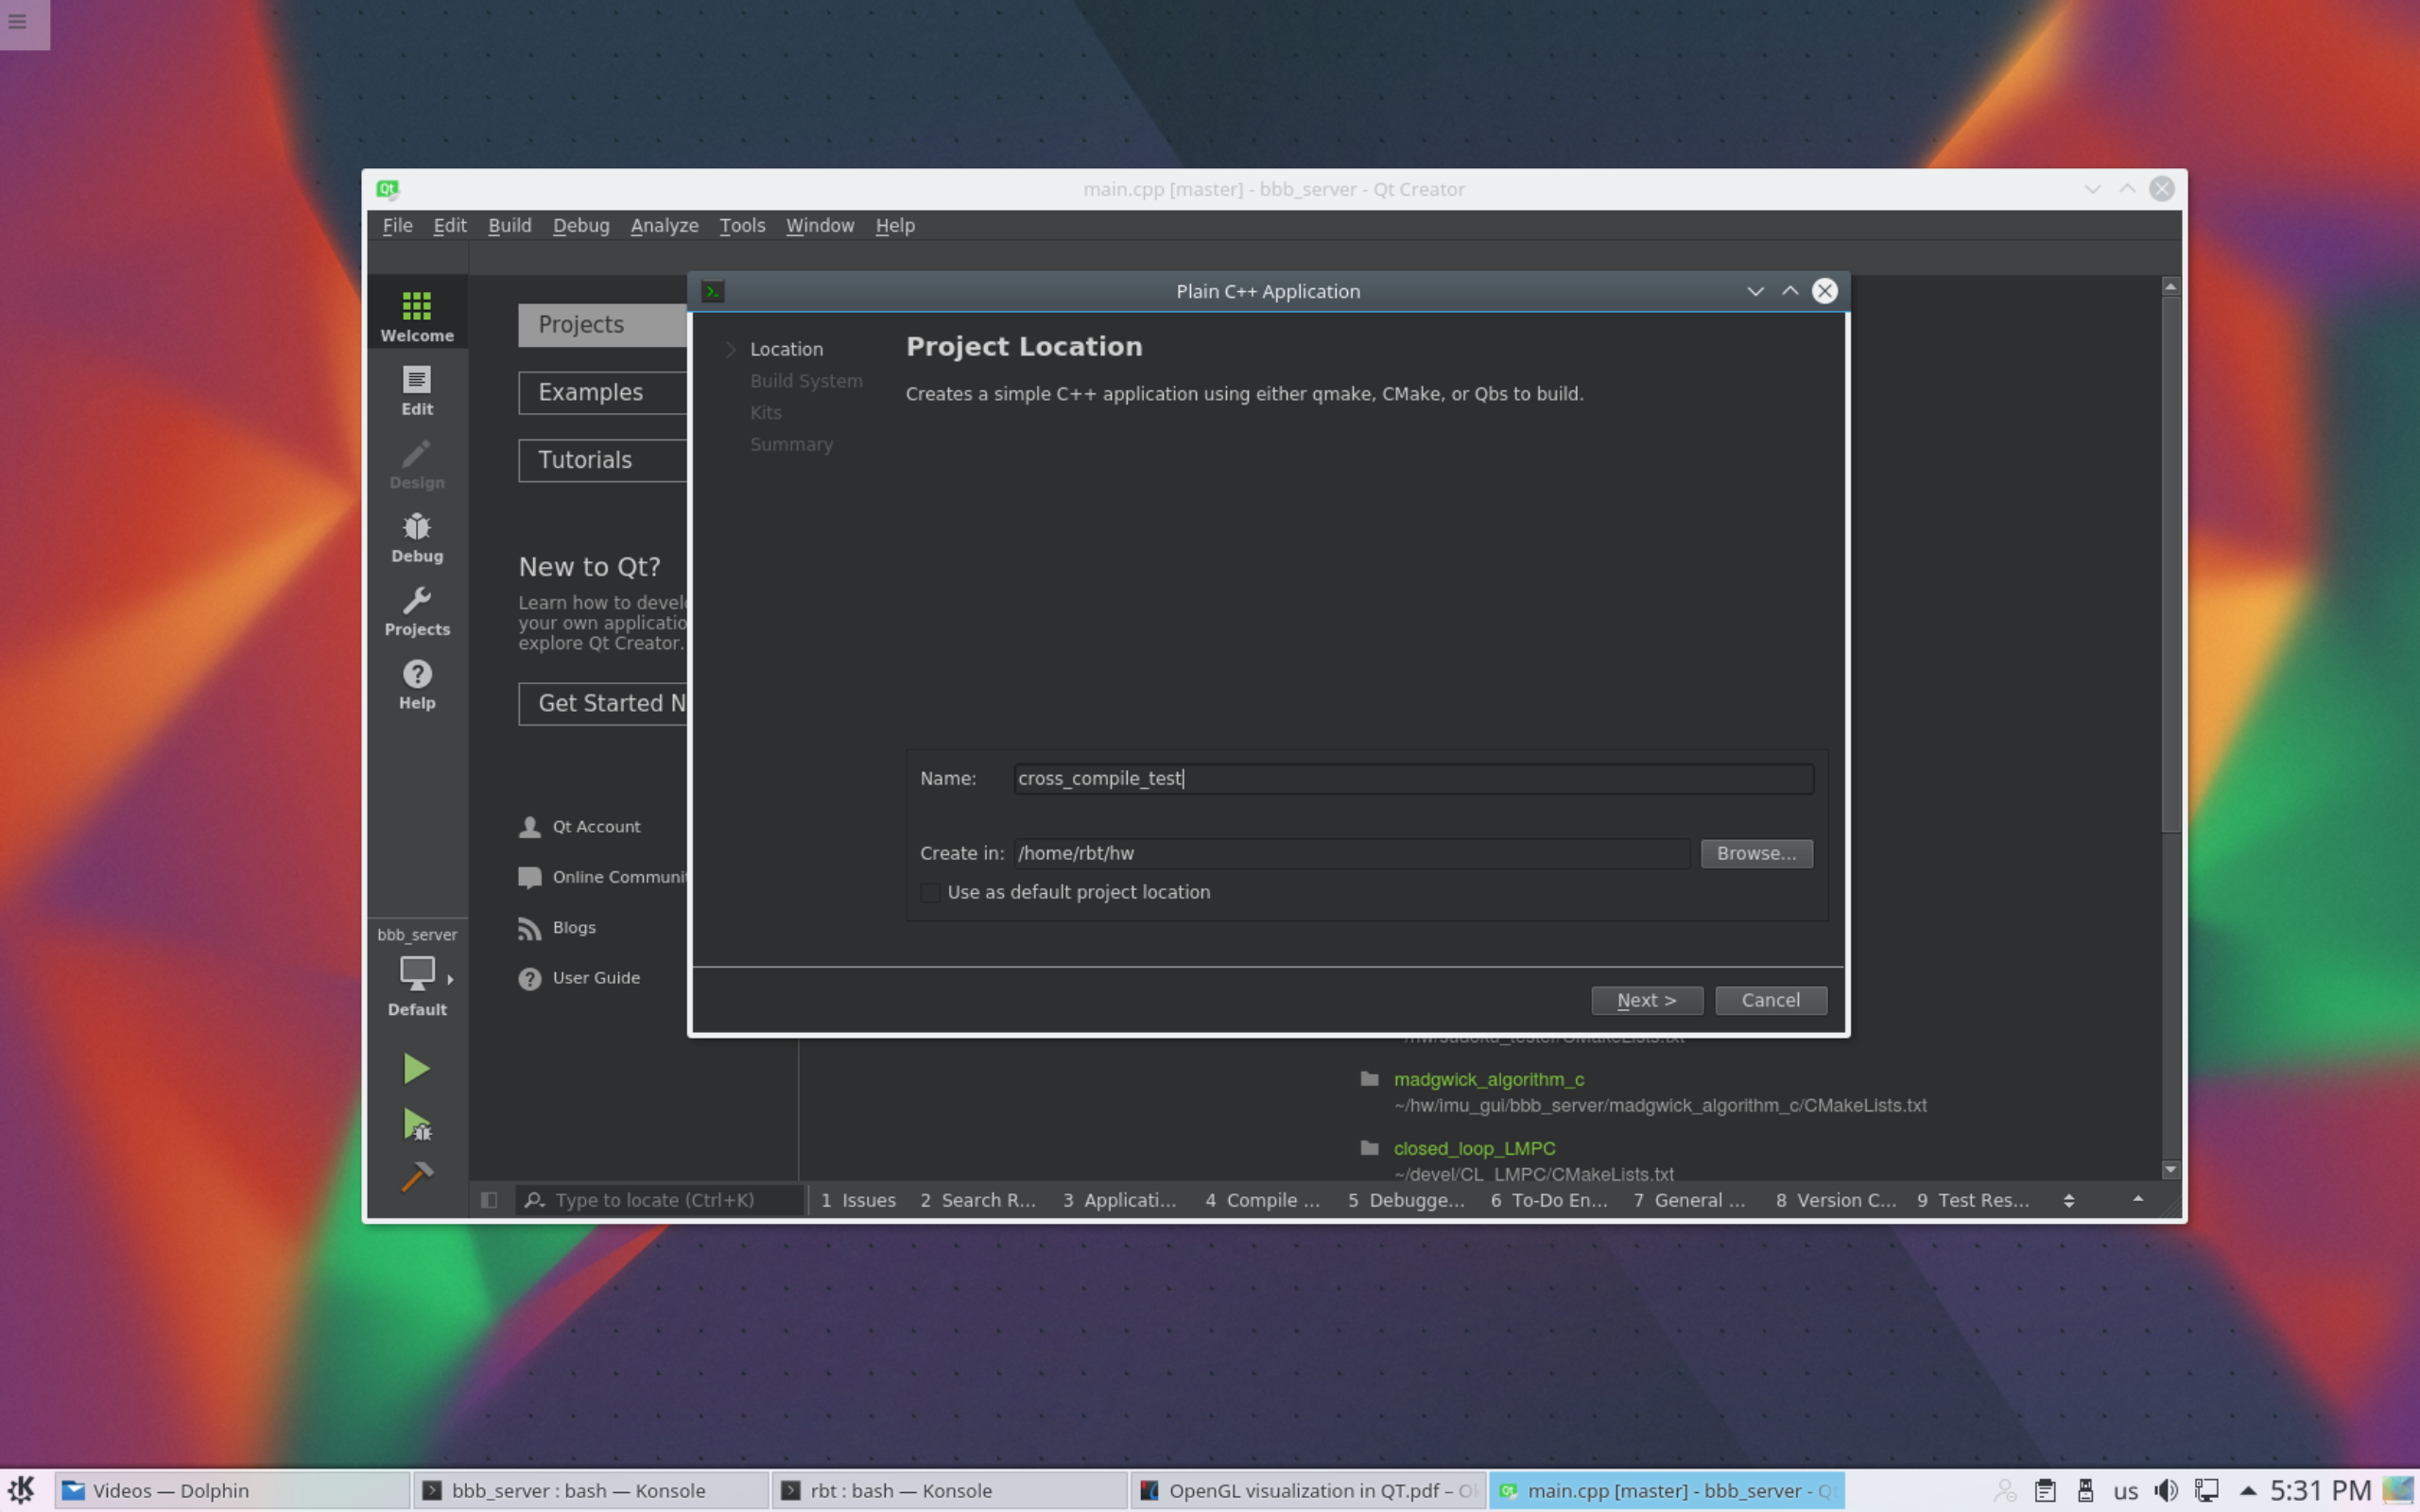
Select CMake as a build system. 
Select BeagleBone Black Kit 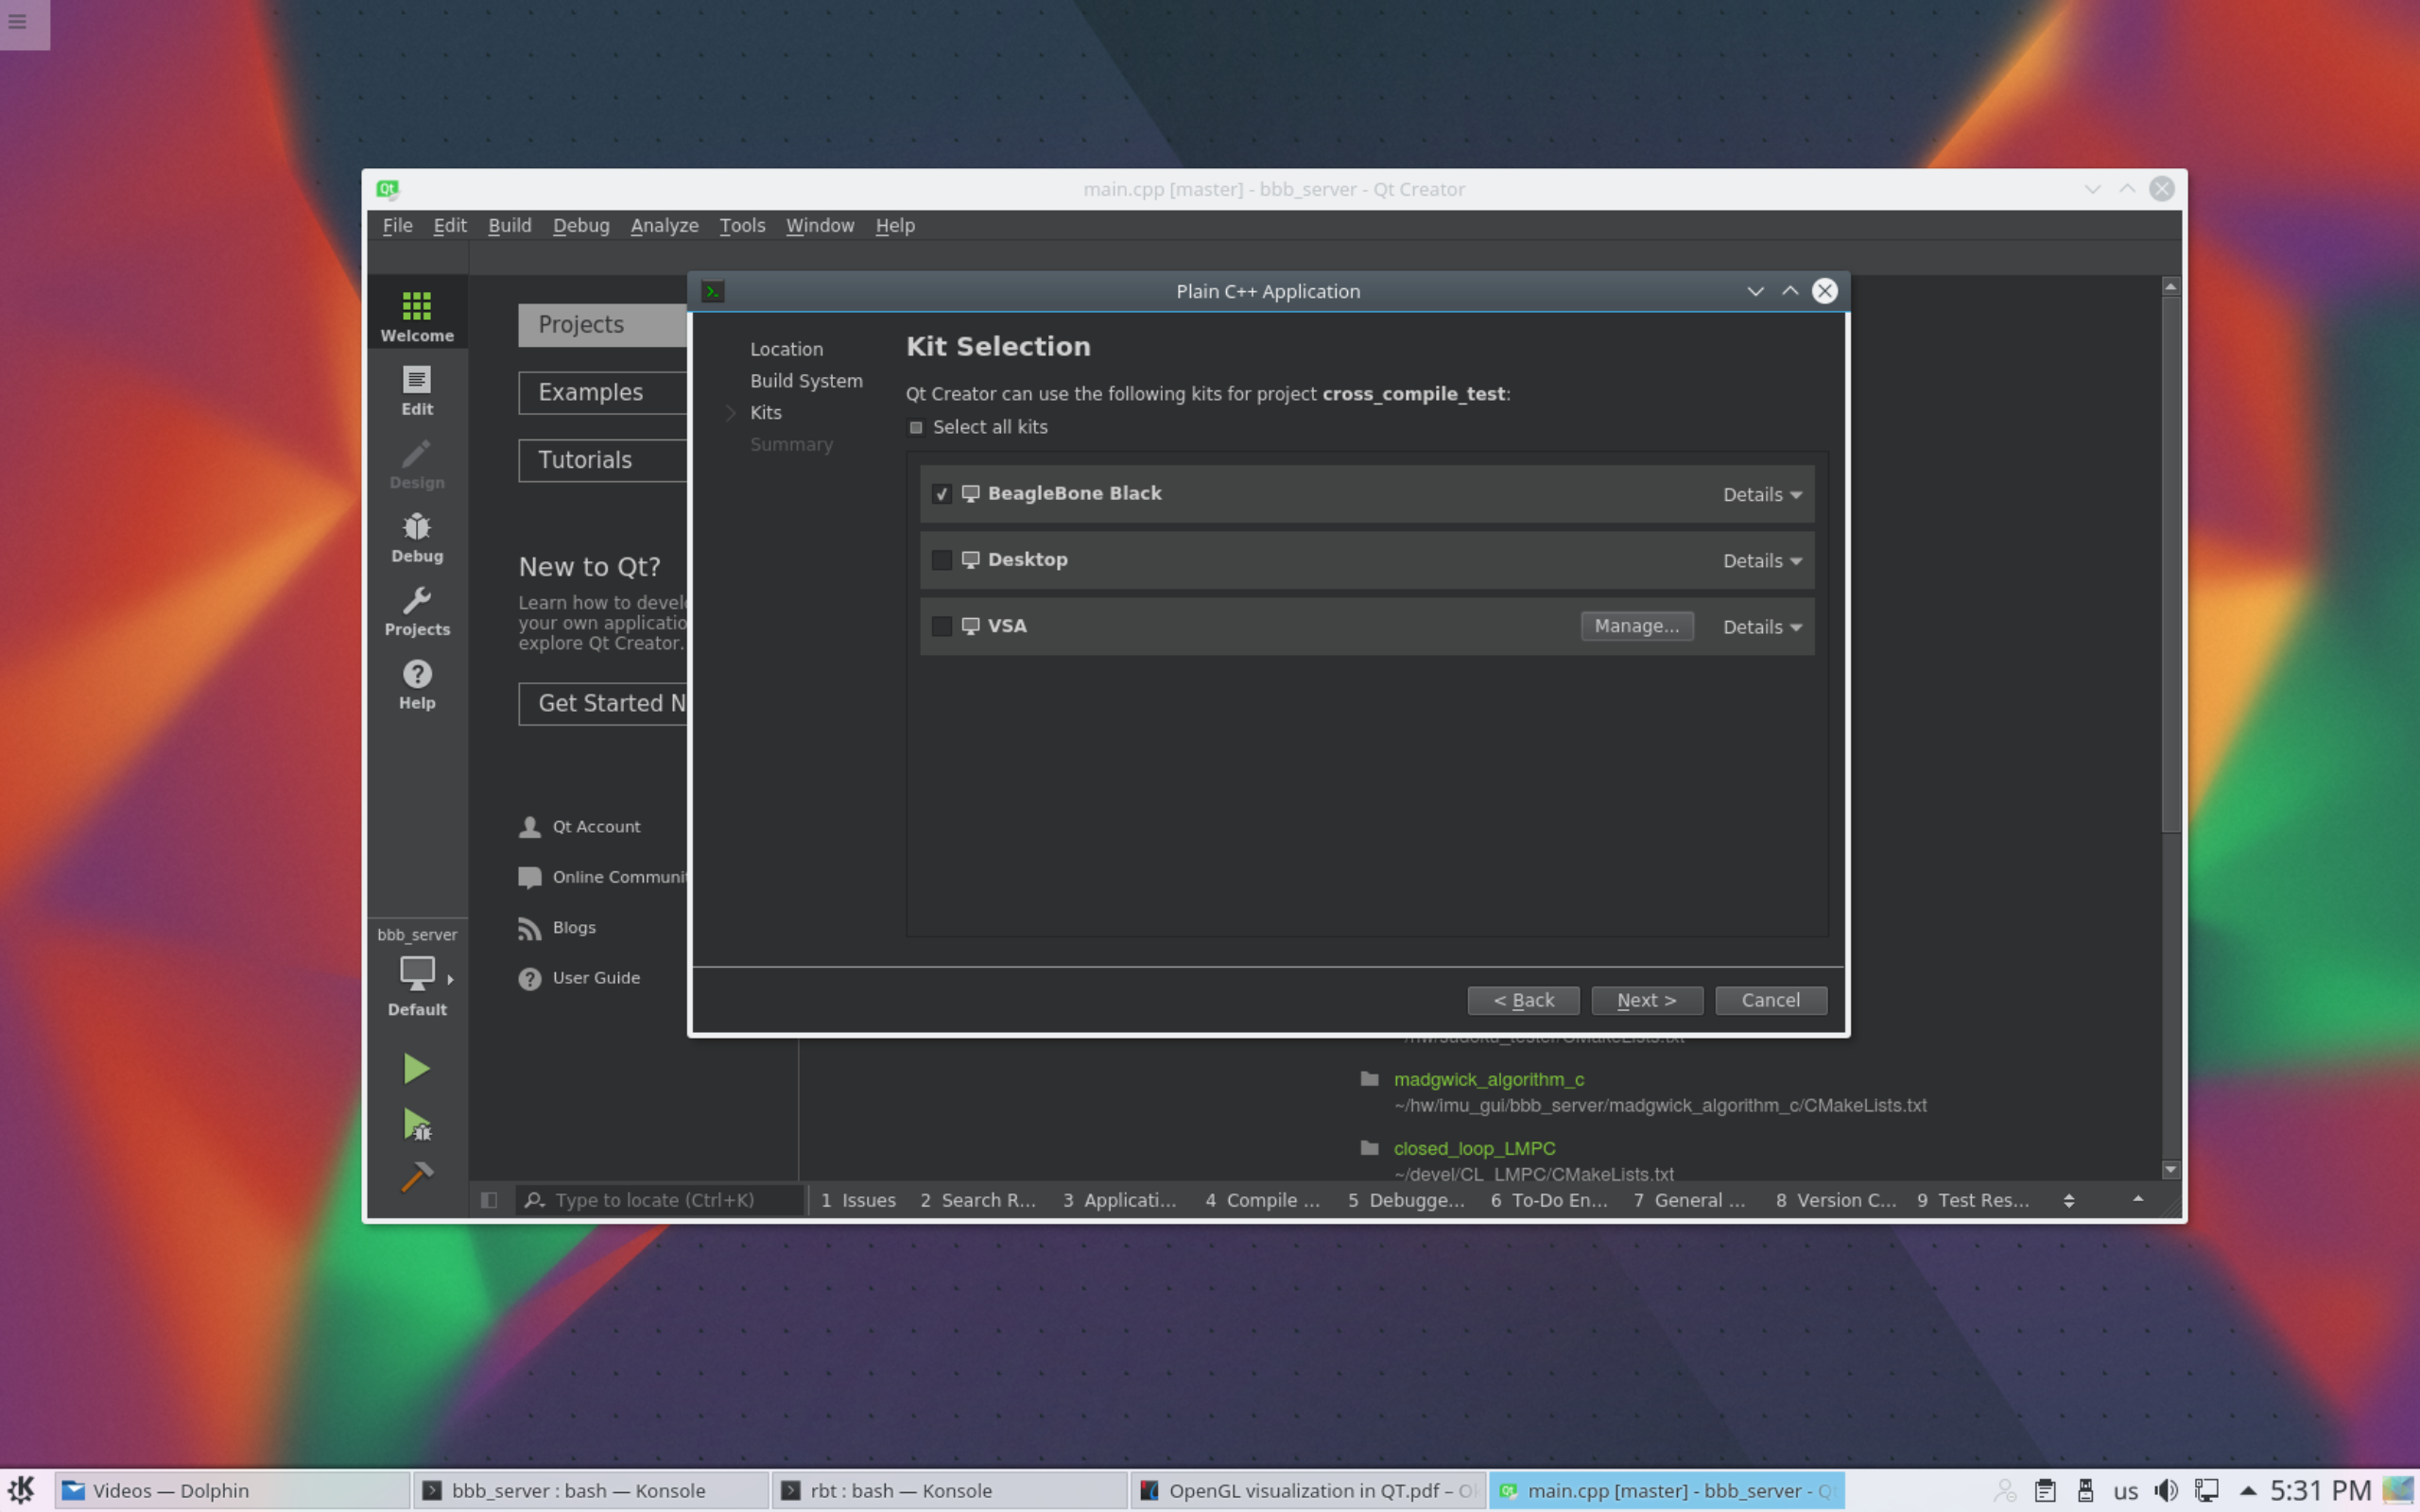
Select GIT as source control systems 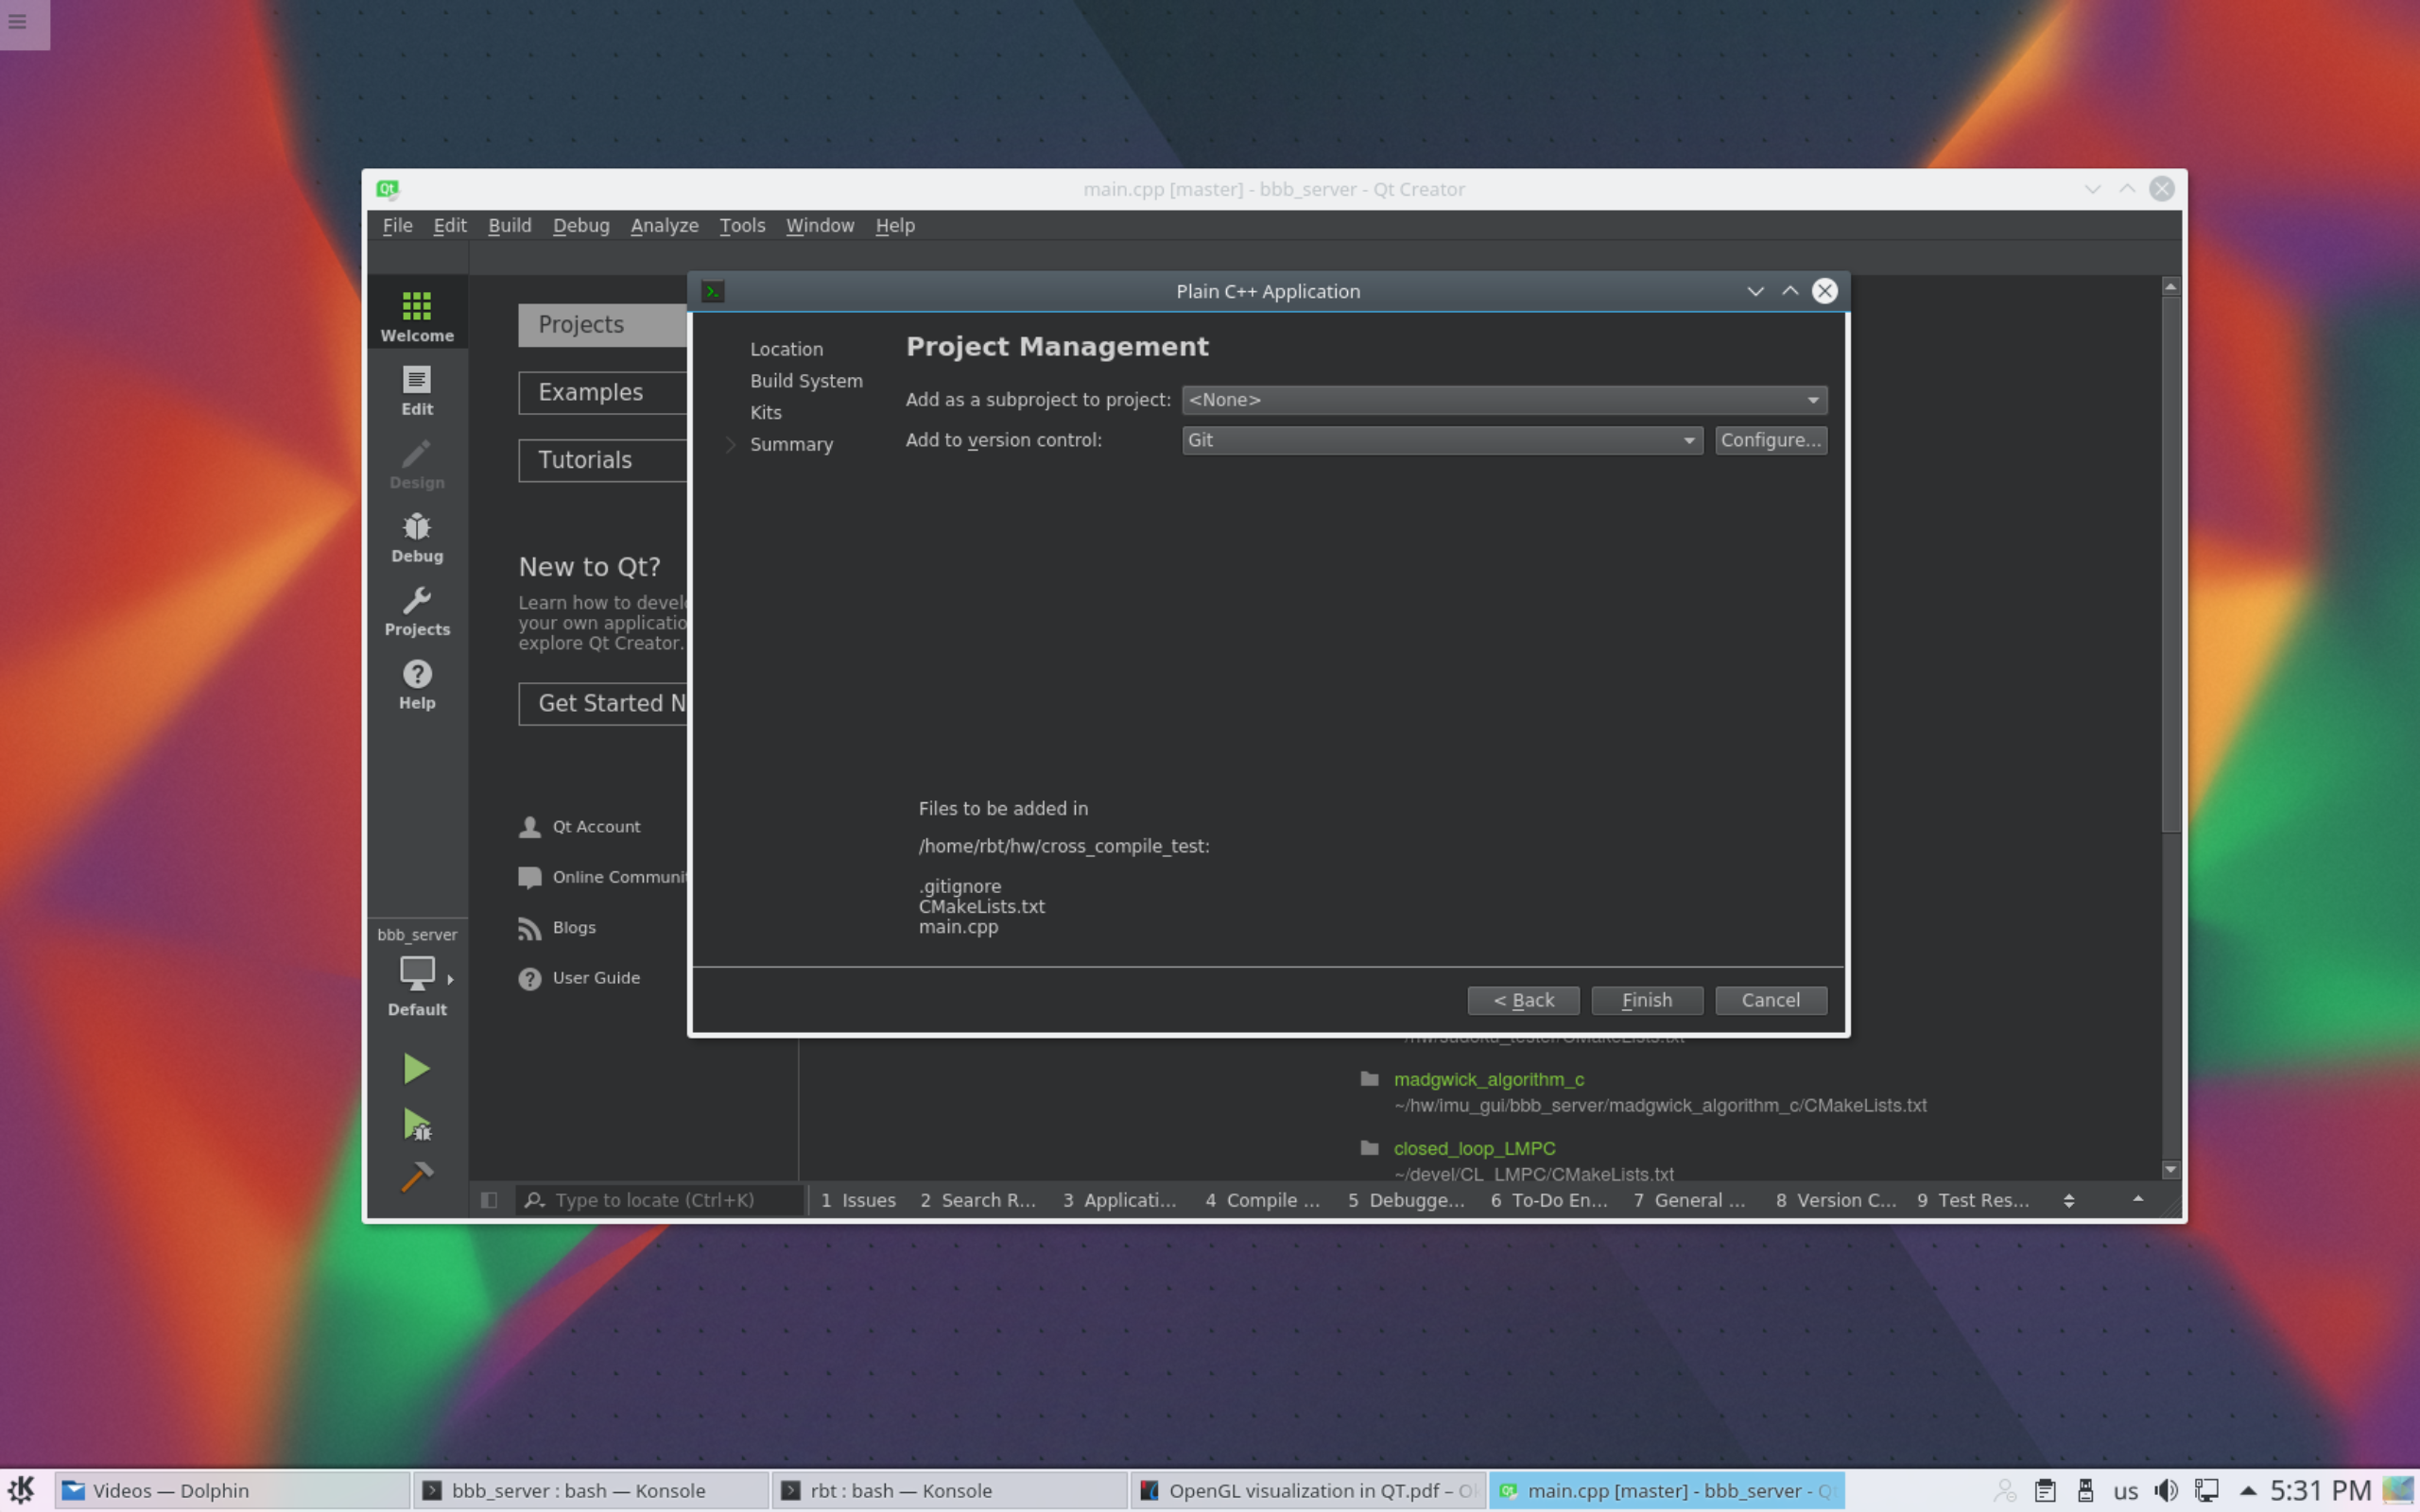
Press finish and now you have a C++ project runnable on BeagleBone Black.
Now you can develop your C++ program in Qt Creator, at the moment you can compile it, but to run it and debug you should do additional steps. 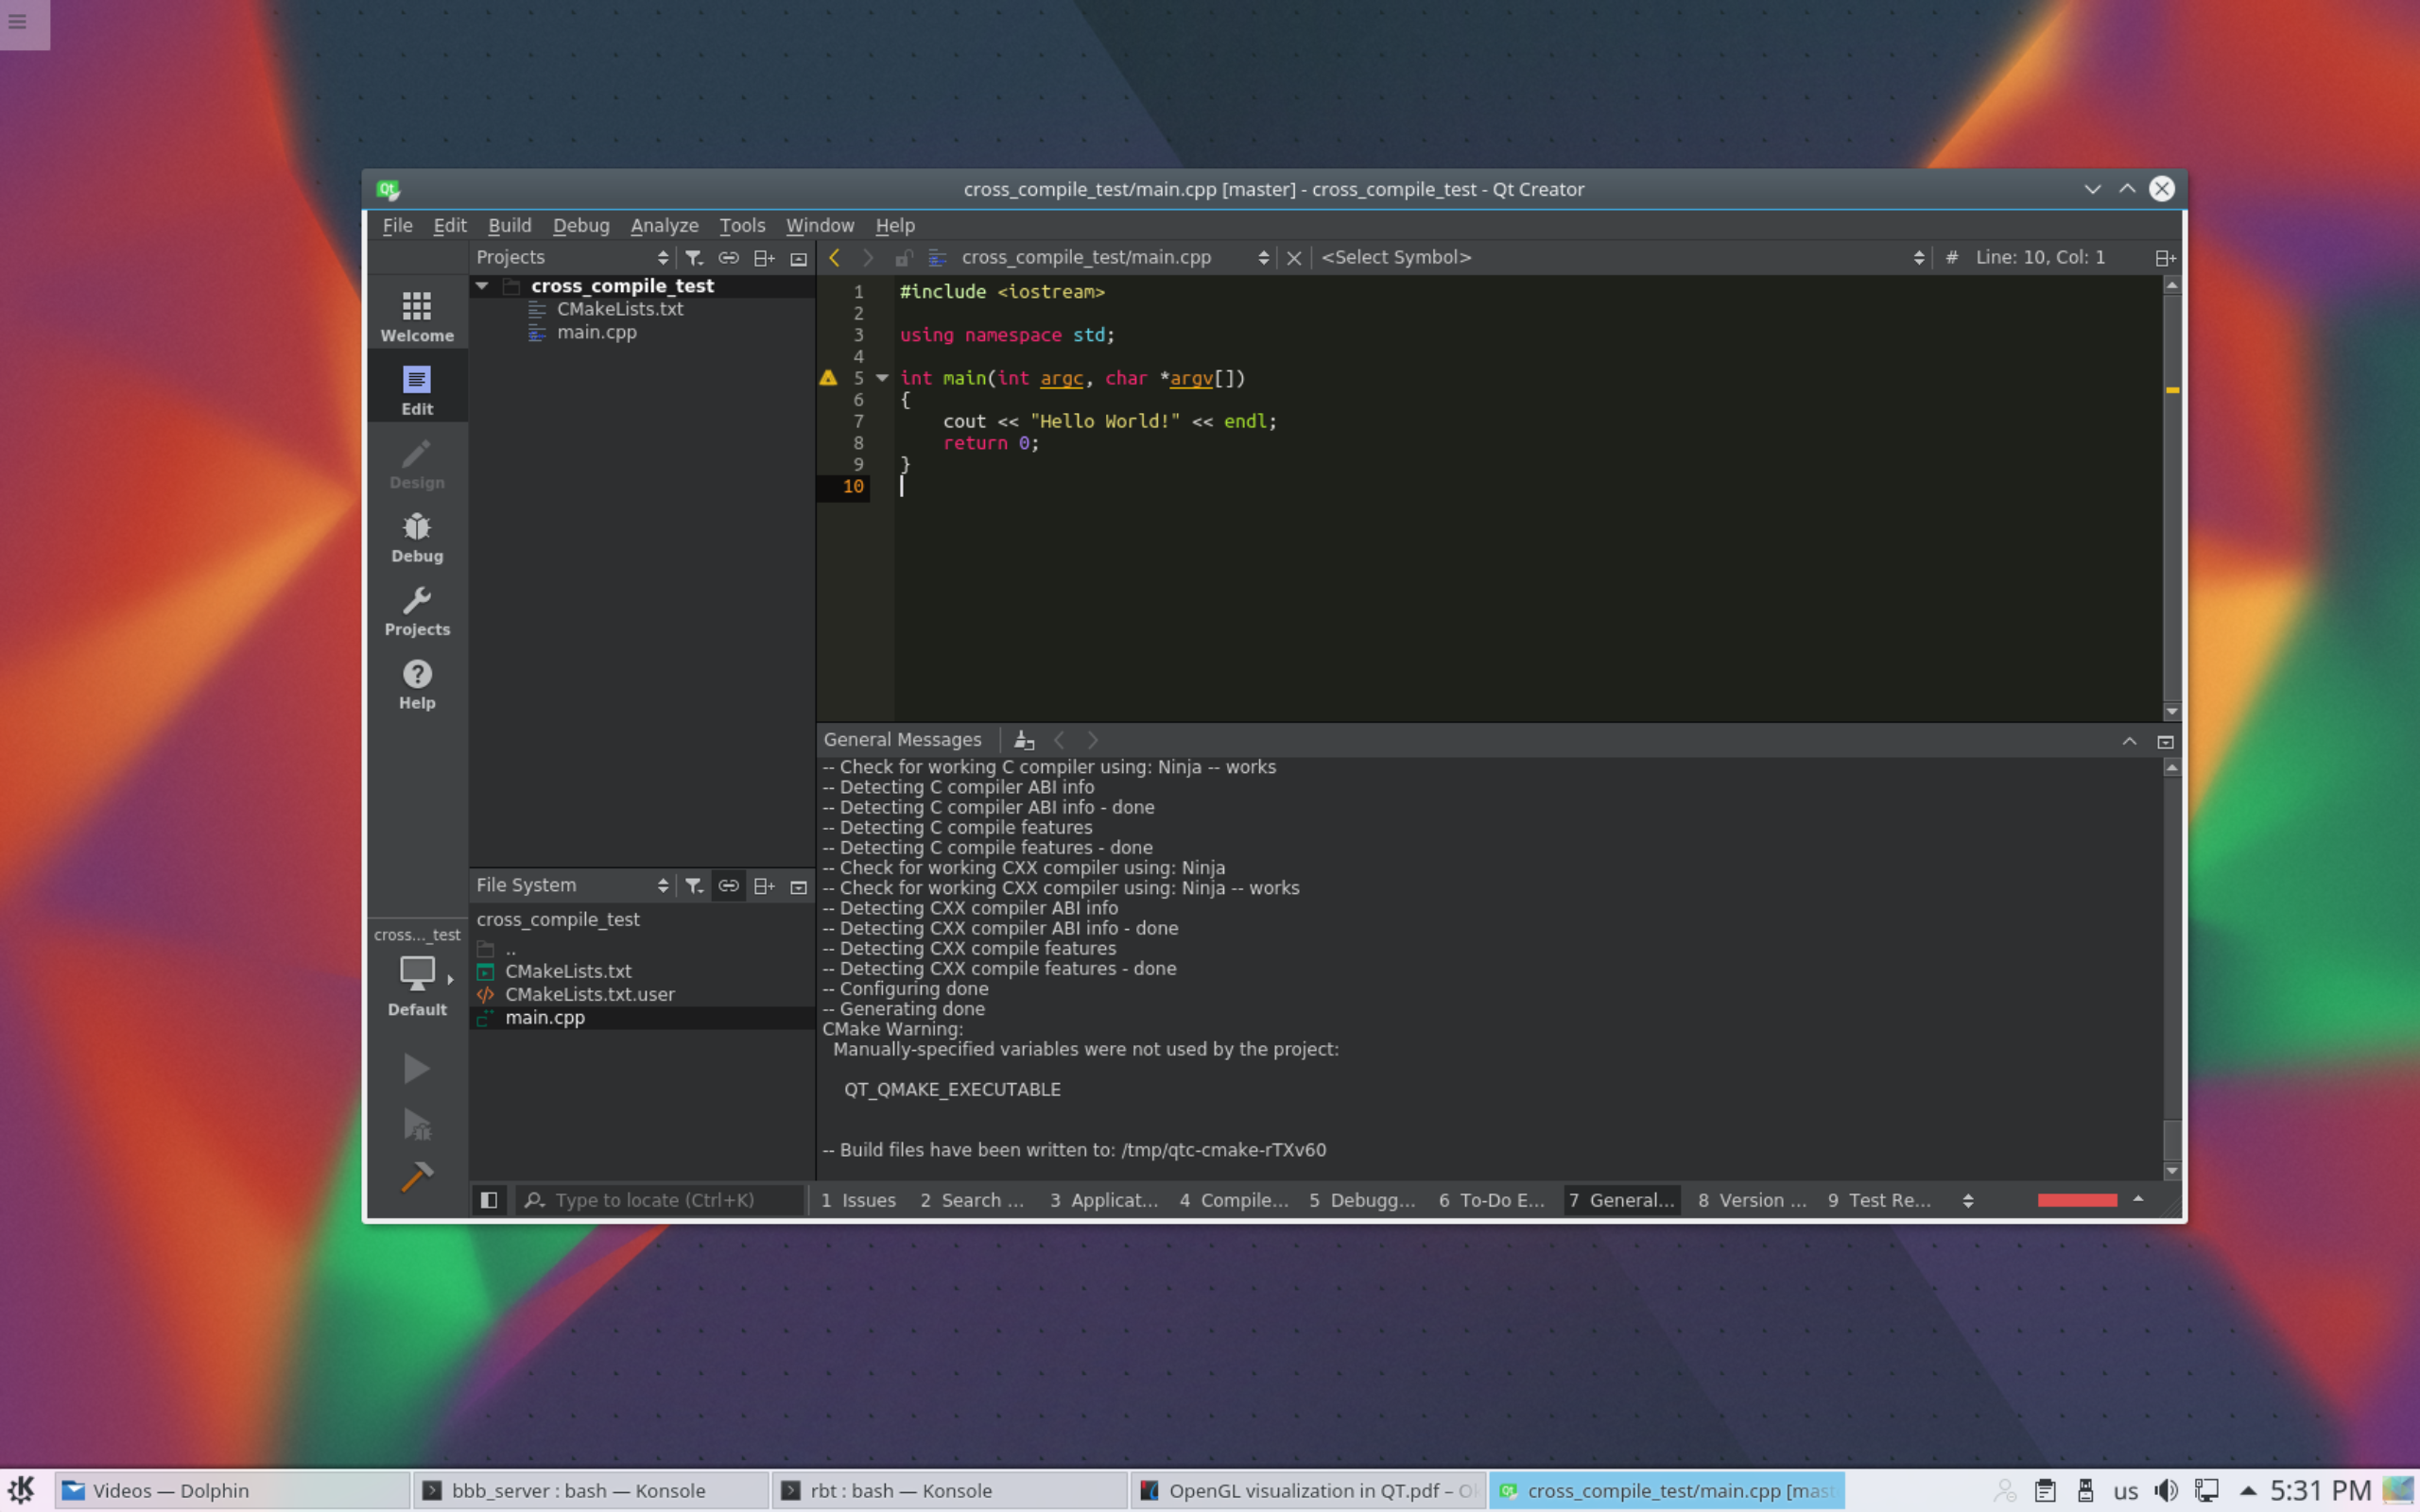
Select Default->cross_compilation_test (on Remote Device)
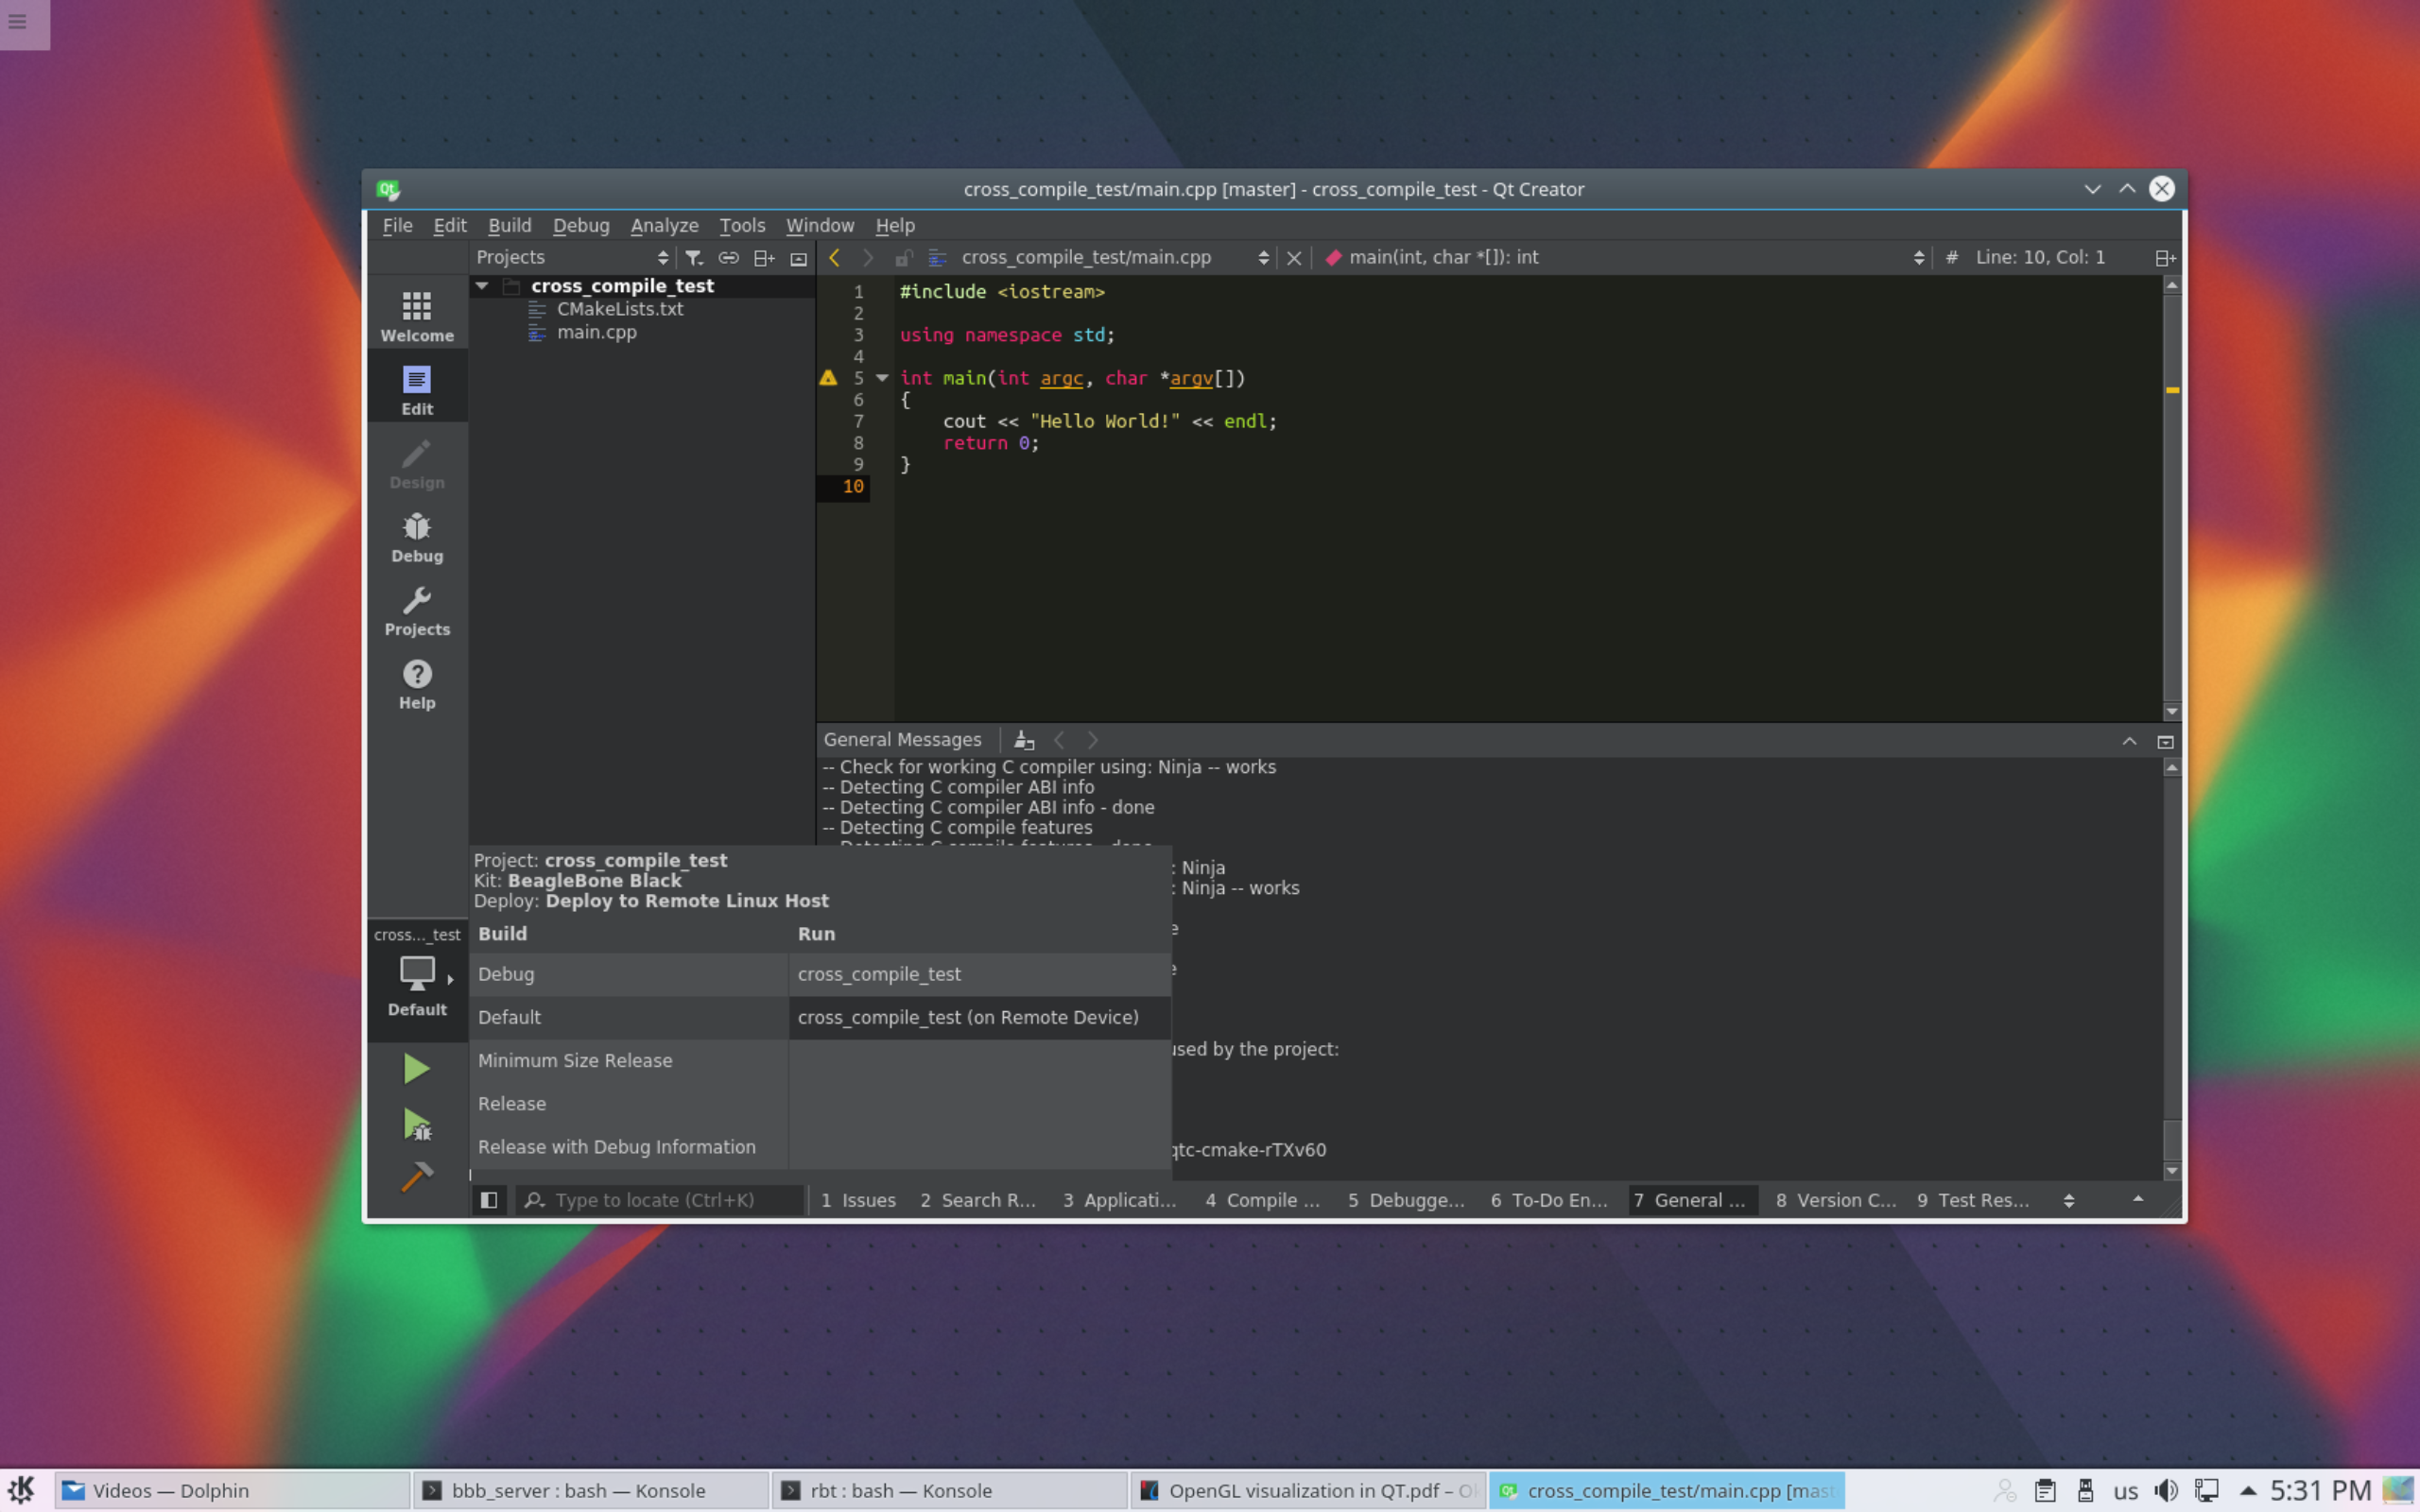
This will compile and run Release configuration on your BBB. You can test it pressing Play button or pressing CTRL-R.
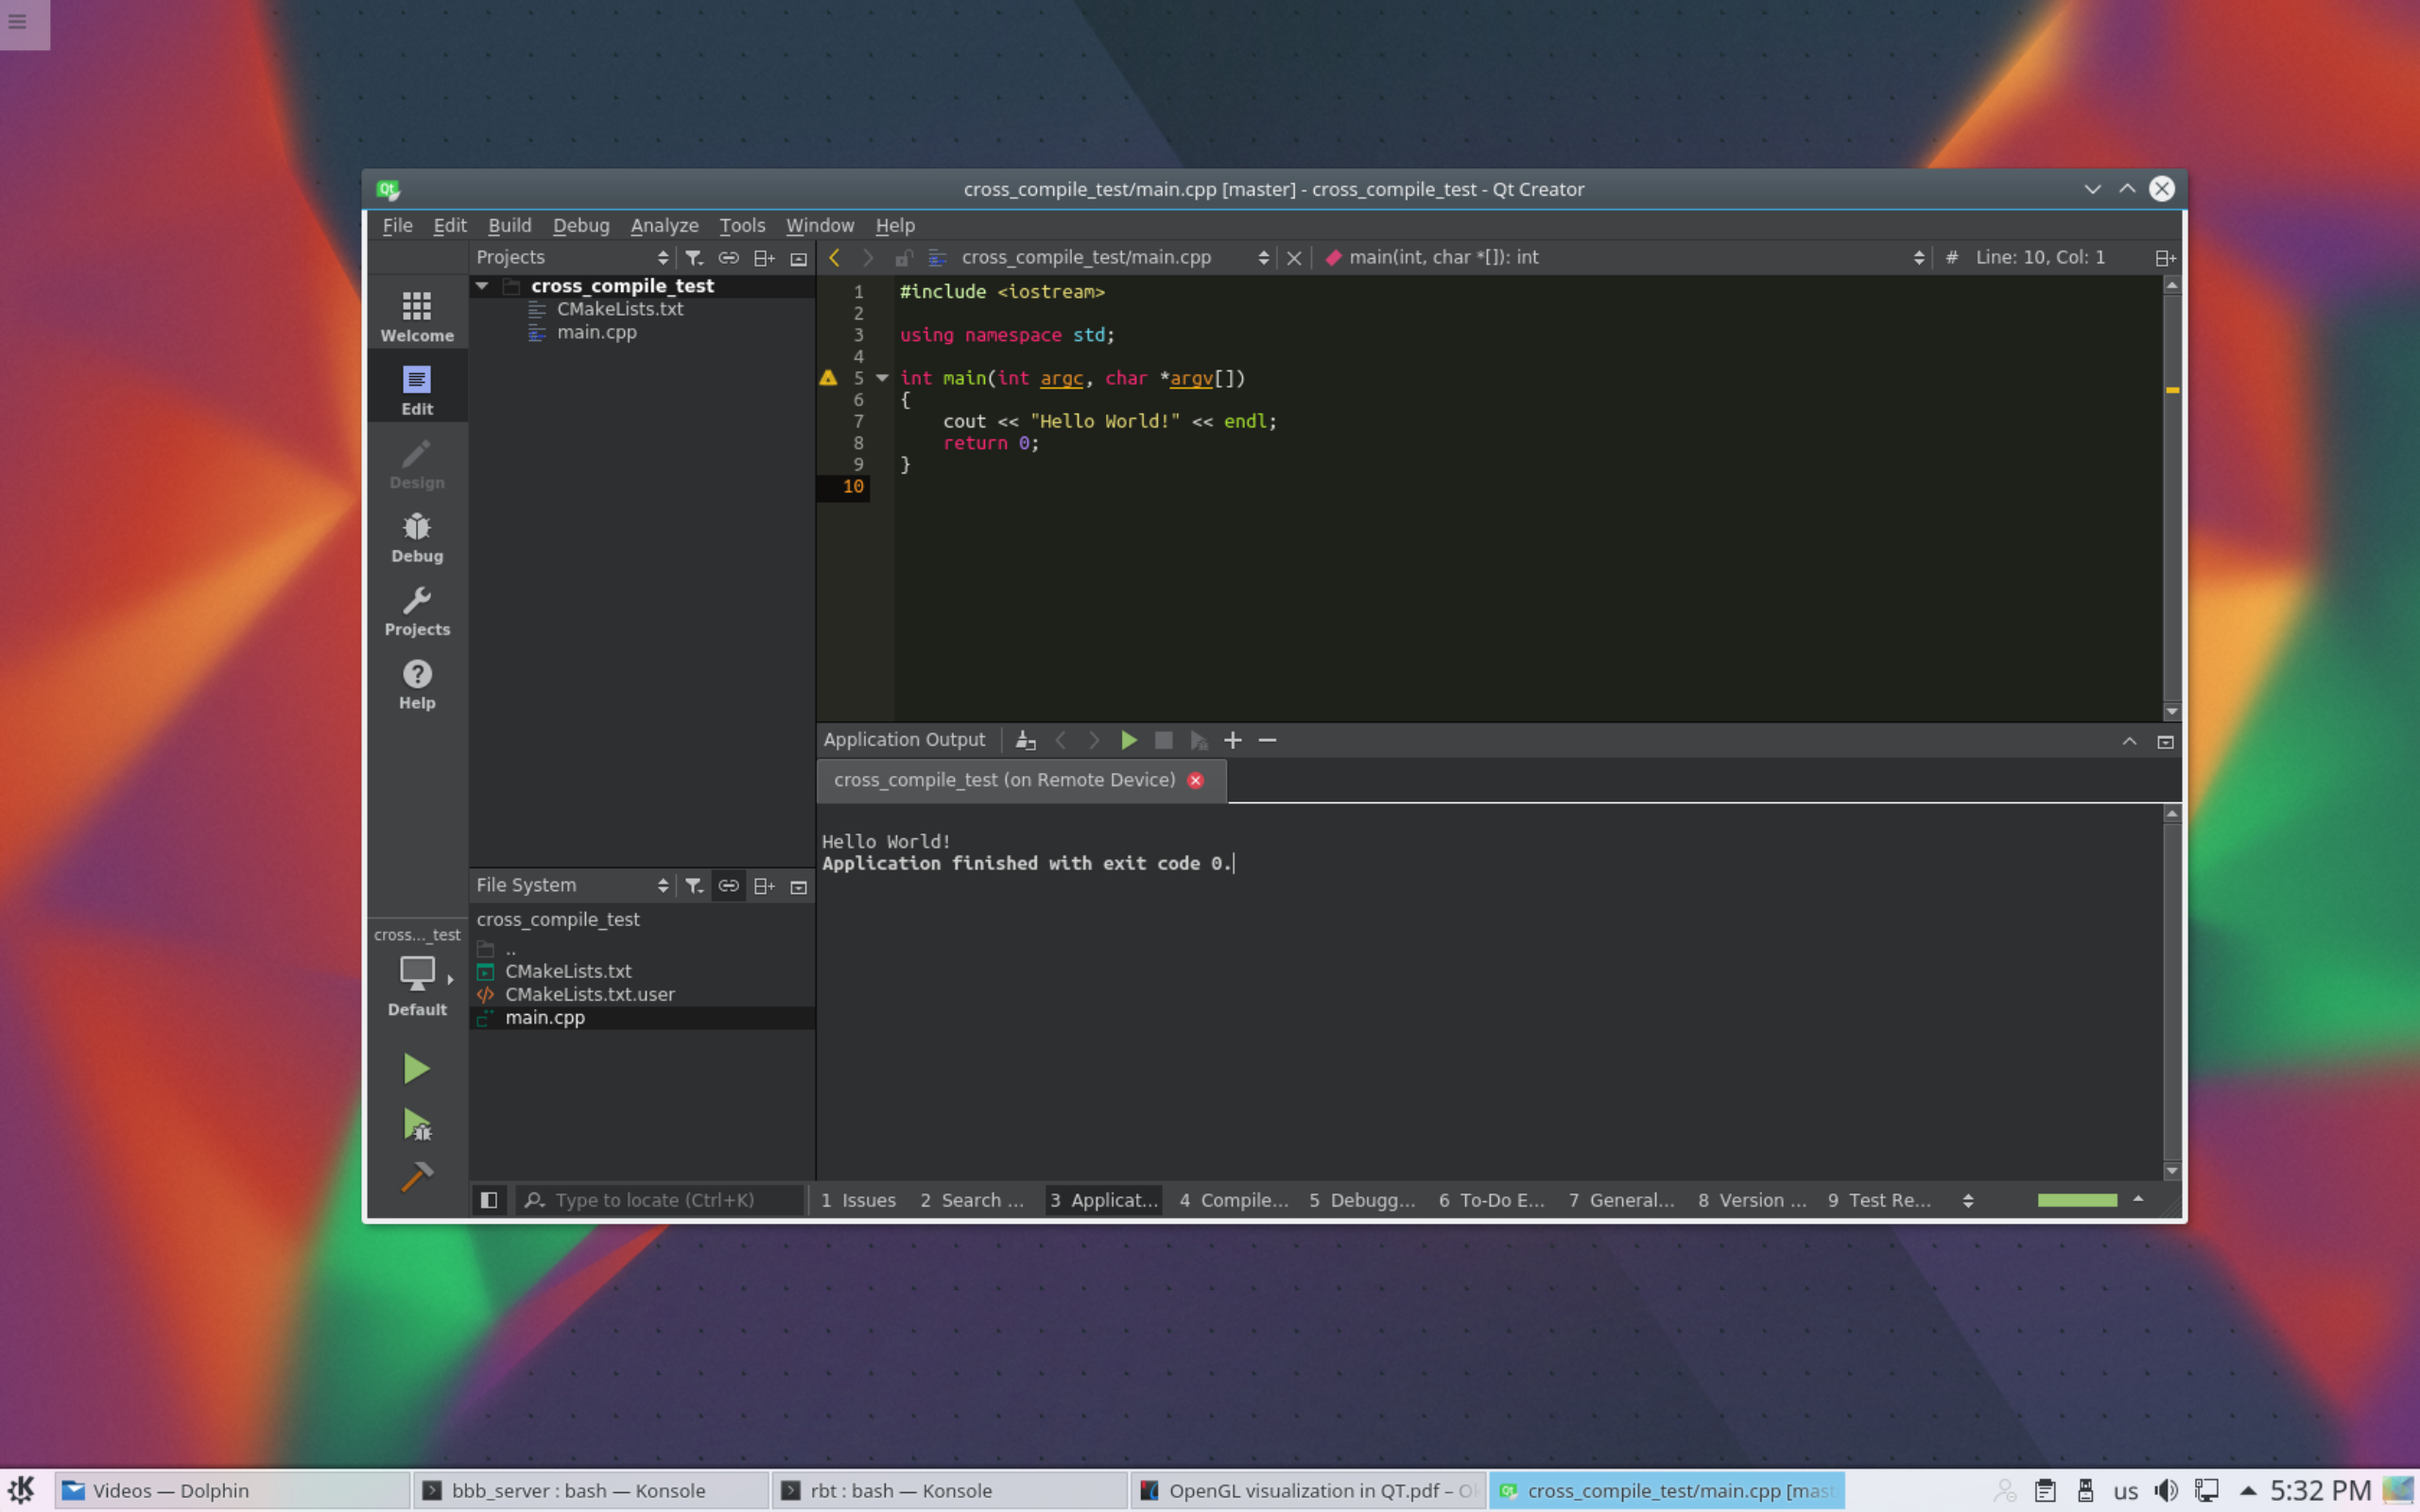
Congratulation you have cross-compiled and executed your first program on BeagleBone Black.
Now to debug you should select Debug->cross_compilation_test (on Remote Device)
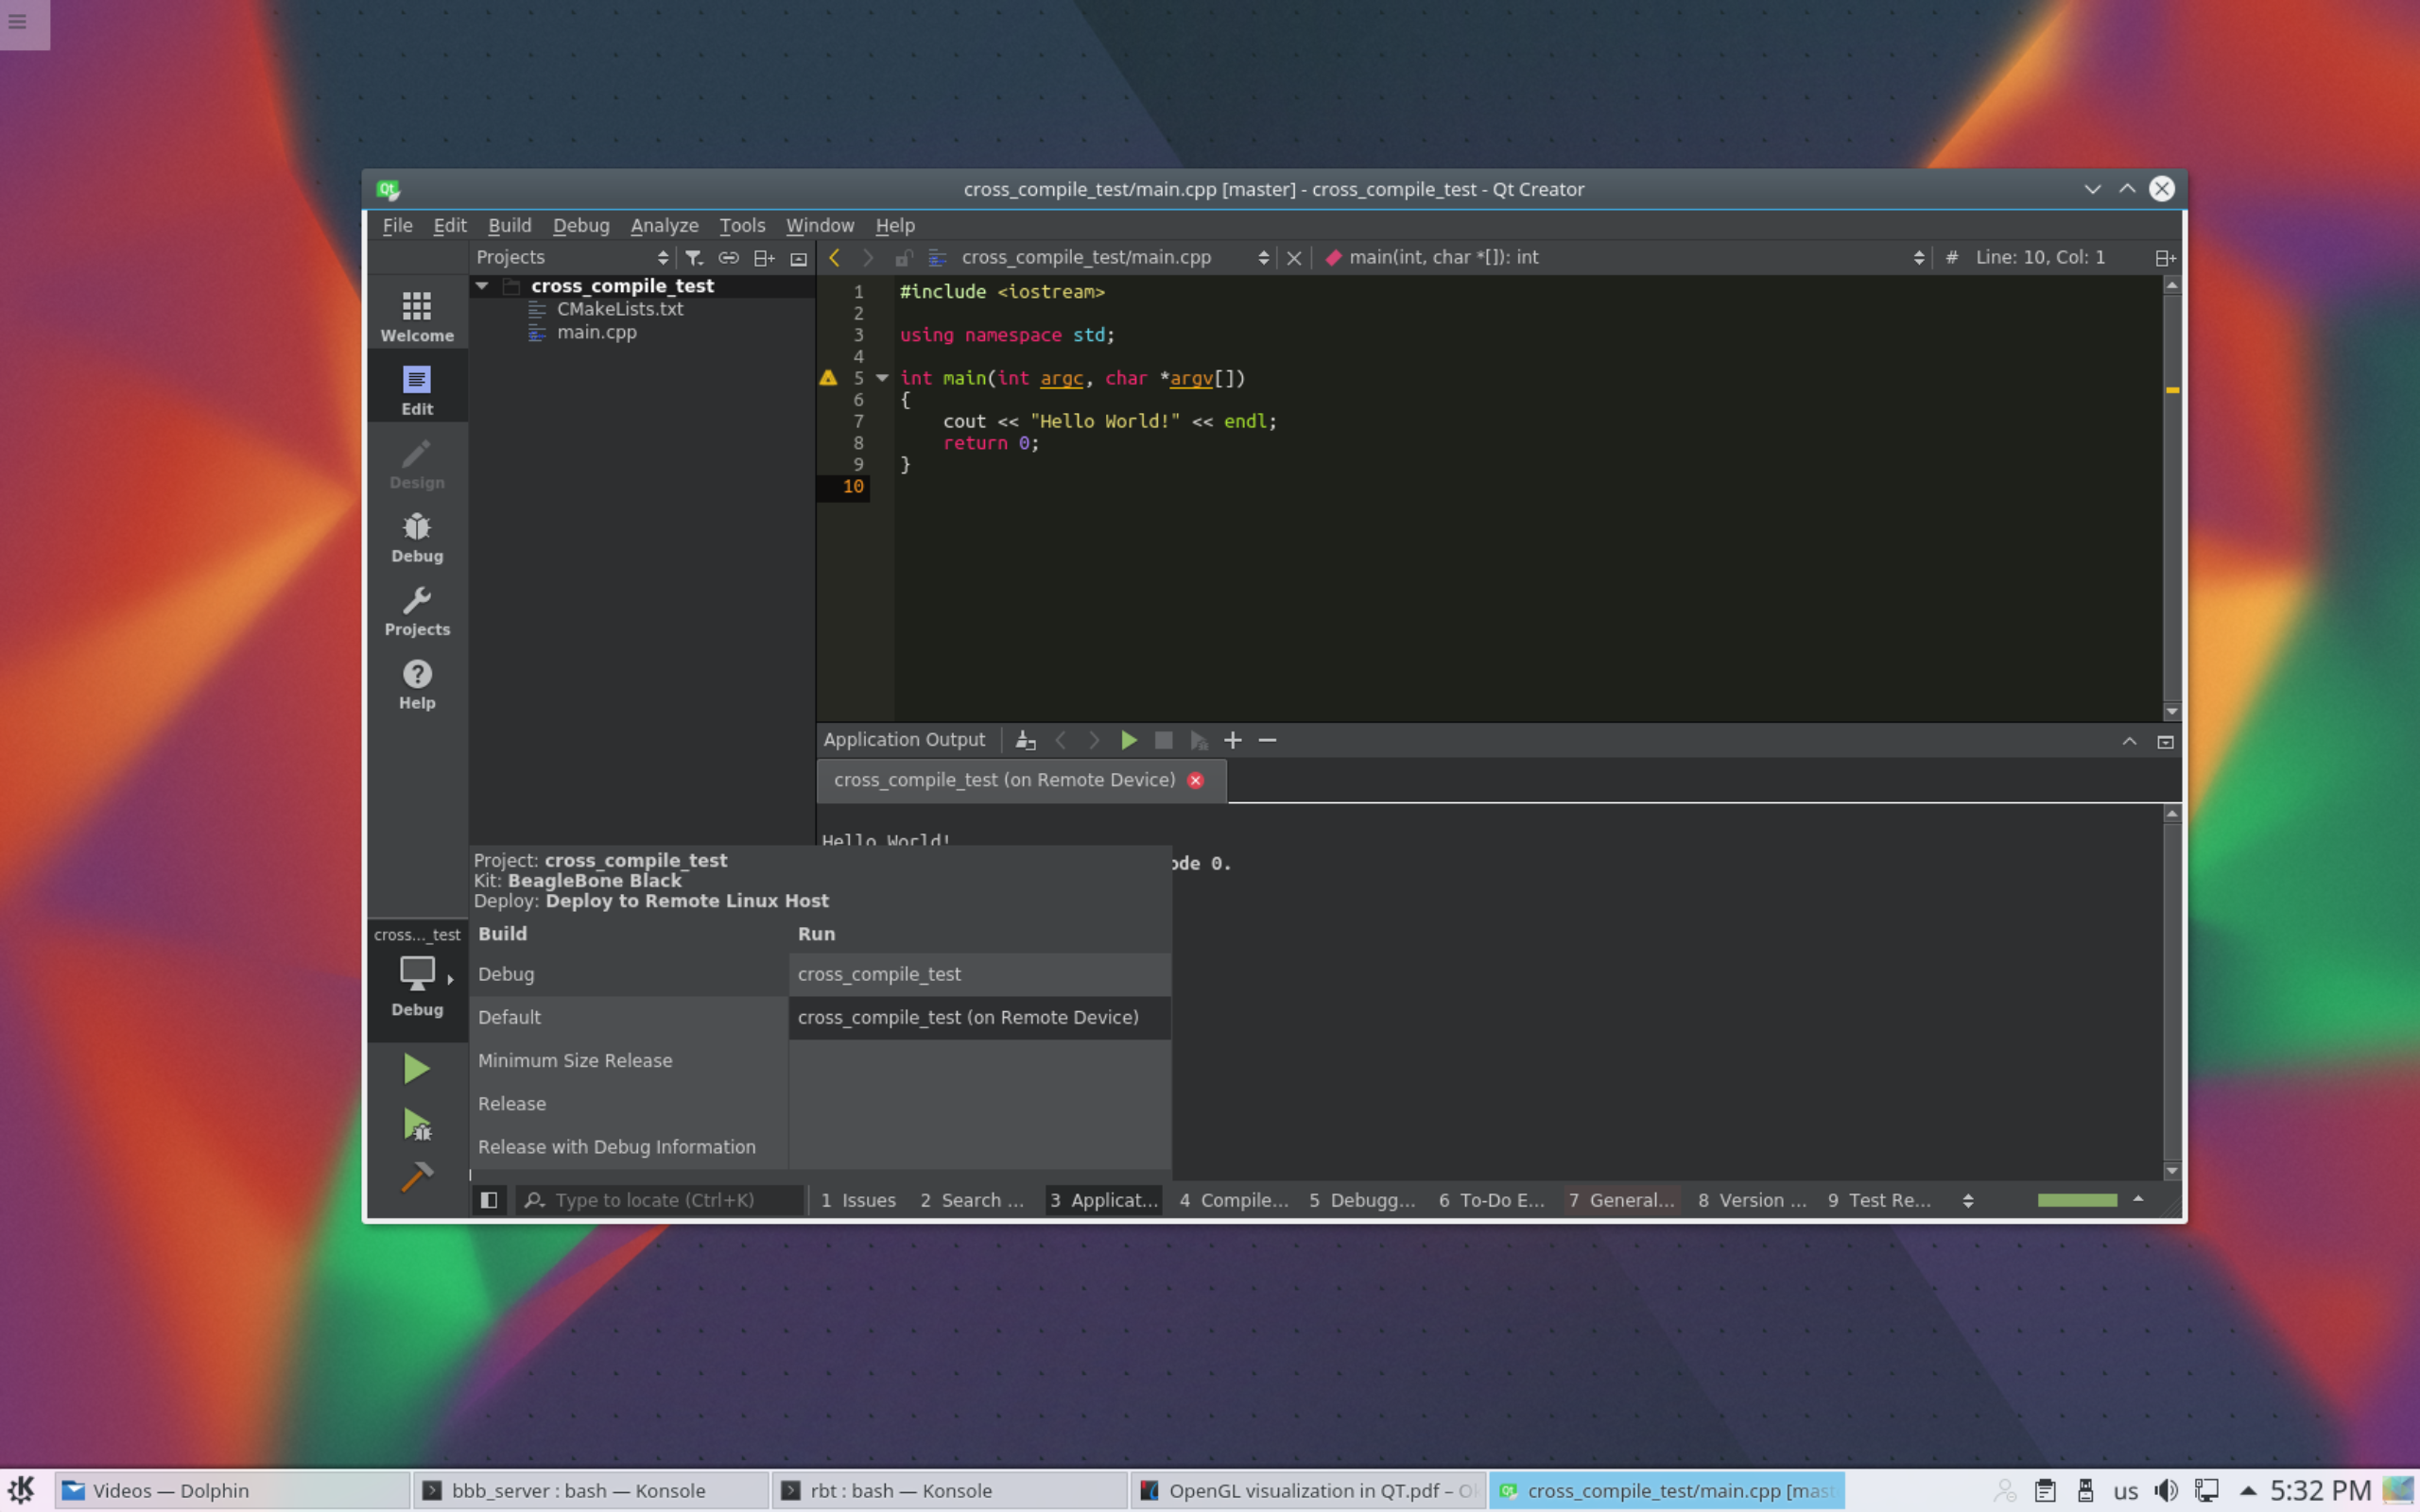
Put a breakpoint and press Debug button or F5. 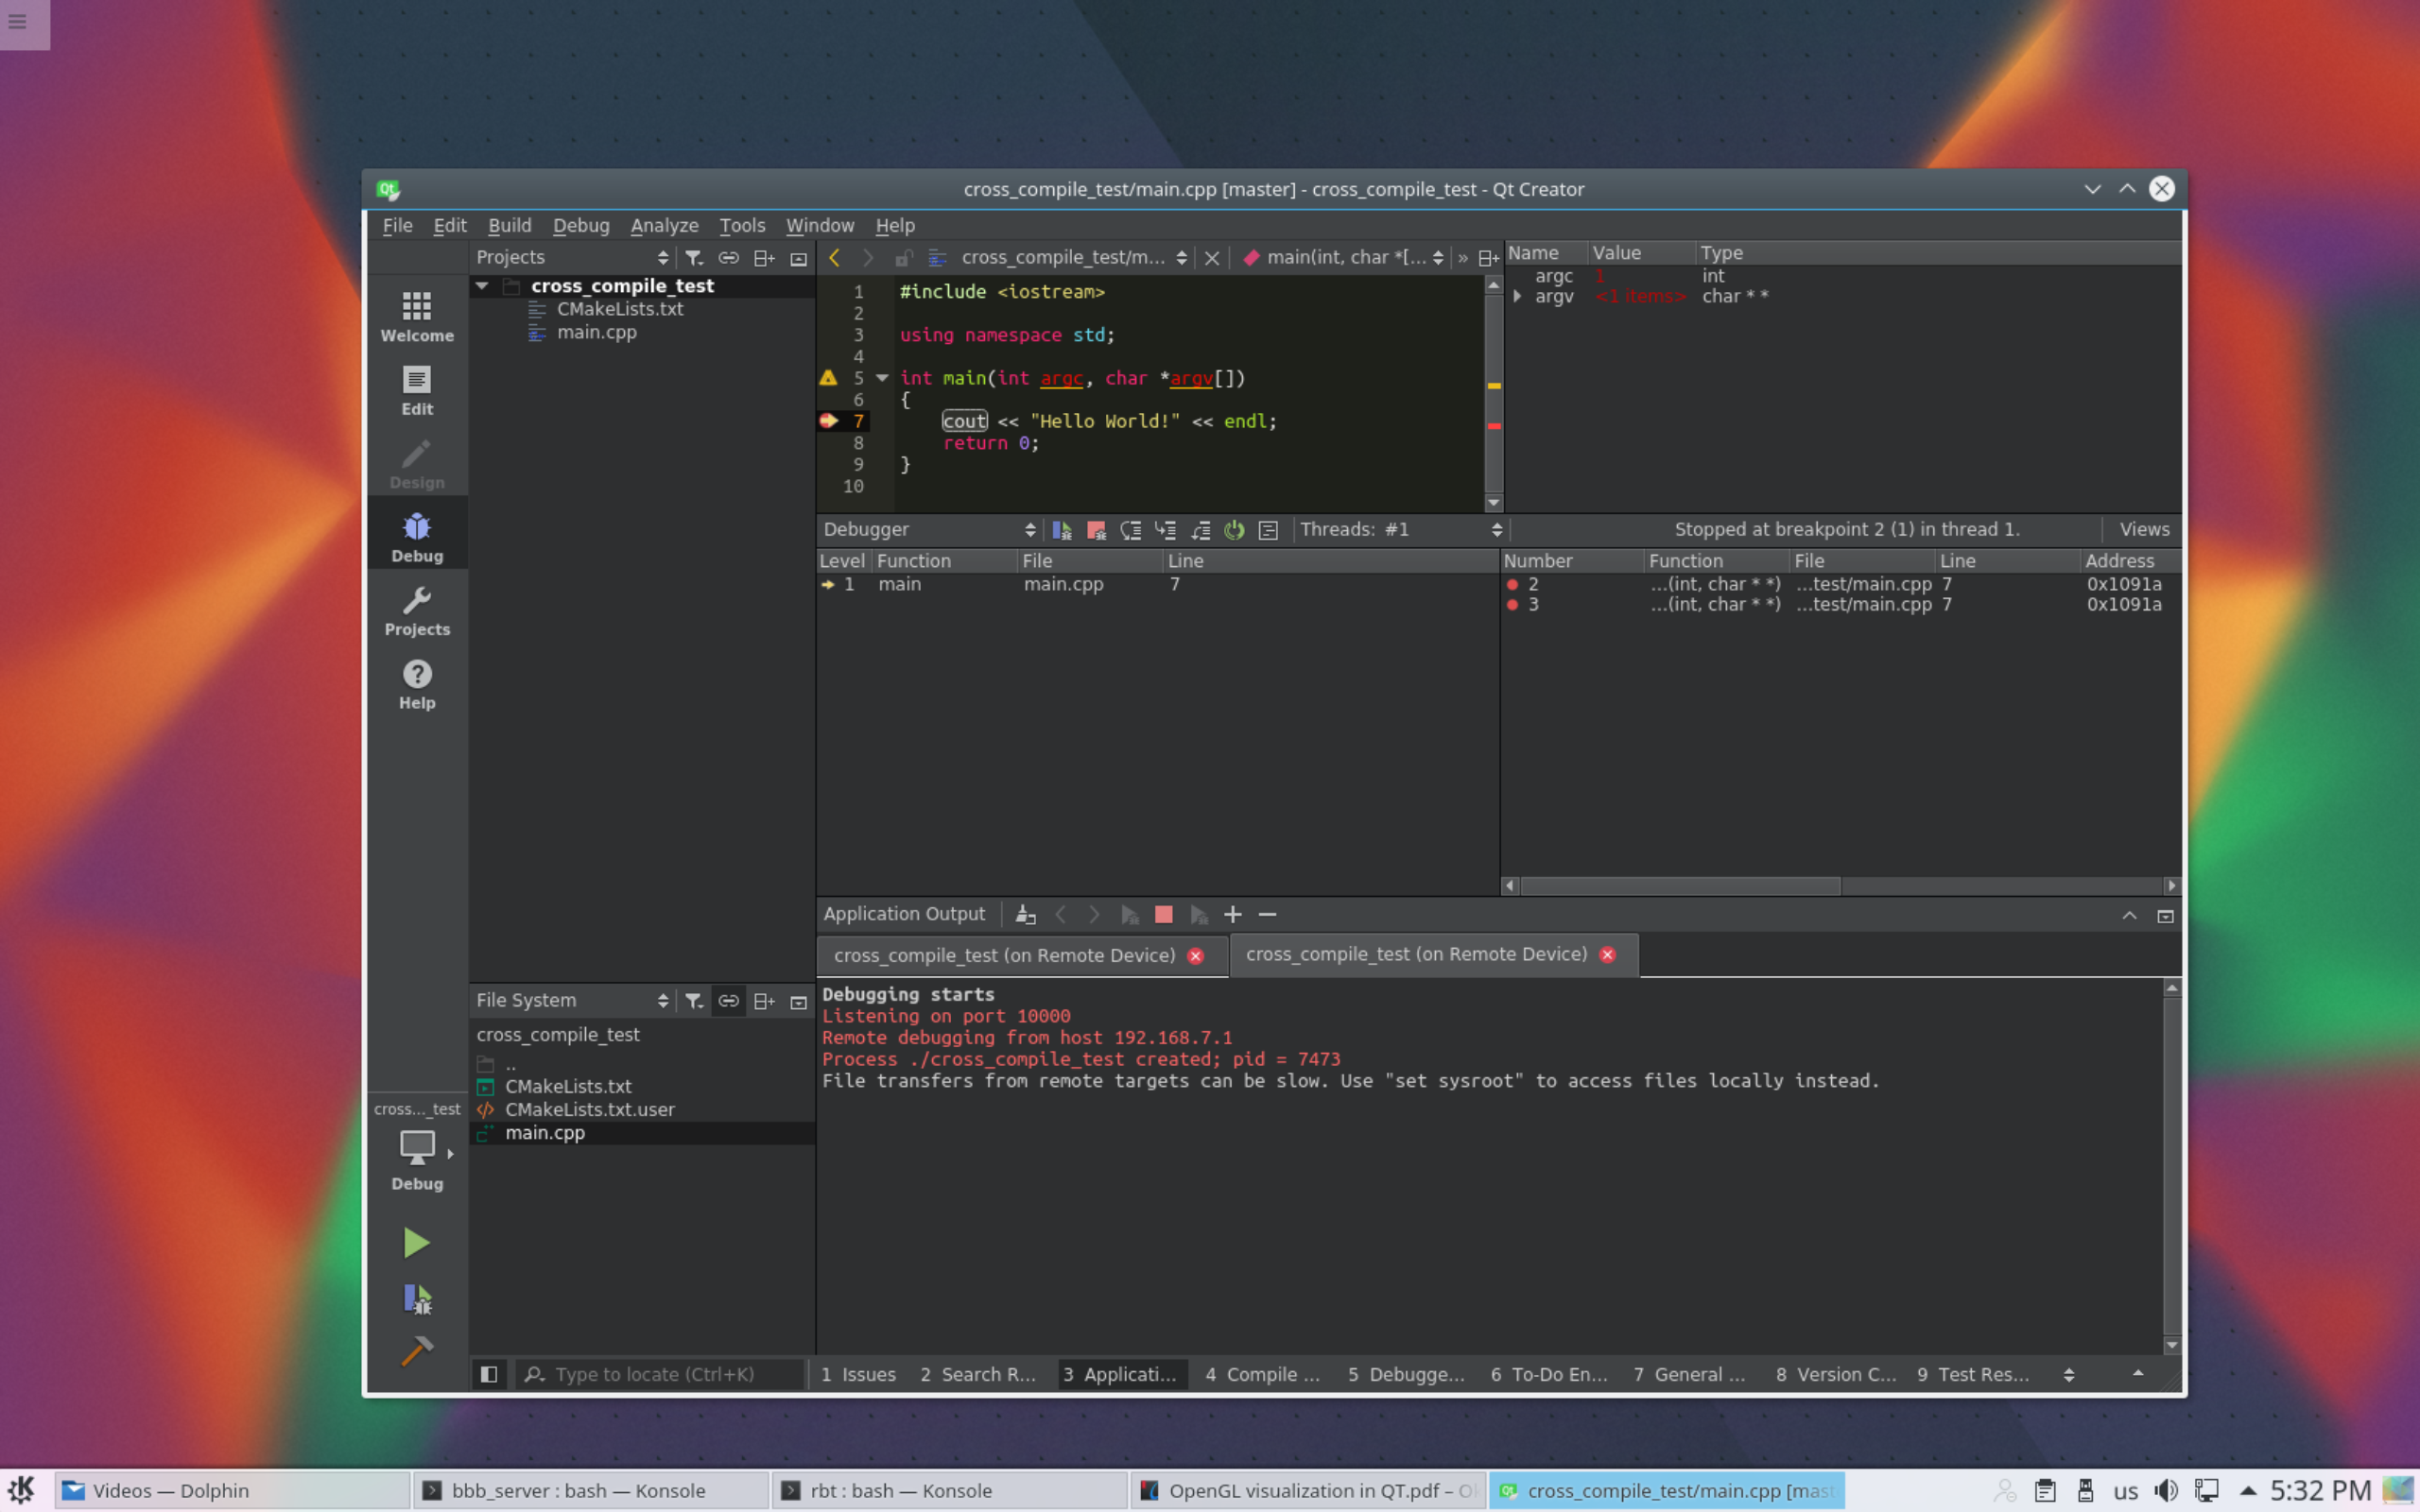
Done!
I would be happy to receive comments and feedback.